
Everyone loves Christmas cake right? Wrong. It might not be surprising to you, maybe you are one of the dried fruit haters, but it always catches me a little off guard that not everyone loves traditional Christmas baking as much as me. So for those people, I say Chocolate! You surely must love chocolate?! This is a really simple chocolate ombre cake that Stork have asked me to put own spin on. You can find the original recipe here, and below is what I did to make my version.
Traditional Christmas cake takes a long time to make, in fact it normally takes months to mature. The benefit of this recipe and using Stork with Butter is that you can whip it together in no time, no having to wait for the butter to come to room temperature. This really can be made at a moment’s notice. For my decoration I have gone for a modern take on the ombre trend, making a watercolour style. Instead of a neat graduation the different buttercream is brushed onto the cake before smoothing out, leaving a smooth, almost marble-like look to the colour. To add a bit of Christmas glamour I have finished the cake with a little bit of edible gold leaf, and simple piped chocolate Christmas trees.
Chocolate Ombré Cake
Follow the instructions here on the Stork website making the cake layers and the vanilla frosting.

To make the ombré colours, take the vanilla frosting and divide into two portions, 3/4 into one bowl and 1/4 into another. Add the cocoa powder and the boiling water to the smaller portion and beat to combine. Split this chocolate frosting in half and add a large spoonful of the vanilla frosting to one half, beating to combine. You need to add just enough vanilla frosting to the chocolate to make two varying shades of chocolate.
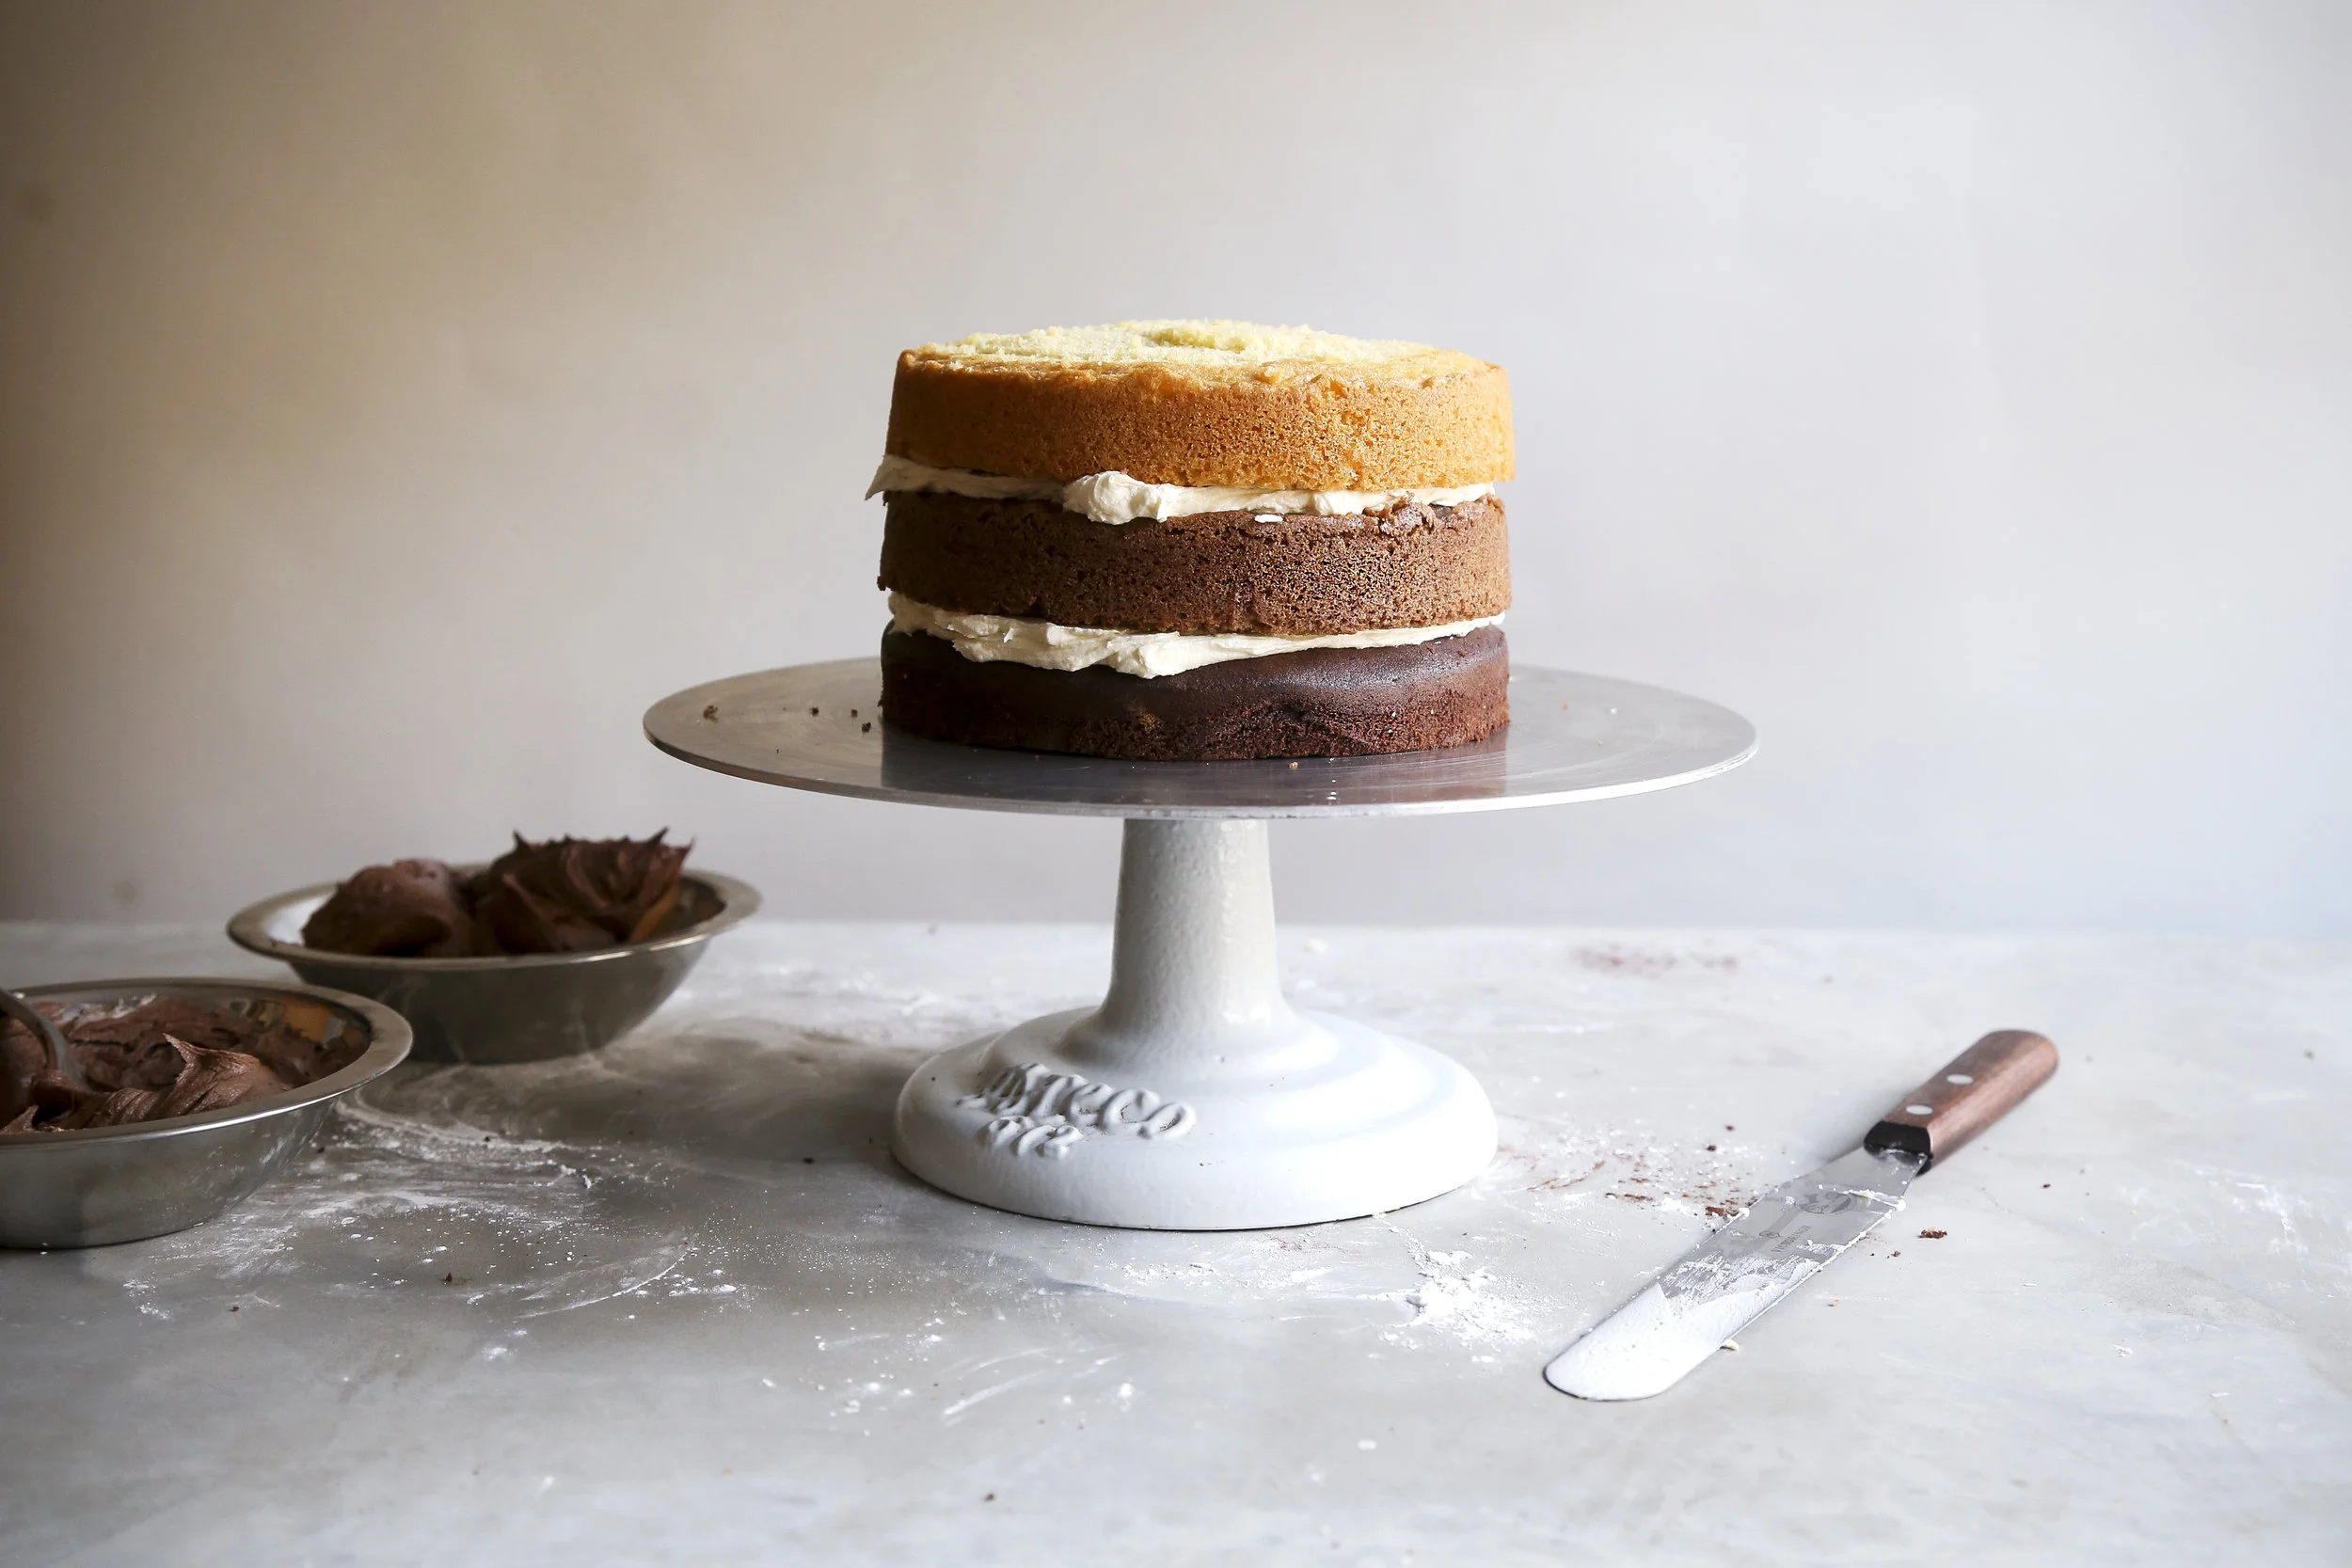
To decorate the cake, place the darkest cake layer onto a serving plate and top with a small amount of the vanilla buttercream, spreading flat. Top with the second, lighter chocolate cake layer and again top with a layer of buttercream. To finish place the final cake layer on top and spread the remaining vanilla buttercream across the top and sides of the cake, not worrying too much about making it perfectly smooth.
Take the two chocolate frostings and spread small amounts across the sides of the cake. Use a spatula or bench scraper to gently smooth this into the vanilla frosting, leaving a nice watercolour effect. Carefully press the gold leaf to the sides of the cake (I find this is best done with a small soft paintbrush).
To finish the cake, place 100g dark chocolate into a heatproof bowl and set over a pan of simmering water and stir until about 3/4 of the chocolate is melted. Remove from the heat and stir until the remaining chocolate has melted. Place the chocolate into a piping bag and snip off the end. Cover a baking tray in baking parchment and pipe the chocolate onto the parchment into rough Christmas trees of varying heights (these actually look better when a little rustic, so don't worry about perfection). Pop the baking tray into the fridge for about 15 minutes or until you can carefully peel the trees from the parchment. When ready to serve carefully press the trees onto the sides of the cake.
Kept covered, this cake will keep for up to three days.
(This post is sponsored by Stork but all words/opinions are my own)