Is there anything better than the aroma of fresh bread filling the house? Maybe the aroma of this particular loaf, a sourdough loaded with roasted garlic, chunks of mature cheddar and lots of rosemary. As the bread bakes the cheese slowly caramelises, filling your kitchen with the aroma of freshly made toasted cheese sandwiches, pure comfort and better than any scented candle you could imagine.
I have made versions of this loaf multiple times now but always devour it so quickly that I’ve never quite gotten around to writing it up so I made another loaf, just for quality control of course, and this time I actually measured out everything I put into the loaf. To make the bread you need a sourdough starter and if you’ve already made my basic sourdough loaf your in for a treat. This recipe is a simple adaption of that recipe and follows the same basic patten, the only real difference is the way the additional ingredients are incorporated into the dough.
Roasted Garlic, Cheddar and Rosemary Sourdough Loaf
Mix-Ins
1 large head of garlic
Olive oil
Flaked sea salt
125g mature cheddar, in small dice
3 springs of rosemary, leaved finely chopped
Sourdough Recipe
Levain
25g mature starter (my starter is 100% hydration)
50g 50/50 flour blend (my blend of white and wholemeal bread flours used for the starter)
50ml water at 27C
Dough
100g levain
450g white bread flour
50g wholemeal flour
375ml water at 27C
10g salt

9am - Make the levain
The levain needs to double in size to be ready to bake with. A healthy starter fed at a ratio of 1:2:2 should happily double if not triple in size within 4-5 hours if stored around 25-27ºC.
12pm - Autolyse
An hour before the levain is finished rising, we mix together the flour and water (keeping back 25ml for a later use). To do this we don’t need to knead the dough, or develop the gluten, we just want to hydrate the flour. Squeeze the mixture through your fingers, until everything is moistened, scrape any dry bits from the side of the bowl and then cover the bowl and pop it the oven alongside the levain until it finishes doubling.
The purpose of the autolyse is to fully hydrate the flour, to make a dough that is extensible which is to say nice and stretchy.
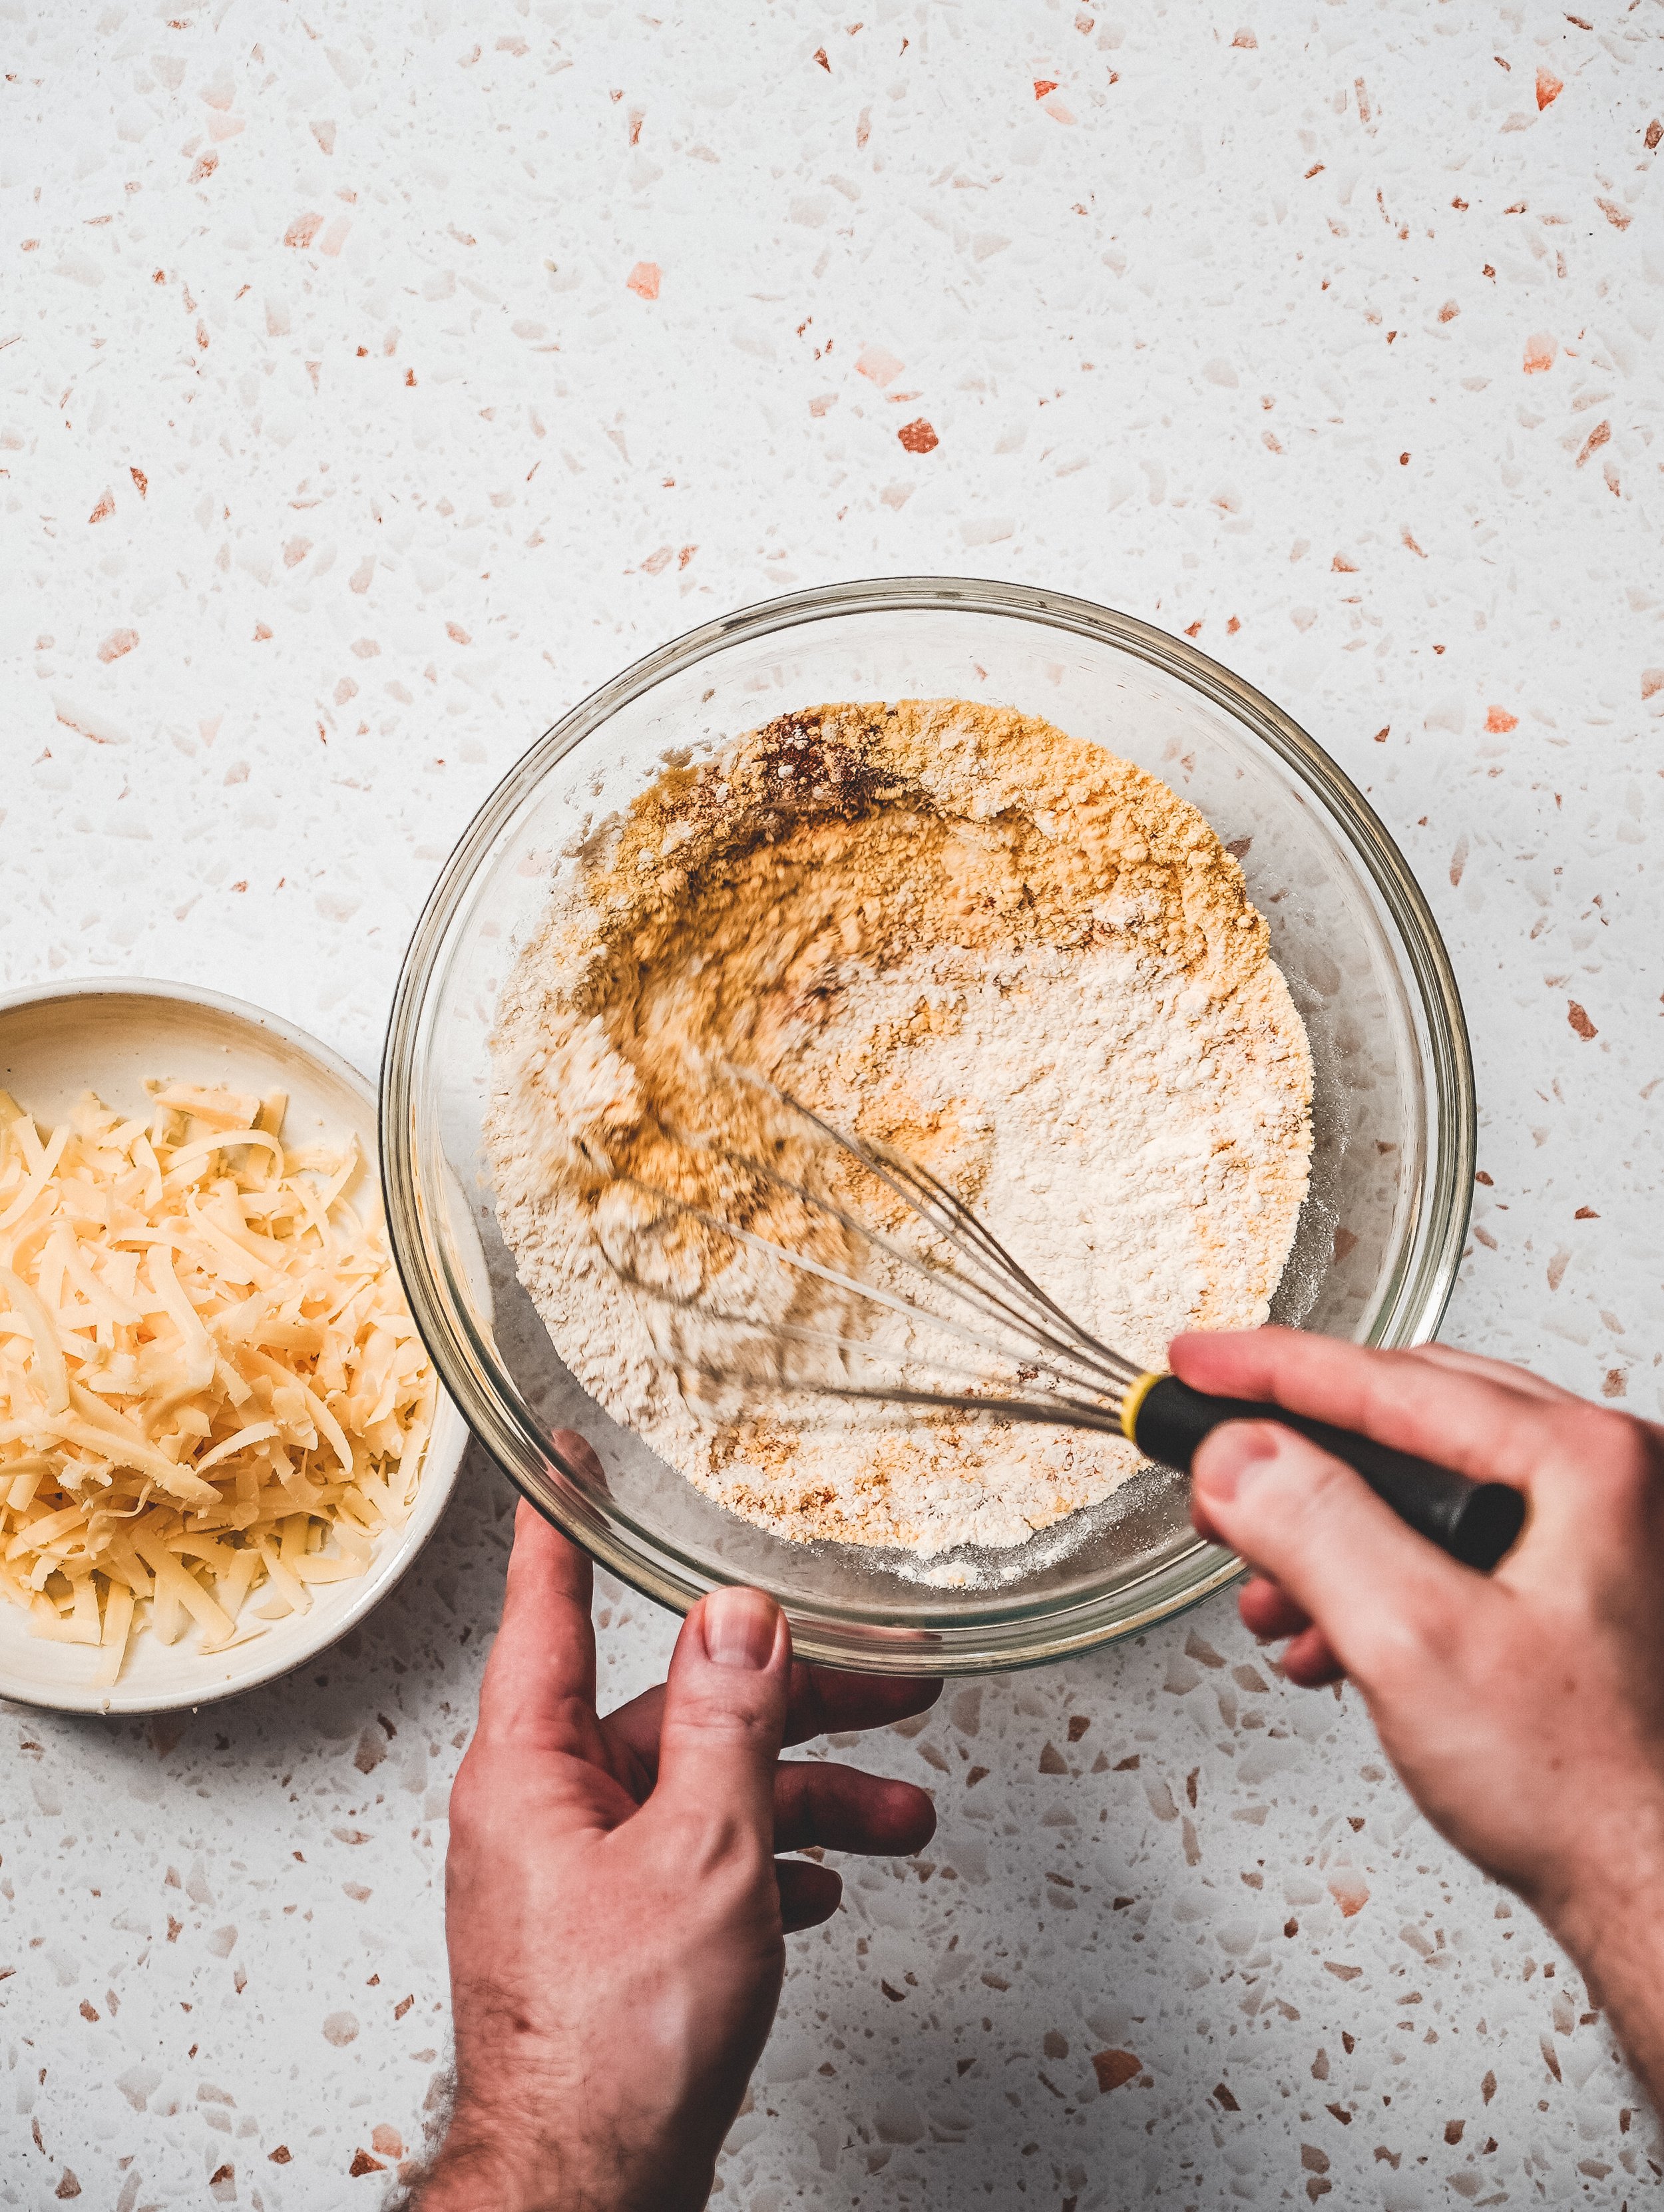
1pm - Mix-In Prep
When the levain and autolysed dough are almost finished prep your mix-in ingredients. Peel away most of the outer papery layers from the bulb of garlic and slice off the top. This cut should just be deep enough that the top of each clove of garlic is exposed. Place the garlic onto a piece of foil and drizzle over a little olive oil and sprinkle with a little flaked sea salt. Wrap the garlic in the foil and place onto a baking tray. With the oven preheated to 200ºC (160ºC Fan) roast the garlic for about 45-60 minutes or until the garlic is soft and a rich golden colour. Set aside to cool. In a bowl mix together the rosemary and cheddar.
2pm - Bulk Fermentation
Bulk fermentation is the first rise of the bread and it is where the strength, where the gluten, is mainly going to be developed (the autolyse starts this process off). Unlike a traditional bread dough that is kneaded, sourdough, at least this method, is relatively hands off.
Before we mix everything together, test that the autolyse is ready by doing a float test. The recipe for the levain makes a total of 125g and we only need 100g for the dough itself, the rest is for this stage. Take a teaspoon of the the levain and pop it into a bowl of water. If it floats the mixture is full of gas and is ready to bake with, if it doesn’t we need to leave it a little longer.
Scrape 100g of the levain on top of the autolysed dough and use your fingers to dimple it into the dough. We want to fully distribute the levain so once the dimpling stops working I start folding the dough on itself until it feels more uniform. Leave the dough for 15 minutes before adding the salt.
Sprinkle the salt over the dough and use that last 25ml water to pour on top of the dough to help the salt dissolve. Repeat the dimpling and folding process until the salt is distributed. At this stage the dough will separate a little due to the added water but just keep folding the dough until it becomes uniform. As with the levain I like to keep the dough in the oven for the whole bulk to control the temperature.
The bulk should take a total of 4-5 hours depending on the temperature the dough rests at, and how warm the water you used was, and during that period you only have one job and that is to strengthen the dough. We do this via stretch and folds and something called coil folds.
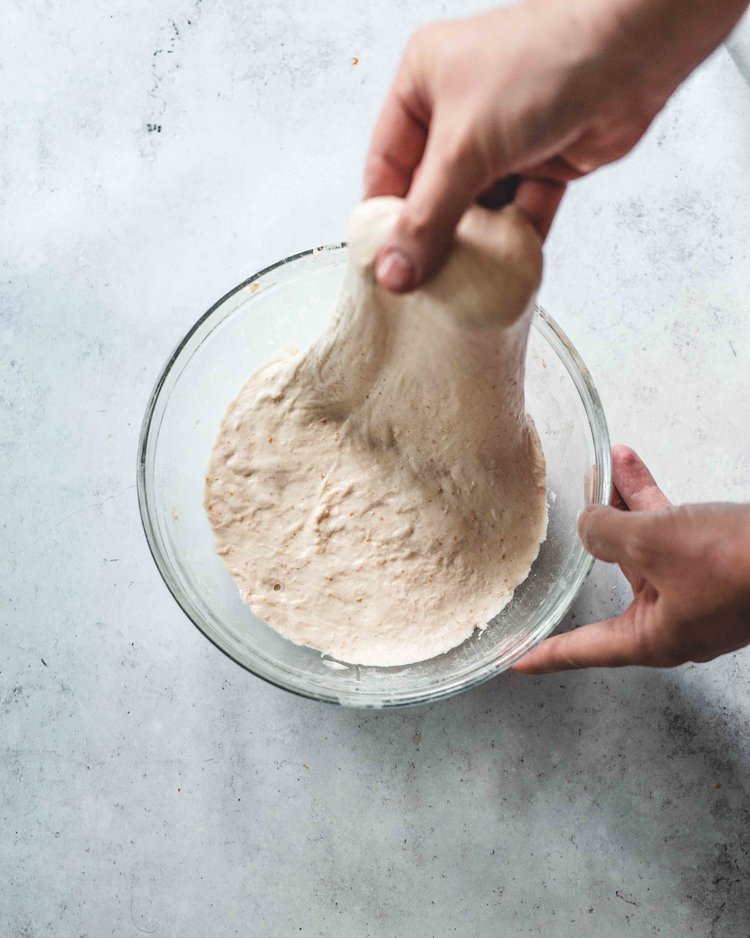
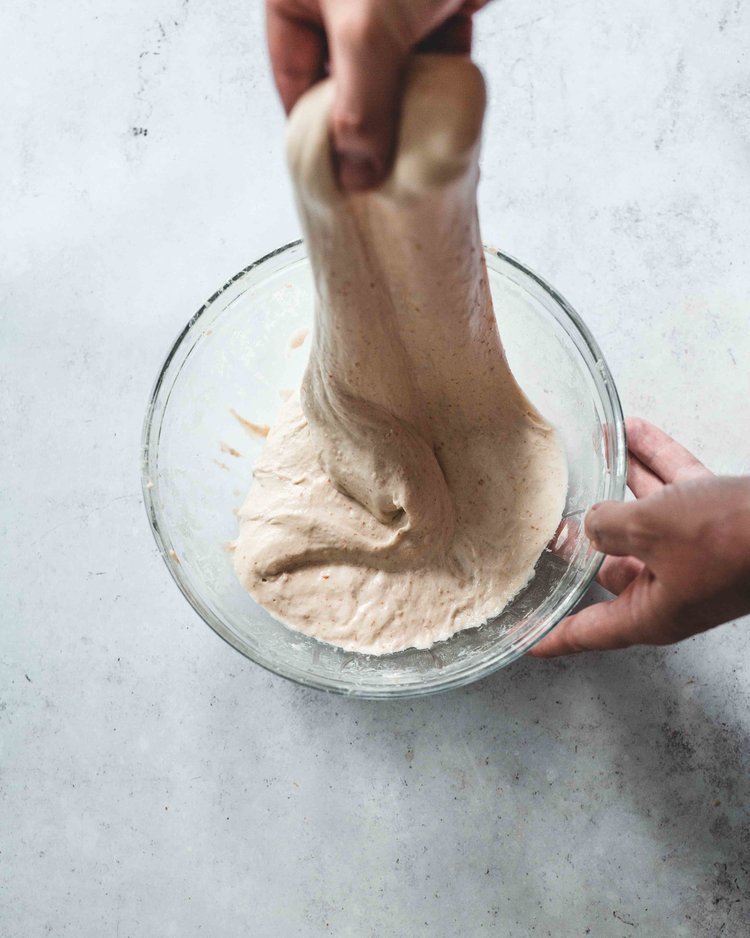
For the first fold you will preform a classic stretch and fold, lifting and gently stretching the dough and folding it back on itself, doing this four times around the edges of the dough. Rest the dough for 30 minutes before preforming the second set of stretch and folds, resting again for 30 minutes. After this rest we will no longer preform stretch and folds, its time for to add the mix-ins.
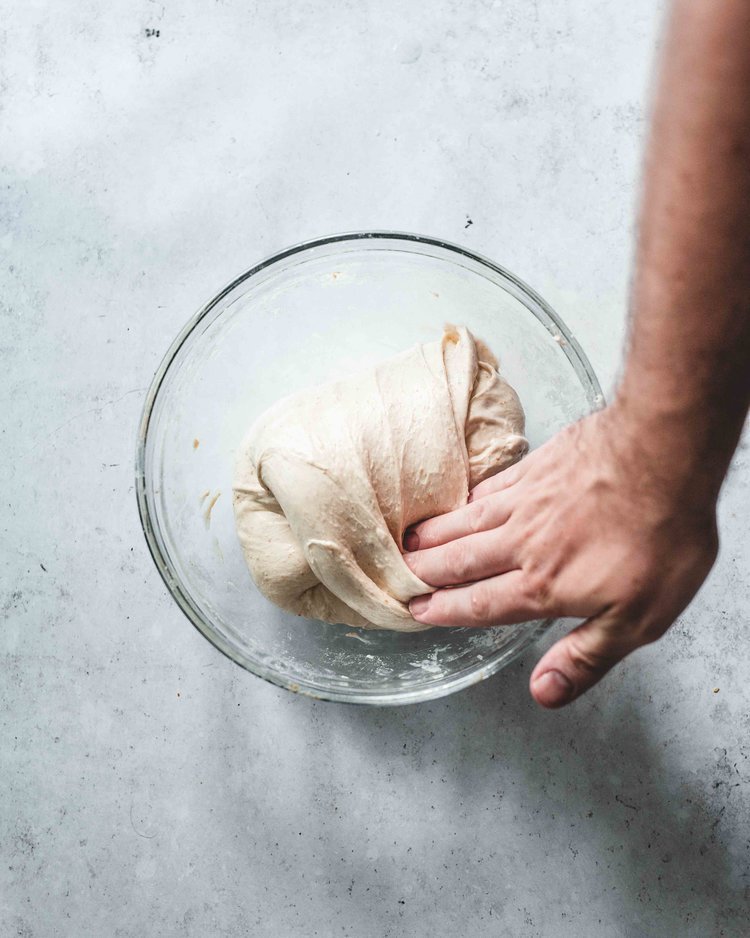
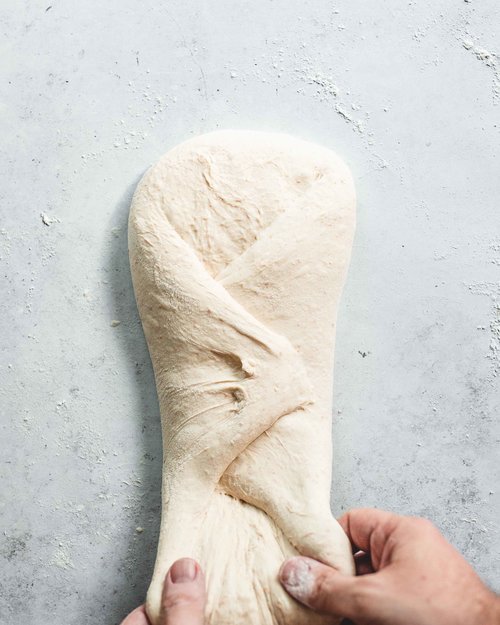
Very lightly oil your worksurface and scrape the dough out onto the worksurface. Gently stretch the dough out into a large thin rectangle, working slowly so you don’t rip the dough. Squeeze the garlic into a small bowl and use a fork to mash into a smooth paste. Using your fingers randomly dot the garlic over the dough and spread across the dough. Don’t worry if not every part of dough has garlic on it, just make it’s nicely distributed. Sprinkle over the cheddar mixture and gently press so it sticks to the dough. Fold the dough in thirds, as if folding a letter, encasing the mix-ins inside the dough. Roll the dough up and then place back into the bowl to continue bulk fermentation. Do another two sets of stretch and folds spaced 30 mins apart and then leave the dough to finish bulk fermentation.
When evaluating if the dough has finished its bulk fermentation we are looking for a dough that has risen about 20-50% and shows clear signs of fermentation. This would mean a dough that jiggles when you rock the bowl gently and a dough that has bubbles on the top of the dough. Once thats achieved we are ready for shaping.
Lightly flour the work surface and use a plastic dough scraper to tease the dough gently from the bowl. At this stage the underside of the dough is floured but the top is still sticky. Using lightly floured hands we are going to do a brief preshape. Go underneath the dough and fold it over itself multiple times as you go around the bowl, forming it into a rough circle. Turn the dough over and cover with a clean kitchen towel and leave to relax for 20 minutes.
Whilst the dough is relaxing prepare you proving basket or bowl. If you using a traditional cane basket lightly dust with rice flour. Rice flour is your best friend and is wont be absorbed into the dough and helps the dough release easily from the basket. If you don’t have a basket you can use a mixing bowl. Line the bowl with a clean kitchen towel and dust that with flour.
To do the proper shaping lightly dust the top of the dough with flour and turn the dough over, using a metal bench scraper to help release it from the worksurface, turning it onto a non floured part of the work surface.
Think of the dough as a compass. Gently lift and stretch the east point of dough up and over towards the west. Gently lift and stretch the west point of dough up and over towards the east. Gently lift and stretch the north point of dough up and down towards the south. Finally gently lift and stretch the south point of the dough up and over towards the north. Turn the dough over so the seams are on the worksurface.
This rough shape now needs to be tightened up a little. Using both hands, which should remain in contact with the work surface the whole time, cup the dough and drag it towards yourself for a drag of about 15-20cm. The dough should drag along the work surface and you should feel the ball tighten up. Rotate the dough 90 degrees and repeat the dragging, doing this a few times until the dough is taught and round. Be careful at this stage as doing this too many times will tear the dough.
Carefully lift the dough and turn it into a proving basket, seams side up.


7.30pm - Proving
Pop the dough into the fridge and leave overnight
8.30am - Preheat The Oven
We are going to bake the bread in a cast iron pot, something like a large le creuset (I use a pot called a Challenger Bread Pan which I love for bread). We want it blisteringly hot so preheat it, as high as it will go, at least 250C, for a full hour.
9.30am - Baking
Take the dough from the fridge and carefully turn it out onto a crumpled piece of parchment. You can either leave the dough as it is or dust with little flour.
Using a bread lame or very sharp knife score a line across the top of the loaf (this helps to expand and open up fully as it bakes).
Remove the cast iron pot from the oven and remove the lid. Cut away the remaining parchment and carefully transfer the loaf to the pan and place the lid back on. Bake in the preheated oven for 25 minutes. Baking the loaf in the pan helps to trap the moisture from the dough, creating steam so the crust is slow to form and the bread can rise to its full potential. Reduce the temperature to 220C and remove the lid and bake for a further 20 minutes or until the crust is nice and dark. As this loaf is loaded with cheese you want to keep an eye on it so that it doesn’t burn. Once browned remove the pot from the oven and carefully remove the loaf and set onto a wire rack to cool completely.
Allow the bread to cool for at least an hour before cutting into it or you risk ending up with a gummy bread.