I feel like this post needs to start with an apology to my fellow British bakers because to make this exactly as written will be a little bit tough. Black cocoa, the elusive cocoa used to make Oreos and of course this sable cookie, is a little tough to track down here at home in Blighty Right now, in the UK, there is only one brand of black cocoa availble (over on amazon of course) and I have no idea of the quality. I am lucky to have a stash I bought from King Arthur Flour over in the US and I use it sparingly not wanting to run out anytime soon. The good news is that in this recipe the cocoa is mainly used for look so your favourite cocoa powder will also make for a wonderful cookie, just remember this recipe should you find some black cocoa and want to try a recipe that put its dramatic look to good use.
I also realise as I am typing this that many of you may also never have heard of black cocoa powder. Simply put it’s just another version of ‘Dutched’ cocoa powder. Cocoa powder comes in two main forms, natural and dutched. Natural cocoa powder is the leftovers after cocoa mass is stripped of its cocoa butter (this form is more common in the US). Dutched cocoa powder goes through one extra step, it is washed in a solution of potassium carbonate to neutralise the acidity found in natural cocoa powder, it also happens to darken the colour of the cocoa powder and give it a deeper more roasted flavour profile (people argue whether natural or dutched has the strongest ‘chocolate’ flavour but I’m not getting into that today). Black cocoa powder goes through a more intense version of this dutching process which gives it an almost entirely black colour. Generally it isn’t seen as having the strongest chocolate flavour compared to the more common cocoa powder varieties so I use it mainly when I want a more dramatic colour, often blending it with a regular ducted cocoa powder to give the best of both worlds.
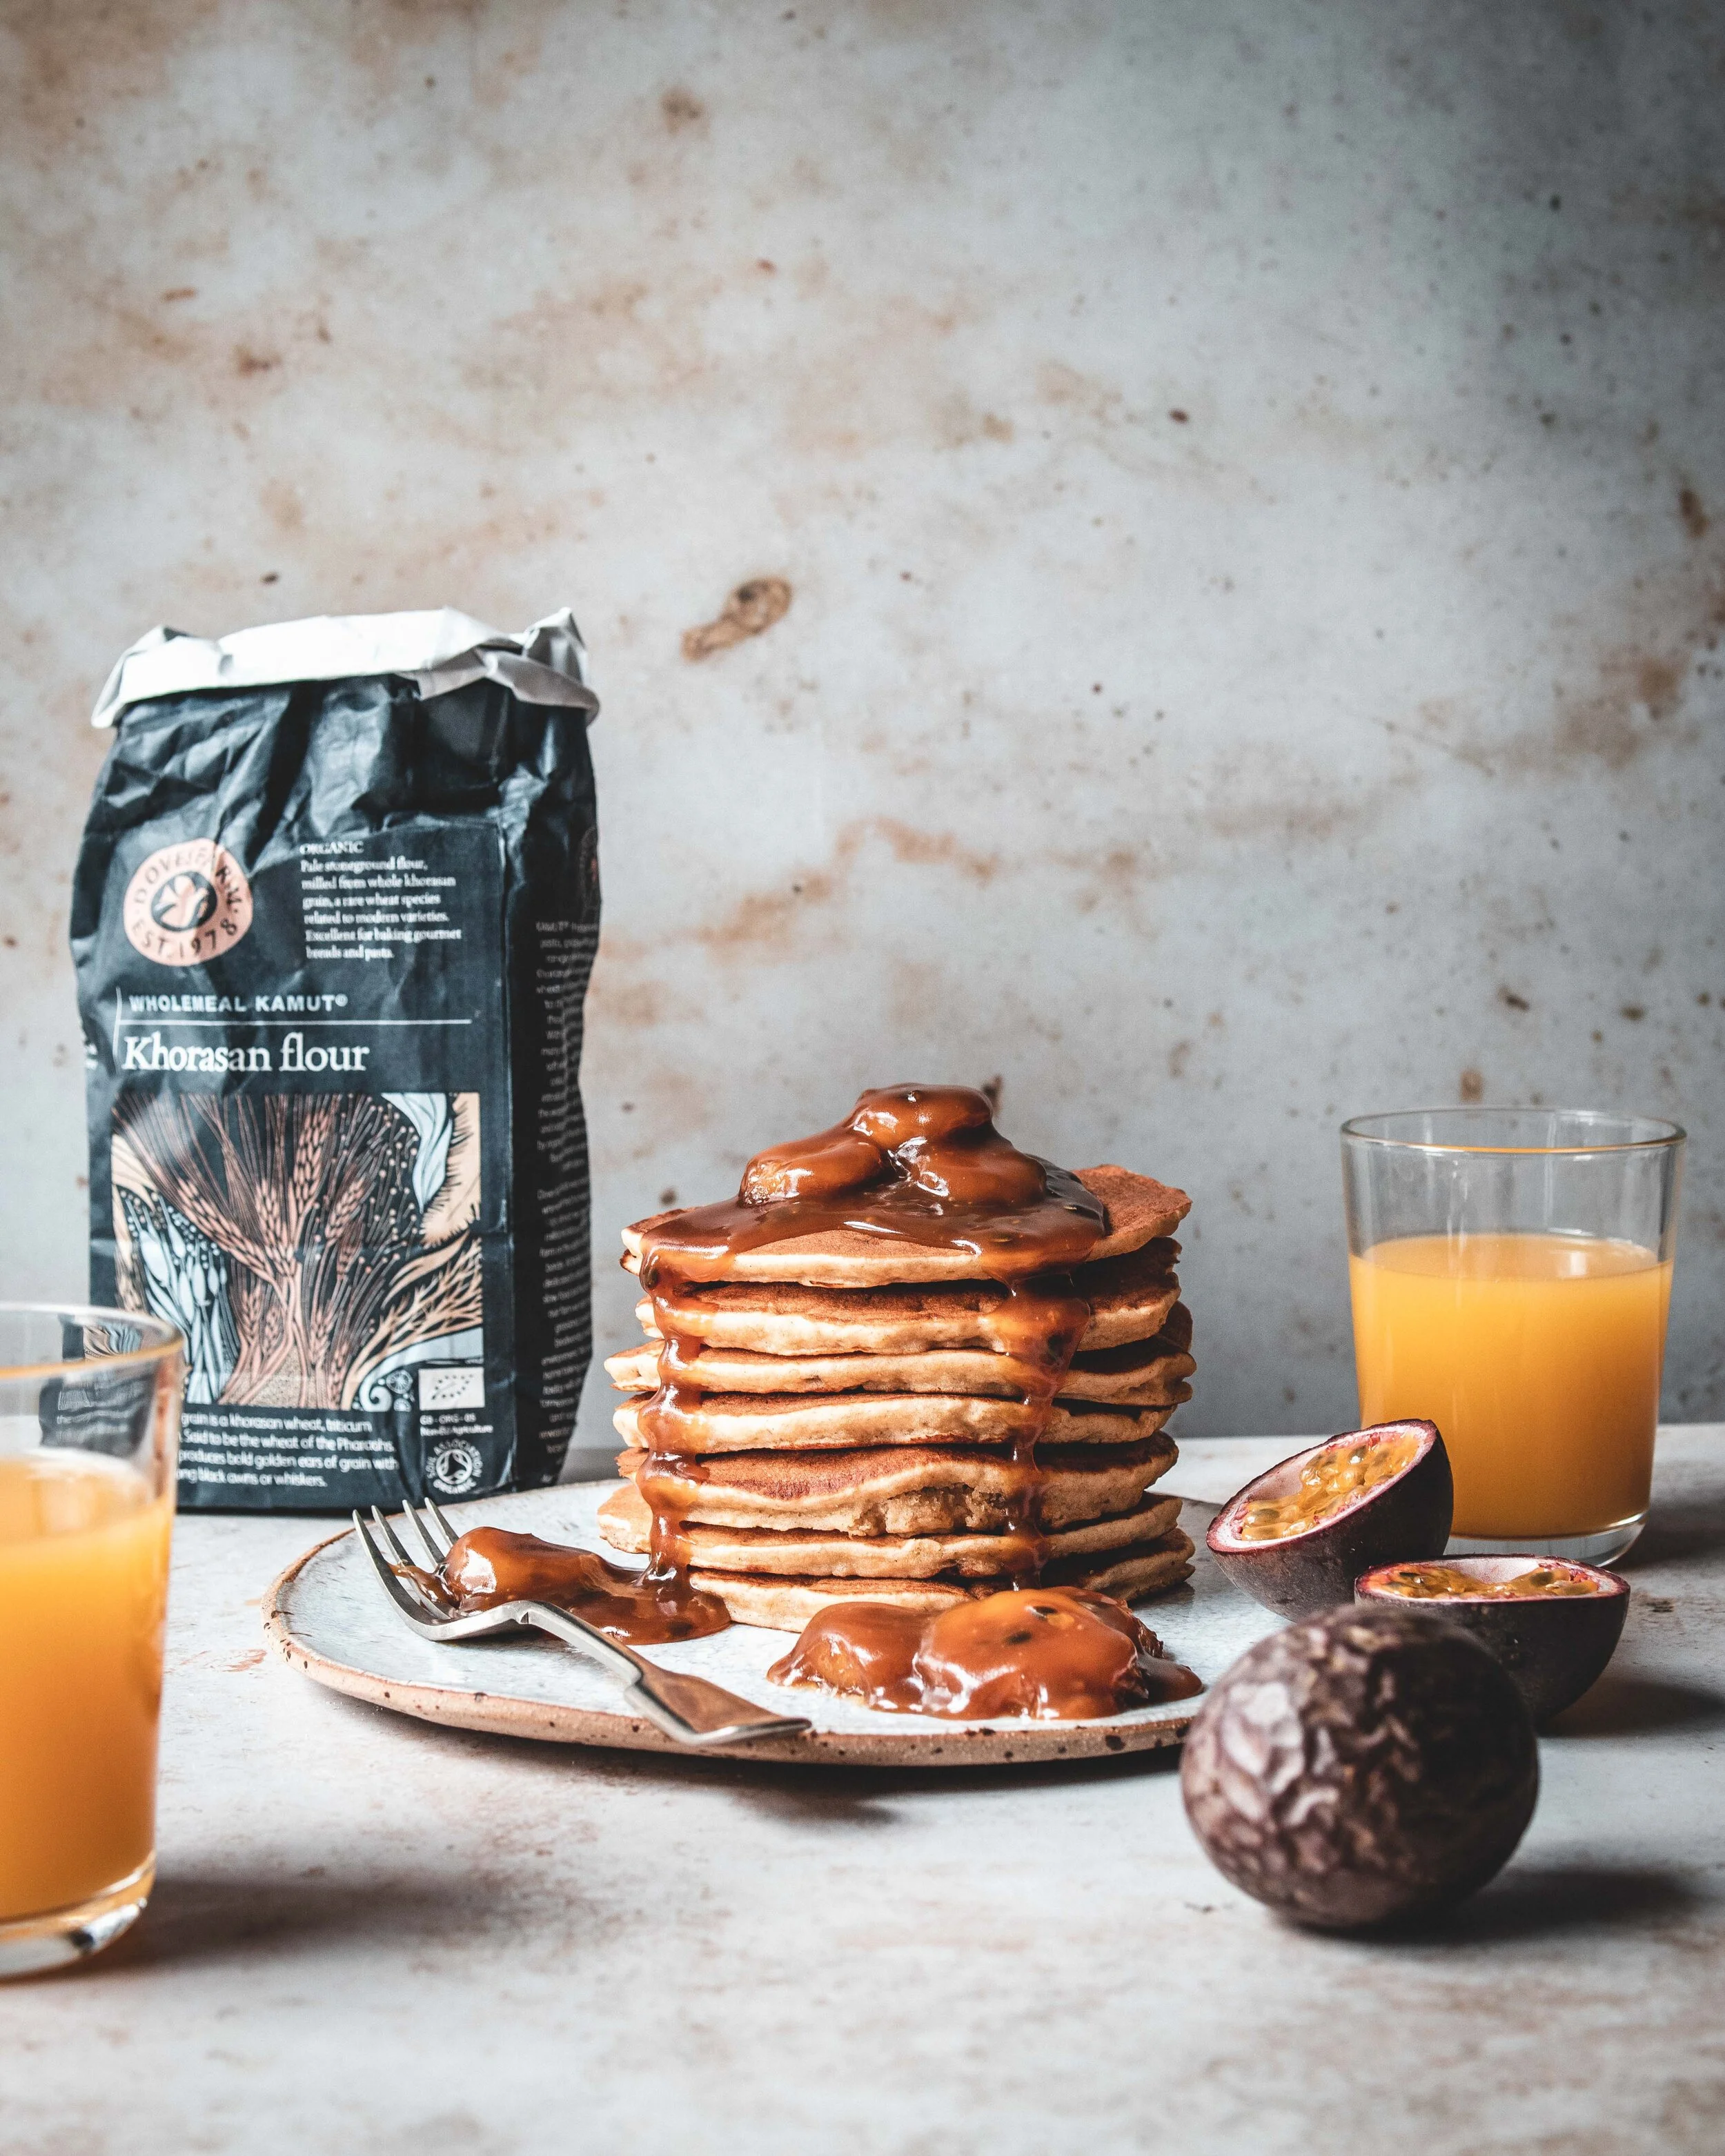
In todays recipe I use the black cocoa to make a cookie that looks incredible and also one that gives a chocolate flavour but without overpowering the hero ingredient of this recipe, caramelised white chocolate. If you know me you know I love nothing more than a batch of this magic ingredient. By slowly roasting white chocolate you can caramelise it and add a ton of caramel notes to the chocolate. If you’ve never made it before let this recipe be the reason you finally give it a go.
If you don’t want to track some black cocoa down this will still taste incredible with regular ducthed cocoa powder so don’t let that stop you from whipping up a batch,

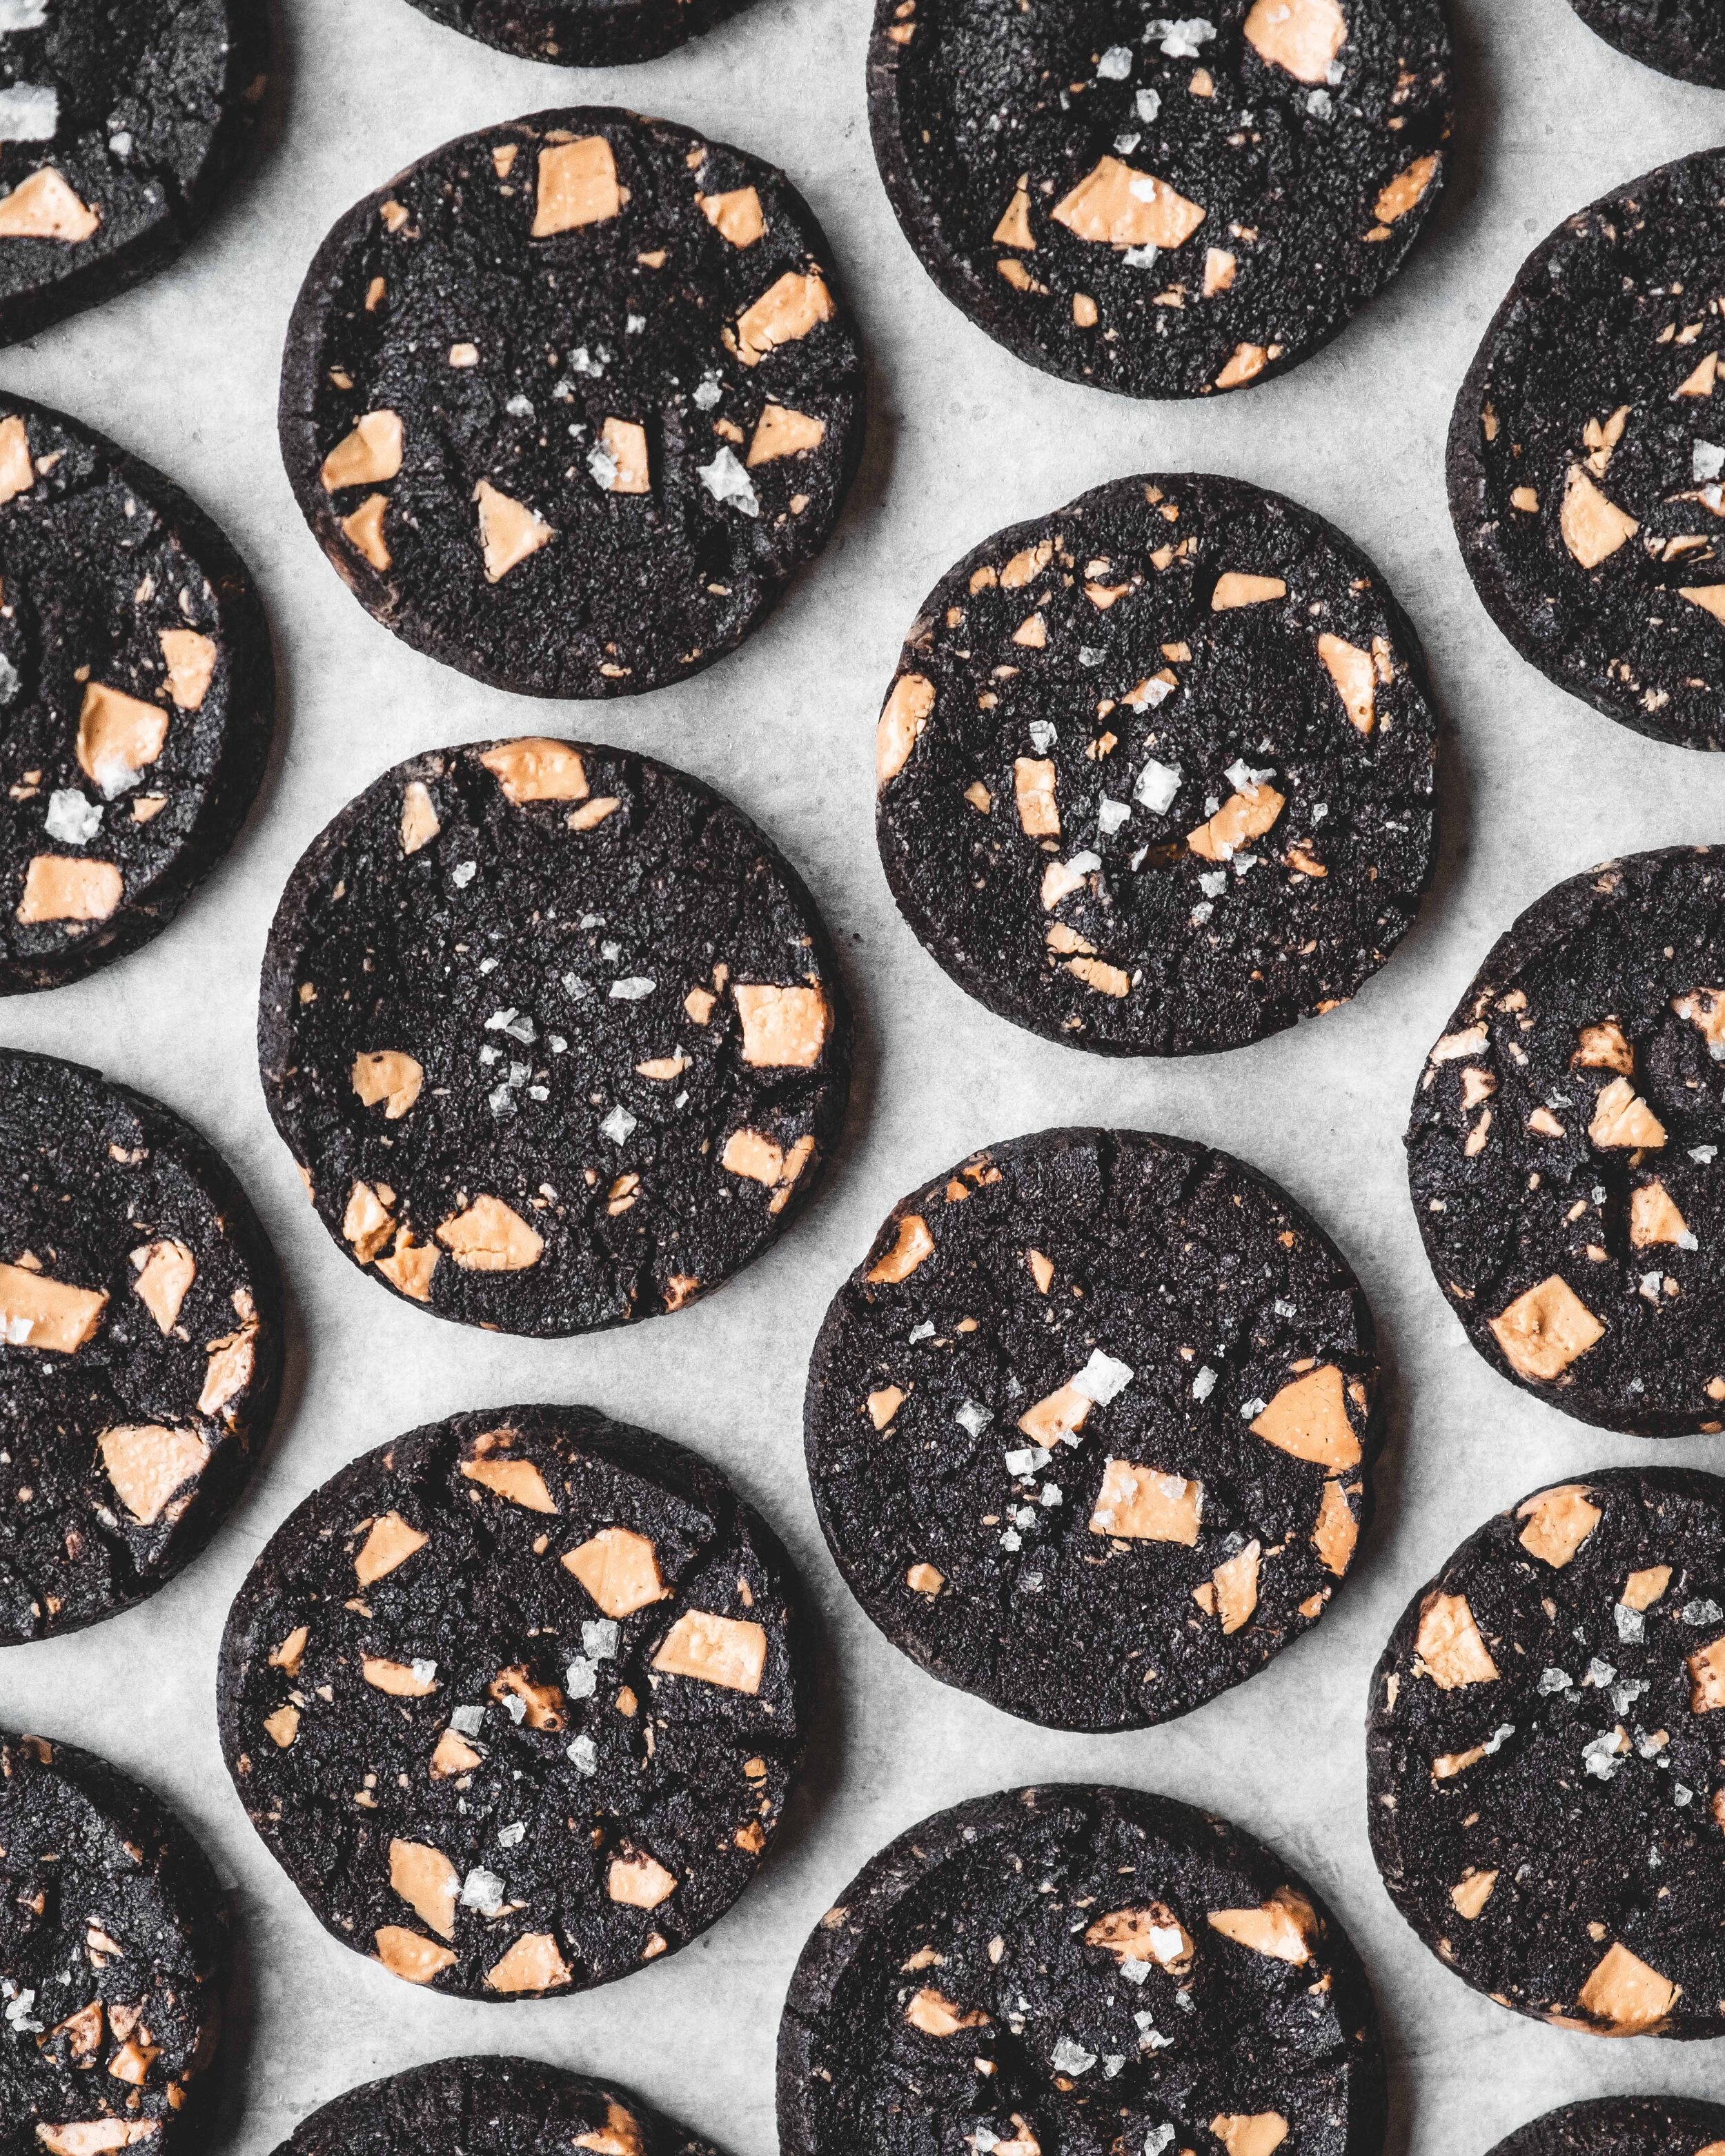
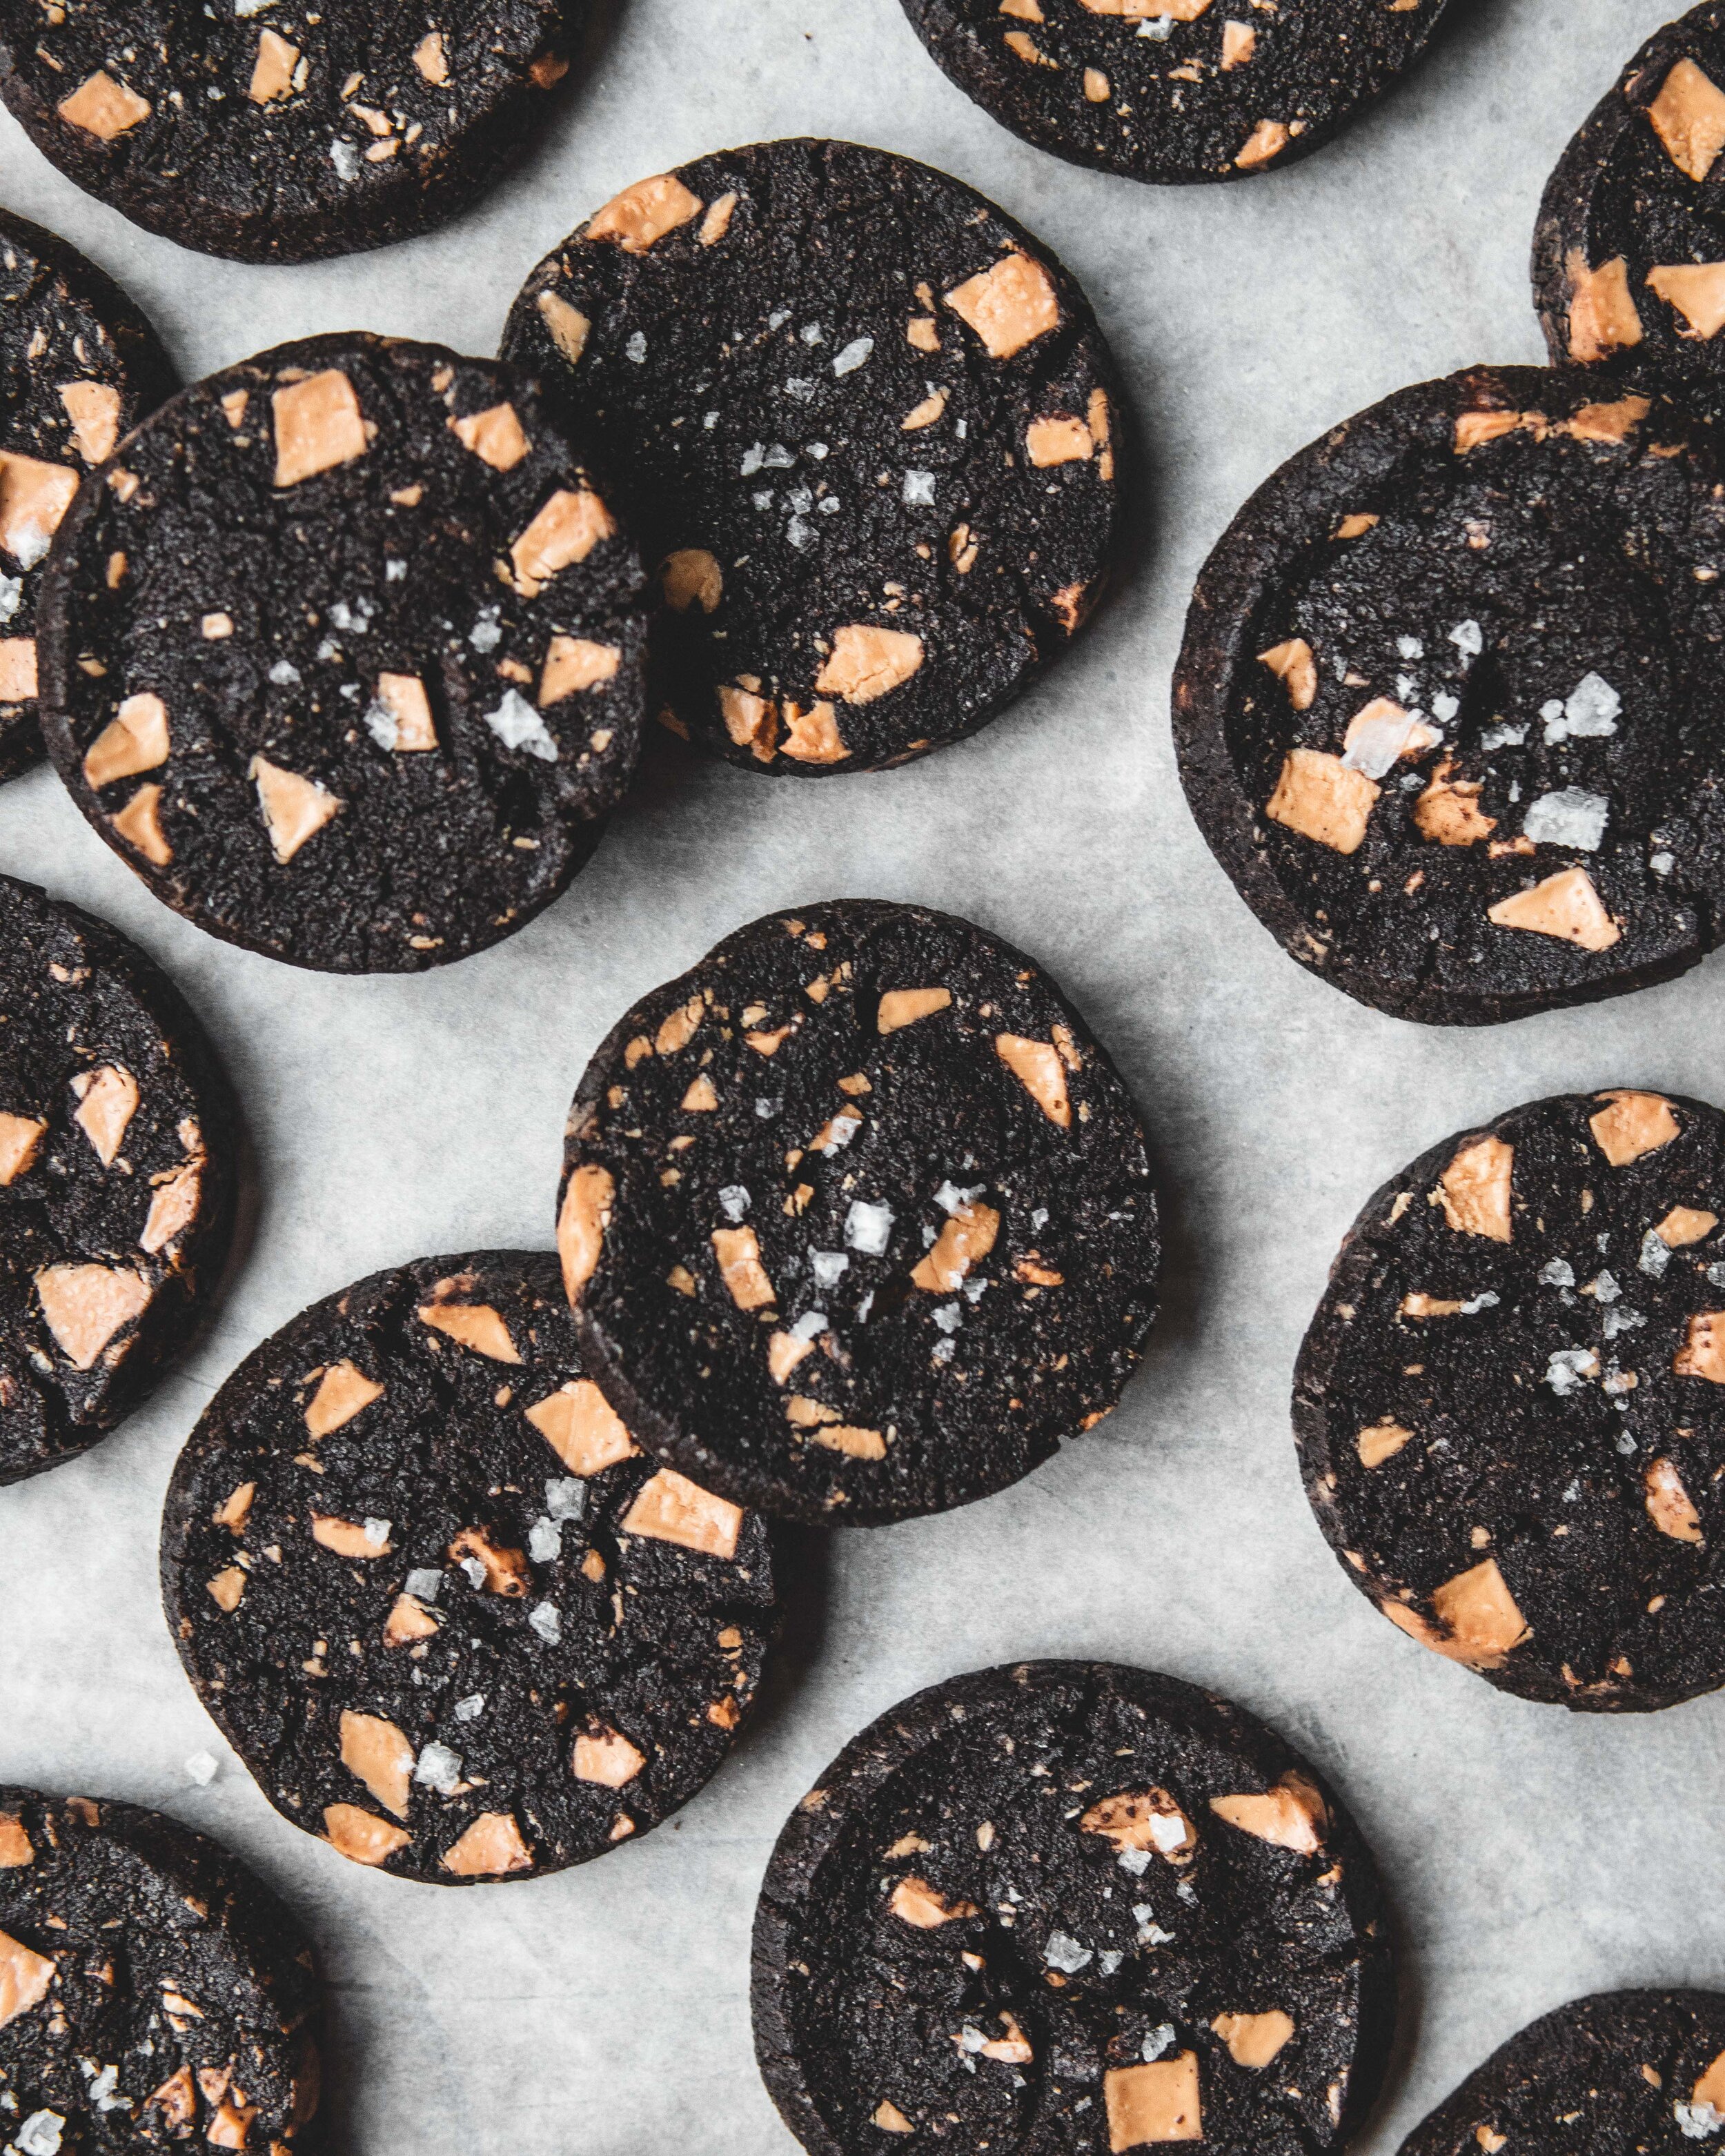
Salted Black Cocoa Sables with Caramelised White Chocolate Chunks
Makes 30-35
140g plain flour
140g wholemeal rye flour (you can replace with plain flour if you prefer)
40g black cocoa powder
3/4 tsp baking soda
1/2 tsp flaked sea salt
220g unsalted butter, room temperature
125g caster sugar
125g light brown sugar
1 tsp vanilla extract
200g caramelised white chocolate (recipe below), roughly chopped
To make the cookie dough sieve the flours, cocoa powder and baking soda into a large bowl, pushing any lumps of cocoa powder through the sieve. I avoid sieving unless necessary and this is one of those time. Cocoa powder often forms little lumps so it’s always important to sieve it unless you want little dry pockets throughout your recipe. Add the salt and whisk everything together. Place the butter and sugars into the bowl of an electric stand mixer, fitted with the paddle attachment, and on medium speed beat tother for about 2-3 minutes just until smooth and creamy (you can do this with an electric hand mixer too if you want). We don’t want to beat lots of air into the butter we just want to make it soft enough that the flour mixture combines easily so don’t overdo it at this stage. Add the vanilla and mix briefly to combine.
Turn the mixer off and pour in the flour mixture. We don’t want to make a huge mess and have a cloud of flour and cocoa powder cover every surface in your kitchen so cover the bowl of the mixer with a kitchen towel and then gently pulse the mixer on and off just to get the flour combined a little before turning the mixer to low to mix it in properly. We want to mix in the flour just until it disappears into the butter but before the mixture forms a ball of dough, it should still look a little crumbly. Add the chunks of caramelised white chocolate and mix briefly just to distribute. Tip the dough out onto the worksurface and use your hands to briefly bring together as a uniform dough. Cut the dough into two roughly equally sized pieces and set one aside for the moment. Form each ball of dough into a log that is roughly 4-5cm thick. Roll the log of dough in parchment or clingfilm and refrigerate until firm, about 3-4 hours. Repeat with the second piece of dough.
When ready to bake preheat the oven to 160ºC (140ºC Fan) 325ºF and line a couple baking trays with parchment paper. Unwrap one of the logs of dough and use a sharp knife to cut into slices about 1/2 an inch, just over a cm, thick. Place them onto the prepared baking trays leaving just a little space between. The cookies will spread but not significantly. Sprinkle each with a little extra flaked sea salt, unless you are one of those people that have sent me angry emails about your hatred of salt being sprinkled onto cookies you guys can leave it off and stop emailing me. Bake in the preheated oven for 14 minutes. The cookies wont look done, they’ll be incredibly dark so you cant use visual clues and if you press them they’ll feel too soft but trust the process, as the cookies cool they crisp up leaving you with a wonderful sable texture. Sable is French for sand and these cookies should have a slightly crumbly, almost shortbread like texture.
Kept in a sealed container these cookies will keep for about 4-5 days.
Caramelised White Chocolate
300g white chocolate, minimum 30% cocoa butter content
To make the caramelised white chocolate simple roughly chop the chocolate and add to rimmed baking tray. I use an American style quarter sheet pan which is the same size as a regular 9x13 brownie pan so if you own one of those you can also use that. Place the baking tray into an oven that has been preheated to 125ºC. You’re basically going to leave it in there for anything from an hour to hour and half until it has reached your desired level of caramelisation. The one thing you need to do is a lot of stirring.
Every 10-15 minutes you need to remove the tray and give the chocolate a really good stir. When the chocolate comes out of the oven it may look a little stiff, a little grainy. With a good stir the chocolate will smooth out and become liquid again. To prevent the chocolate from burning or become an unpleasantly grainy mess you must do this stirring very well and every 15 minutes. Don’t be tempted to leave the chocolate any longer between stirs, it will stiffen up to a place from which it cant be rescued. The reason I recommend white chocolate with at least 30% cocoa butter is that it melts thinner and is easier to work with. Once the chocolate has reached a rich golden brown colour remove it from the oven and scrape it into a container. I like to divide it into rectangular plastic trays so it almost resembles the original bar form it came in. Refrigerate until solid and then use however you fancy. You’ll note my cookie recipe only use 200g and my recipe for the chocolate uses 300g of white chocolate. The reason for this is two fold. The chocolate is so good you’ll need extra to account for everything you snack on as you make the cookie dough and secondly making a smaller batch makes it more prone to problems so 300g is the smallest batch I would recommend making.