The Boy Who Bakes

Edd Kimber
  • Home
  • Recipes
  • My Books
  • Blog
  • Recipe Index
  • About
  • Home
  • Recipes
  • My Books
  • Blog
  • Recipe Index
  • About

Recipes

  • All
  • baking
  • Biscuits and Cookies
  • Breads and Quickbreads
  • Bundts
  • Cakes
  • Chocolate
  • Dessert
  • drinks
  • Holidays
  • Pastry
  • Scones and Quickbreads

Pear and Raspberry Bakewell Brioche Buns

Edd Kimber June 21, 2017

It's jam time again, and this week I have two recipes for you! Firstly, the simplest, easiest jam recipe going and secondly a fabulous brunch bake to use that in

When I was little the one jam we had in the house at all times was raspberry jam, mainly because my family absolutely love a classic sherry trifle and there was no way we were making it with jelly! I watched my mum make that jam so many times that it's basically imprinted onto my mind. Apart from being one of the UK’s most popular jams (after strawberry I would imagine) it also happens to be the best jam to start with. Why? Because raspberries are high in pectin so it sets very easily, and using Tate & Lyle Jam Sugar it is basically foolproof.

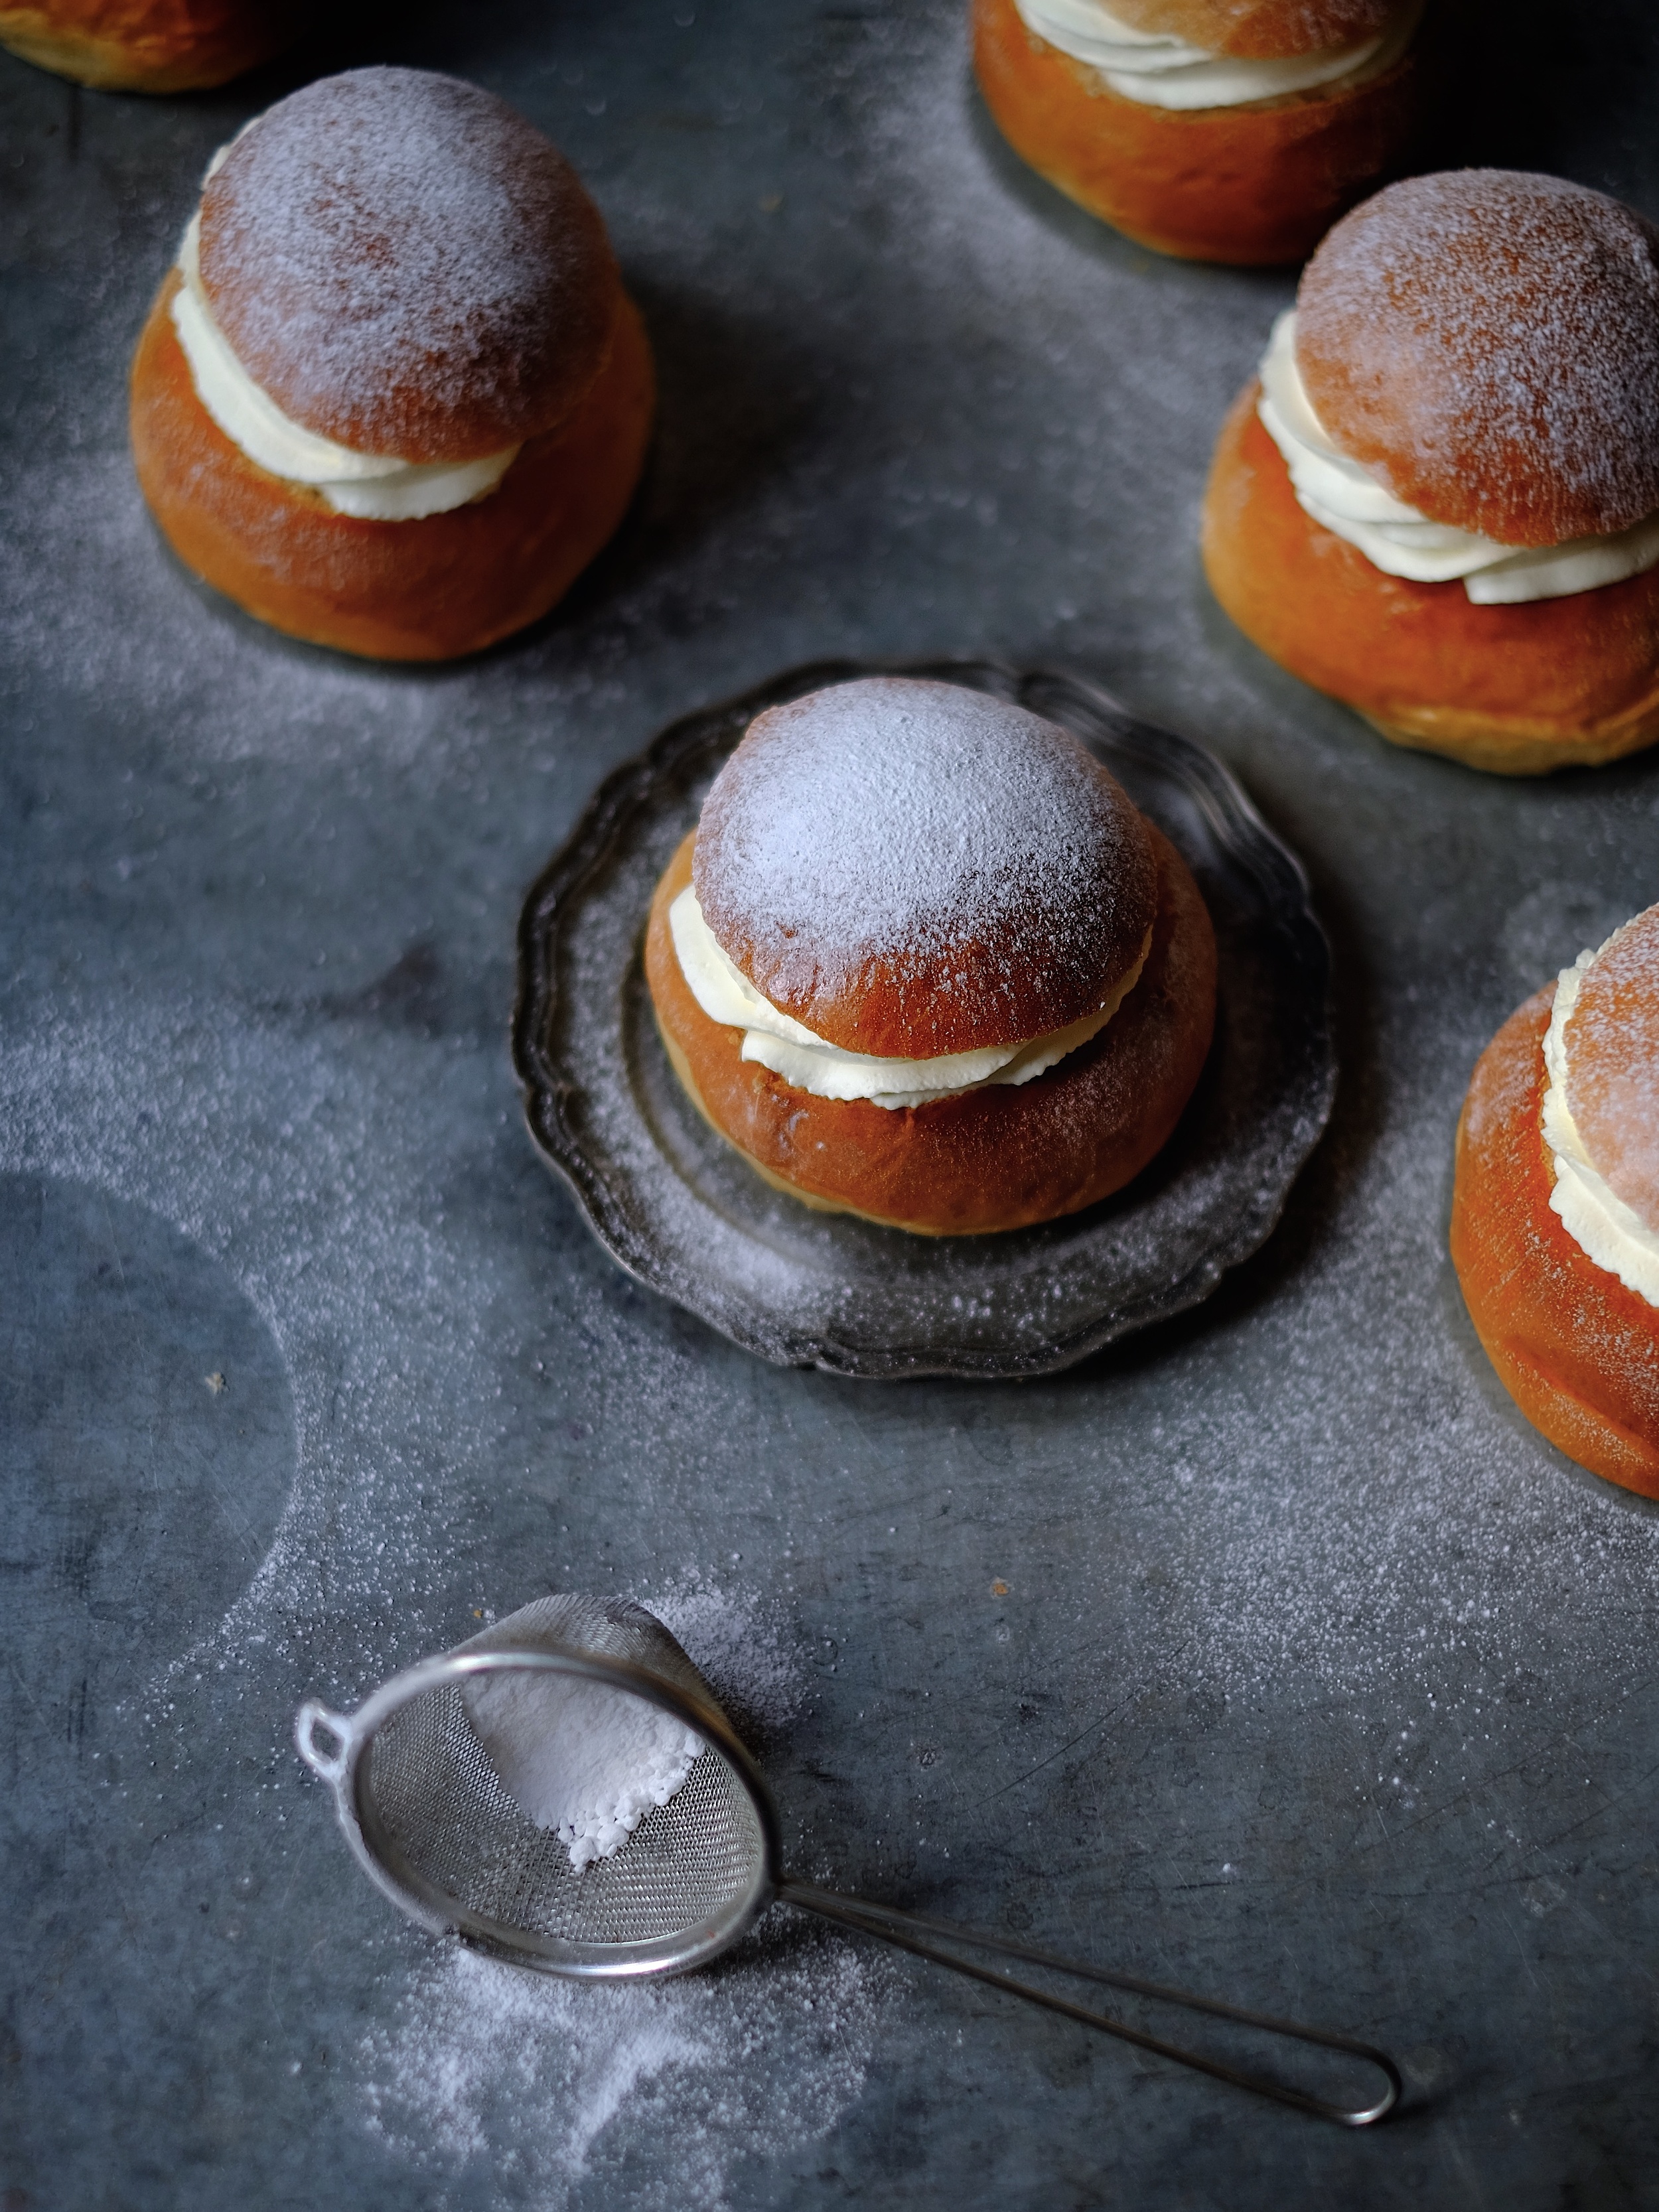
Once you have made the raspberry jam you could happily just eat it on your morning toast, but why not make these bakewell brioche buns for brunch this weekend, it’s a much more fun use of the jam. Make the dough on Saturday night and in the morning, you only have a little bit of work before serving your family or friends these ridiculously good buns!

Whilst I have given you a basic raspberry jam recipe below, I also wanted to share my favourite way to give this recipe a simple twist, turning a basic bake into something a little more interesting and sophisticated. 

Near the end of the process add a little rose extract and, if you fancy, some dried rose petals (food grade only, no flowers from the florist please). It is up to you how strong you go but for me, rose and raspberry is a phenomenal combination. I don't really do subtle, but if you just want a hint of rose you can happily adjust as you prefer. 

If you haven’t done so already, make sure you check out The Tate & Lyle Great British Jam Awards here (hyperlink to WLB Facebook) – I’m looking forward to seeing your entries!

Easy Raspberry Jam
Makes 2x380g Jars

500g Raspberries
500g Tate & Lyle Jam Sugar
Juice of 1 lemon

The first step as always is sterilising the jars. Wash the jars and lids with hot soapy water then place onto a roasting tray and place into an oven heated to 180C for about 15 mins. Just before you start making the jam pop a plate into the freezer.

Place all of the ingredients into a large saucepan and set onto the hob set over medium/low heat and cook, stirring occasionally until the sugar has dissolved. Increase the heat to medium/high and bring the jam to a rolling boil and cook for about 10 minutes. 

To test if the jam is fully cooked there are a few simple ways you can check. The first is the flake test. Lift the wooden spoon above the pan and allow the jam to drip back into the pan, if some drips cling to the spoon rather than running off back into the pan you're good. My preferred way of testing the jam though is to take the plate out of the freezer and spoon on a little of the jam. Pop the plate aside for a minute or so before pushing the jam with your finger, if it wrinkles it will set, if it is still liquid cook it for a little longer. 

Once the jam has finished cooking turn off the heat and leave for a minute or so to let it settle. If there is any foam on top carefully skim that off and discard (there is nothing wrong with the foam, you could happily stir it back into the jam if you are feeling lazy, but technically the foam is full of air and can make the jam spoil a little quicker, also it just looks ugly so skim away). Remove the jars from the oven and carefully divide the jam between the jars sealing immediately.

Bakewell Brioche Buns
Makes 8

Brioche
180g plain flour
180g strong bread flour
20g Tate & Lyle Golden Caster Sugar
1 tsp salt
7g dried fast action yeast
3 large eggs, plus extra for egg wash
85ml whole milk
225g diced unsalted butter, at room temperature

Frangipane
60g unsalted butter, room temperature
60g Tate & Lyle Golden Caster Sugar
60g ground almonds
1 tbsp plain flour
1 large egg
raspberry jam (see above)
8 tinned pear halves (you can poach your own but for simplicity I am using tinned this time
50g flaked almonds

For the brioche, place the flour, sugar, salt and yeast into a large bowl and mix together. Add the eggs and milk and mix to form a rough shaggy dough. Using an electric mixer fitted with a dough hook knead this mixture on medium/low speed for about 10 minutes or until smooth and elastic. With the mixer still running add in the butter a little at a time. 

Once all of the butter has been incorporated, knead for a further 10-15 minutes or until the dough is elastic and no longer sticking to the side of the bowl. Scrape the dough into a lightly oiled bowl and cover with clingfilm, then pop the bowl in the fridge overnight. 

In the morning, pull the dough from the fridge and divide into 8 equal pieces and form into balls. Roll into flat discs, about 10-12cm wide and place onto parchment lined baking trays and lightly cover with clingfilm, setting aside for about 45 minutes or until risen and puffy. Preheat the oven to 190C (170C fan).

Whilst the dough is rising make the frangipane by beating together the butter, sugar and almonds until light and smooth. Add the egg and flour and stir to combine. 

When ready to assemble the buns, use your fingers to gently form a depression in the middle of each round of dough, leaving a rough 2cm border. Fill the depression with a couple teaspoons of your delicious jam and top with the frangipane, carefully spreading to the edge. 

Slice each pear half into thin slices and place gently on top of the frangipane, pressing in just a little bit. Brush the brioche border with a beaten egg and sprinkle with flaked almonds. Bake the buns in the preheated oven for about 20-25 minutes or until golden brown. 

Remove from the oven and serve whilst still a little warm. These are best on the day they are made but can be gently rewarmed in the oven the day after baking if you don't eat them all in the first sitting. 

This post is sponsored by Tate and Lyle but the content, words and opinions are mine. 

In Breads and Quickbreads
2 Comments

Espresso, Cocoa Nib Banana Bread

Edd Kimber July 16, 2015

Baking, for me, has always been therapeutic, it was probably the main reason I started to take it seriously in the first place. In a story I have recounted more times than I can count, baking became an escape from a job I thoroughly disliked (suing people for a living definitely didn't make me happy) and baking was my reaction, it was what I thought about as I was sending out summons, whilst I was being sworn at over the phone, it was what made me happy. After The Great British Bake Off, the story of which im sure you dont want to hear again, I decided that I would try and make baking my living: and remember this was after the first series, it wasn't clear to me if being on the show would be a kickstart to any form of career, it definitely felt like moving to London and quitting my job was a big risk. 

Many of my friends who worked in the food industry and baking in particular told me that baking for a hobby and a career were two very different things and I have definitely come to learn that. Baking isn't my escape anymore, it's my constant and I am forever grateful that is the case, but I so very rarely bake for just myself anymore, because the mood strikes. Baking is now my job, when the oven is on the cake or cookies that come out of it are for a magazine article or a book or maybe even a TV show, so when I get a rare opportunity to slow down and bake for pure pleasure, I relish in it. 

I have recently moved into a new flat and after the slightly stressful (read scarily expensive, London rents are so ridiculous) move, things are slowly finding their new homes and I am falling back into my work rhythm. After finishing a project a day earlier than expected I decided the new flat needed christening with something delicious, work baking doesn't count, and I wanted something easy but comforting and not much else can fit the bill so well as banana bread, okay maybe apart from a warm chocolate chip cookie, which I think is the answer to most problems. Instead of the classic banana bread that I make regularly, I ended up making a loaf spiked with coffee and cocoa nibs and it's definitely worth a try, whilst it might not seem the most obvious combination it works so well. This is the sort of cake that I want toasted, spread with a little salted butter and served with my morning coffee, it is sweet but not cloying, and the coffee and the cocoa nibs just work so well together!

Sometimes an idea pops into my head and it sits there for a few days, scratching away, begging to be tried, and this recipe started out exactly like that. I had finished a week of testing fruit recipes for a project and was left with a bunch of bananas slowly starting to head towards banana bread territory and, after unpacking another box from my move, I found my tonka beans and cocoa nibs, the idea of adding these to my recipe popped into my head and wouldn't go away.  

I, of course, tweeted about the idea because, have we met, I have a slight social media addiction! My friend Chloe suggested that I should try the bread with coffee instead and that initial idea was, very temporarily, shelved and I settled on trying an espresso and cocoa nib banana bread and I'm rather pleased with it, the coffee isnt super strong and the mix of the nibs, coffee and banana is delicious!

Espresso and Cocoa Nib Banana Bread

225g plain flour
2 tsp baking powder
1/2 tsp salt
3 tbsp ground coffee
25g cocoa nibs
250g ripe bananas (weighed without skins)
100ml sour cream
185g light brown muscavado sugar
2 large eggs
1 tsp vanilla bean paste
150g unsalted butter, melted

1. To make the banana bread, grease a loaf tin with a little butter and line with a strip of parchment paper, so that the ends hang over the long sides of the pan (this makes removal of the cake a lot easier) and preheat the oven to 180C (160C fan) 350F.

2. Place the flour, baking powder, salt, coffee and about 2/3 of the cocoa nibs into a bowl and whisk together to combine. (see tips for adjusting strength of the coffee in the cake)

3. Place the banana into a large bowl and use a fork to mash, until just a few small lumps remain. Add the remaining ingredients and mix together until smooth and uniformly combined. 

4. Pour the flour mixture over the banana mixture and gently fold together, mixing until the flour is just combined, but being very careful not to over mix, as this will make the bread chewy and tough. Scrape the batter into the prepared pan and top with the remaining banana, simply sliced through the middle and placed on top, cut side showing. Sprinkle the remaining cocoa nibs on top of the cake, avoiding the banana.  

5. Bake in the preheated oven for about 50-55 minutes or until a skewer inserted into the middle of the cake comes out just about clean. 

6. Allow the cake to cool in the pan for 15 minutes before carefully inverting onto a wire rack to cool completely. Kept wrapped in clingfilm in a sealed container this cake will keep for up to three days but can also be frozen for up to a month (I like to freeze it in individual slices and then I can have a piece whenever I fancy).  


Tips: If you want the coffee flavour to really punch you in the face then I would suggest adding two tablespoons of hot water to the coffee and stirring together before adding to the wet ingredients, this way the flavour will soak into the bread a lot more.

If you want to try this recipe and cant find cocoa nibs I get mine from Sous Chef

In Breads and Quickbreads, Cakes
4 Comments

Semlor - Swedish Cardamon Buns

Edd Kimber February 15, 2015

For a long time I’ve had a fascination with foreign baking traditions, the recipes that centre on religious or national holidays. Every country has their own and whilst there can be similarities across countries more often than not there is something new to discover. The fascination led me to write my last book Patisserie Made Simple but more than that it appears in all my work, I love the stories, the emotion behind them and the character it gives to the country they're from and I happily latch on these recipes and make the traditions my own. 

Tuesday is Shrove Tuesday, otherwise known as Pancake Day, a Christian holiday to mark the start of lent. Around the world Tuesday is also known by different names: in Spanish and Italian speaking countries it is called Carnival, in Iceland it is known as Bursting Day but my absolute favourite is the Swedish name of Fat Tuesday. The best bit about Fat Tuesday, other than the name obviously, is the recipe that goes along with it, Semlor, a cardamon flavoured bun filled with almond paste and whipped cream. It sounds incredibly simple but the sum is so much more than its parts, I have a big soft spot for this recipe. 

One of the reasons that I look forward to them every year is that they are a rare seasonal bake, there is absolutely no reason you cant bake them year round but despite that they only appear in bakeries for a few weeks or months around the holiday and as the saying goes, distance makes the heart grow fonder. Living in London we are lucky to have a few Swedish bakeries that sell them but generally I make them myself and they are no more difficult than making a simple bread recipe.

Semlor

250g plain flour
250g strong white bread flour
1 tsp ground cardamon
50g caster sugar
1 tsp salt
50g unsalted butter, room temperature
300ml milk, lukewarm
7g dried yeast
1 large egg (plus 1 extra  for glazing)

Filling
200g marzipan
175ml milk
600ml double cream

To make the semlor preheat the oven to 200C (180C fan) and line two baking trays with parchment paper.

To make the dough place the flours, cardamon, sugar and salt into a large bowl and mix together to combine. Add the butter and rub into the flour until it resembles fine breadcrumbs. Add the milk and the yeast to a jug and stir to combine. Make a well in the flour mixture and pour in the milk and egg, mix to form a shaggy dough then remove from the bowl and knead for about 10 minutes or until the dough is smooth and elastic. Form the dough into a round, place into a bowl and cover with clingfilm. Set aside at room temperature for about an hour or until doubled in size. Remove the dough from the bowl and gently knock out the air. Divide the dough into 12 equal pieces and form into rounds. Place the rounds of dough onto the prepared baking trays and cover lightly with clingfilm. Set aside for about 45-60 minutes or until the buns have almost doubled in size. 

When ready to bake brush each bun with the remaining egg and bake in the preheated oven for about 20-25 minutes or until golden brown. Allow to cool fully before filling. 

To make the filling slice the tops from the buns and scoop out the filling. Rip the bread into breadcrumbs and place into a bowl. Grate the marzipan into the bowl and add the milk, mixing together to form a paste. Divide the filling between the buns and set aside. 

Place the cream into a large bowl and whisk until the cream holds soft peaks. Add the cream to a large piping bag fitted with a large star piping tip and pipe on top of each bun, finishing by placing the lids of the buns on top of the cream, dusting with a little icing sugar. 

(ps. Semla - Singular, Semlor - Plural)

In Breads and Quickbreads, Holidays
3 Comments
  • Recipes
  • Older
  • Newer

Twitter

  • Was 8 original films, 3 spin off films, a two part play not enough. Can we have something new. https://t.co/cBZdGEGeyv
    Apr 4, 2023, 1:46 PM
  • RT @deliciousmag: Cacio e pepe, but make it buns! These seriously cheesy bread rolls from @TheBoyWhoBakes are inspired by his favouri… https://t.co/oDZlaDgnN2
    Apr 2, 2023, 11:08 AM
  • RT @TheDailyShow: Congrats to Donald Trump on finally winning a majority of votes! https://t.co/ezP55HZgl0
    Mar 31, 2023, 12:43 AM

Instagram

This weeks bonus recipe, for subscribers to my newsletter, is this gorgeous sour cherry and coconut gateau basque. The crust is a buttery cross between pastry and cake, think a cakey cookie. The filling is a layer of sour cherry topped with a rich coconut custard. A real fun one to make too! Link to my newsletter can be found in my bio - #gateaubasque #pastrycream #coconut #sourcherry
In this months @olivemagazine (out today) the team came and photographed my petit kitchen and we talked about how we put our stamp on the place, without spending a fortune. We hated the bland kitchen that we inherited but, as it was relatively new an
In this months @olivemagazine (out today) the team came and photographed my petit kitchen and we talked about how we put our stamp on the place, without spending a fortune. We hated the bland kitchen that we inherited but, as it was relatively new and in good condition, it felt a waste to rip it out and we also didn’t want to spend the money it would take to rip out the whole thing and replace it (it’s a howdens shell so we could have done something cheaper like @plykeakitchens @holte.studio @madebyhusk) so instead I painted all of the cabinets, using @makeitrustoleum kitchen cabinet paint, to give it some personality and lighten the whole thing. Check out the magazine for the full run down. - #kitchendesign #kitchenremodel #rustoleumcabinettransformations #rustoleumkitchencupboardpaint #kitcheninspiration #theboywhobakes #olivemagazine
Are you making scones all wrong? Maybe, maybe not? But I do want to show you how I make them! This recipe is based on the method I learnt at @belmondlemanoir 12 years ago when I did a stage, and it makes the absolute lightest scones. And shock horror, it involves kneading the dough, albeit very lightly. You can get the full recipe in this weeks newsletter (free) linked in my bio. - #scones #bakingday #worldbakingday #afternoontea #hightea #englishscones #clottedcream #creamtea #theboywhobakes
facebook
  • Contact

The Boy Who Bakes

Edd Kimber

facebook