The Boy Who Bakes

Edd Kimber
  • Home
  • Recipes
  • My Books
  • Blog
  • Recipe Index
  • About
  • Home
  • Recipes
  • My Books
  • Blog
  • Recipe Index
  • About

Recipes

  • All
  • baking
  • Biscuits and Cookies
  • Breads and Quickbreads
  • Bundts
  • Cakes
  • Chocolate
  • Dessert
  • drinks
  • Holidays
  • Pastry
  • Scones and Quickbreads

Chocolate Passion Fruit Brioche Buns

Edd Kimber March 22, 2022

Is there a flavour pairing you go back to time and time again, something you just cant get enough of? Chocolate and mint, matcha and white chocolate or maybe pear and ginger? For me the pairing is the joyous matching of chocolate and passion fruit (works brilliantly with both milk and dark chocolate but milk is what I normally go for). I first tried this pairing in a macaron at famed pastry chef, Pierre Herme’s, Parisian boutique. It just works, the brightness of the passion fruit and the rich creaminess of the milk chocolate, I will never bore of it. 

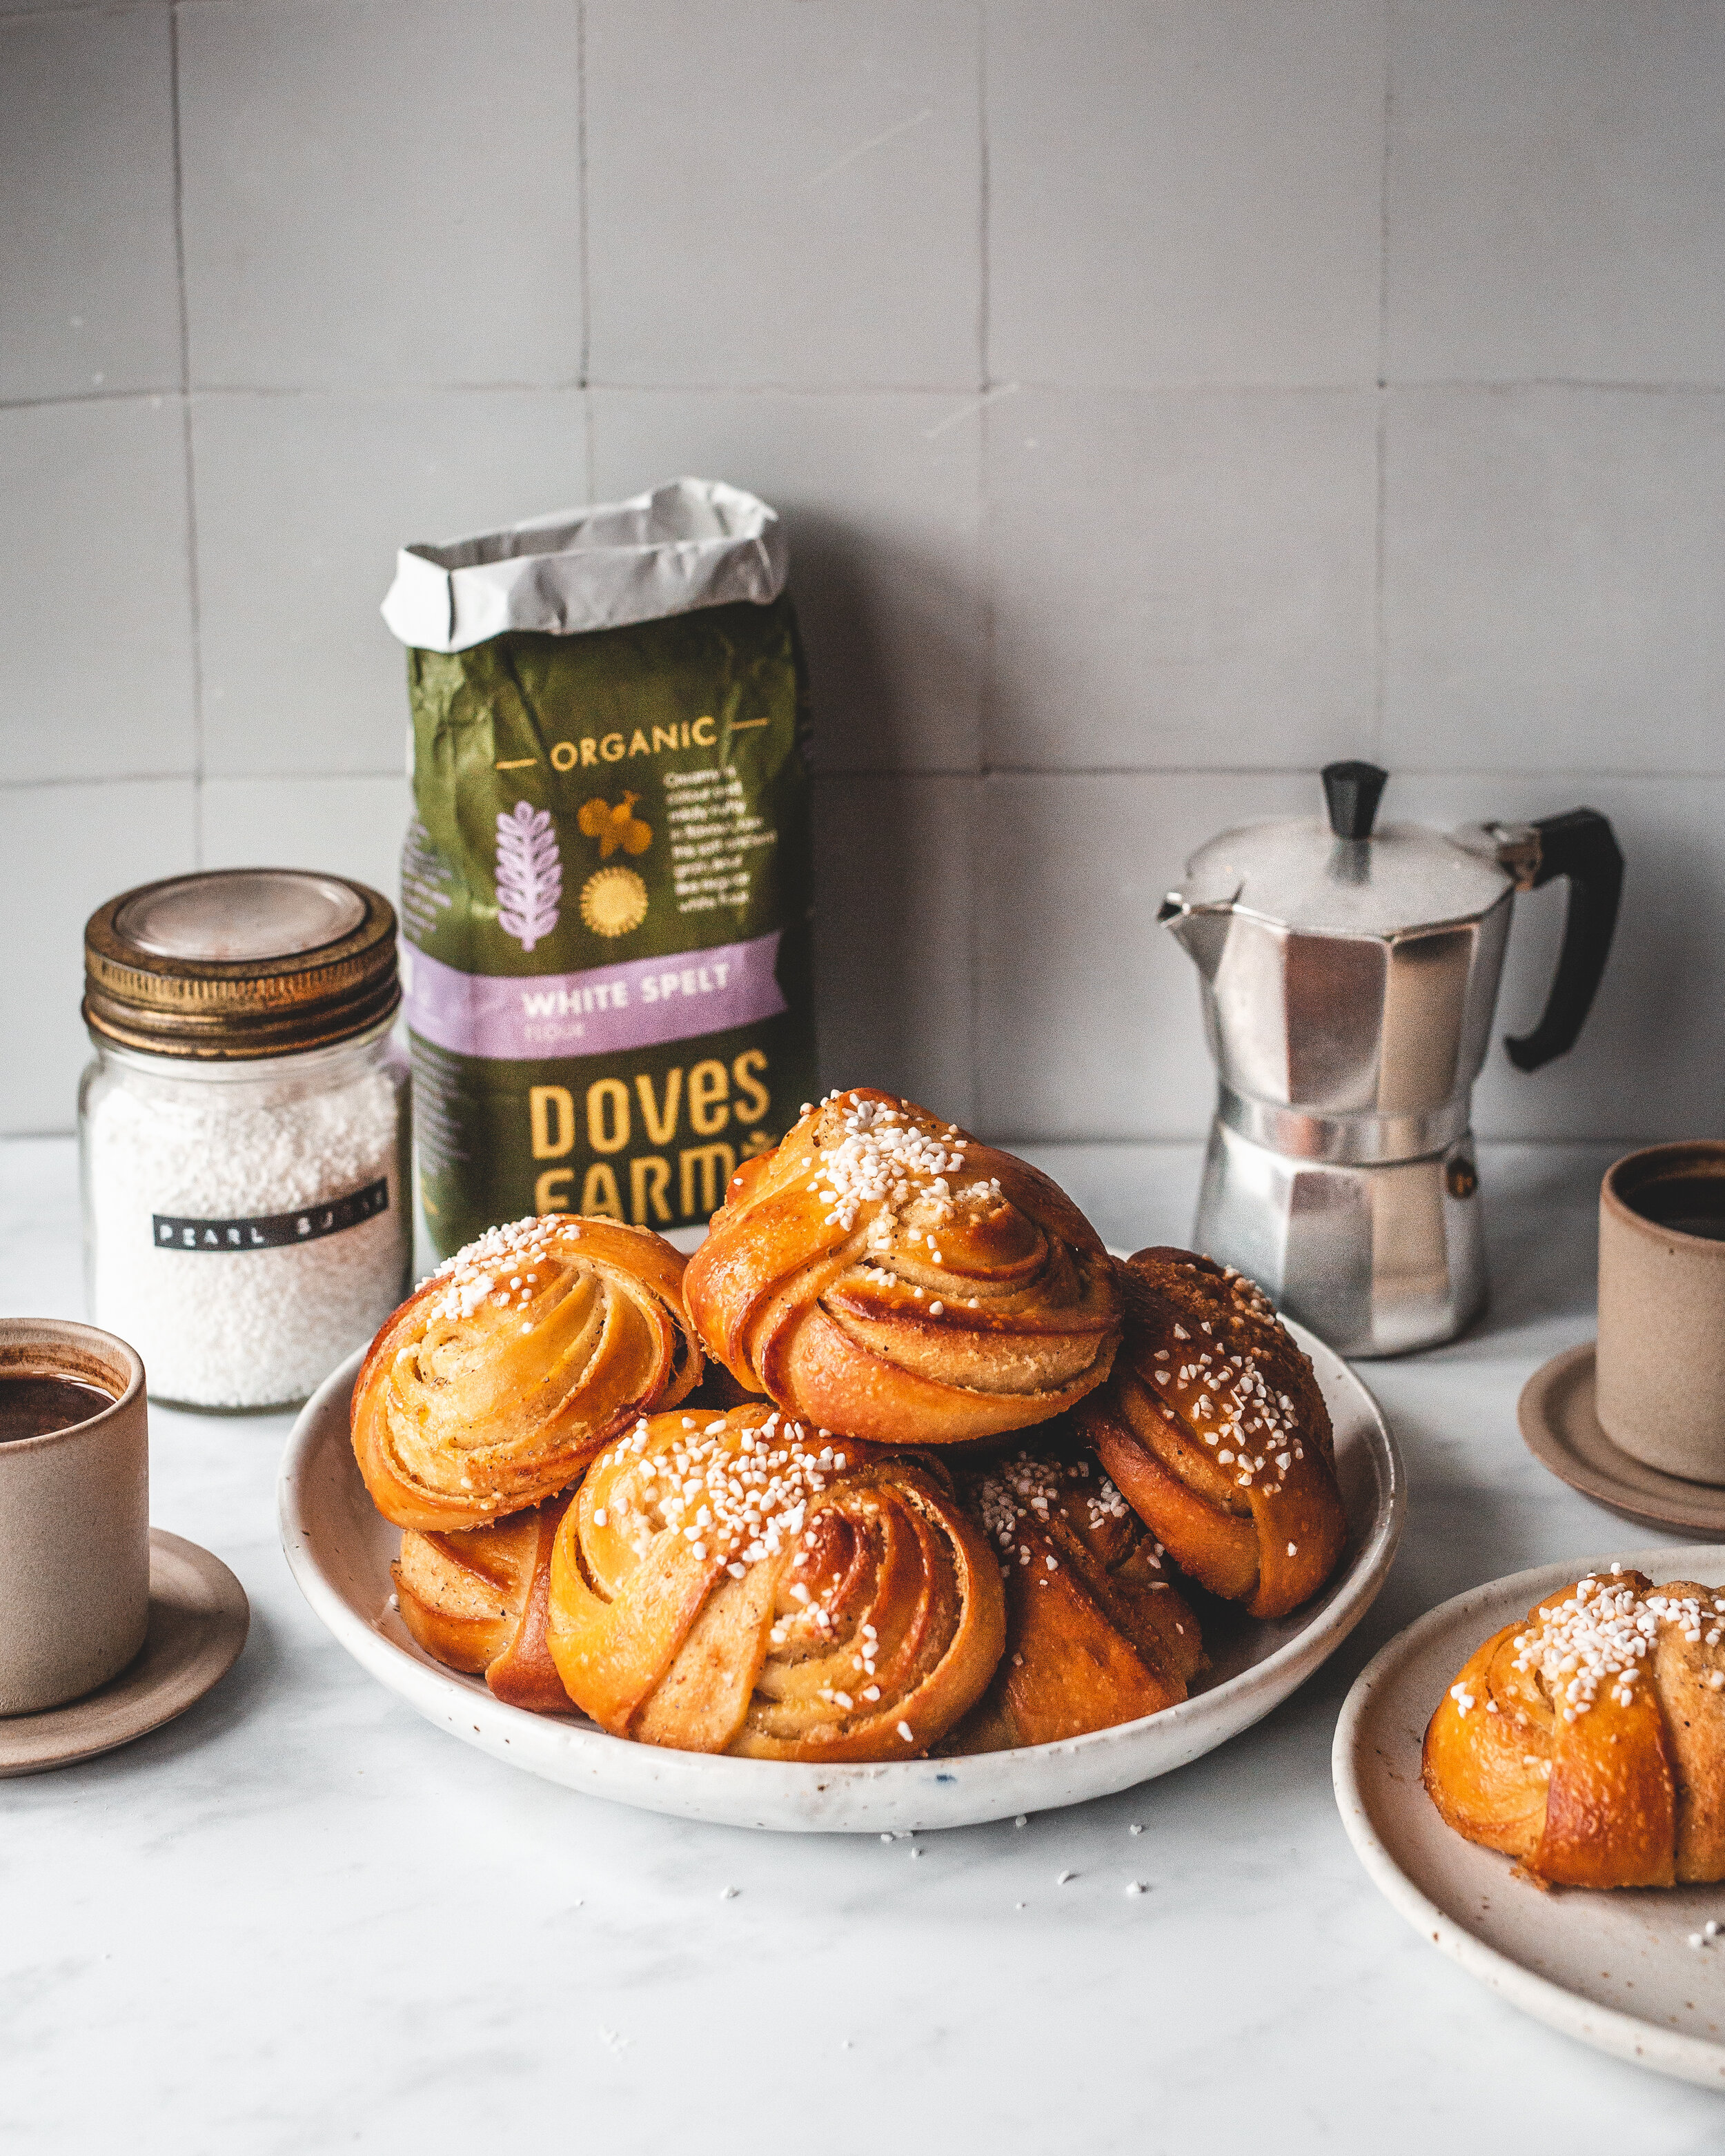
For these brioche buns I drew inspiration from the flavour combo and a form from Aroma Bakery in London, who make a brioche filled with cream and dipped in chocolate. These buns are flavoured with a little lemon zest filled with a passion fruit pastry cream lightened with a little whipped cream. The finished buns are dipped in a thin milk chocolate ganache that has been spiked with a little extra passion fruit puree. 

Before we get to the recipe a quick note on passion fruit. They are expensive, at least here in the UK, especially considering how many you often need to get the need amount of puree for a recipe. So whilst I generally like using fresh fruit in recipes that use a lot of passion fruit I splurge on passion fruit puree, which is sold in cartons. Yes you have to buy these online (or a good alcohol shop if you have one close by, this is where I get it in London) and they only come in litre sized packs, it does however work out significantly cheaper than buying the fresh fruit. If you love using passion fruit in baking this is my preferred method, for ease and for value. It is also worth noting you can also freeze the puree you don’t use and save it for a later purpose. 

Chocolate Passion Fruit Brioche Bun
Makes 8

Brioche
250g strong white bread flour
1/2 tsp fine sea salt
1 tsp fast action dried yeast
20g caster sugar
Zest of 1 lemon
125ml whole milk
1 large egg, plus one for egg wash
50g unsalted butter, room temperature

Passion Fruit Pastry Cream
225ml passion fruit puree
75g caster sugar
20g cornflour
3 large egg yolks
Pinch of fine sea salt
20g unsalted butter
100ml double cream
1 tsp vanilla bean paste

Chocolate Glaze
50g milk chocolate (I like a dark milk chocolate, something around 50% cocoa solids)
50ml double cream
15ml passion fruit puree

The day before you want to bake these buns make the brioche and the pastry cream. For the brioche place 20g of the flour and 80ml of the milk into a small butter pan and cook over medium heat, stirring with a small whisk or spatula, until the mixture cooks into a thick paste. Scrape into a small bowl and set aside for the moment. 

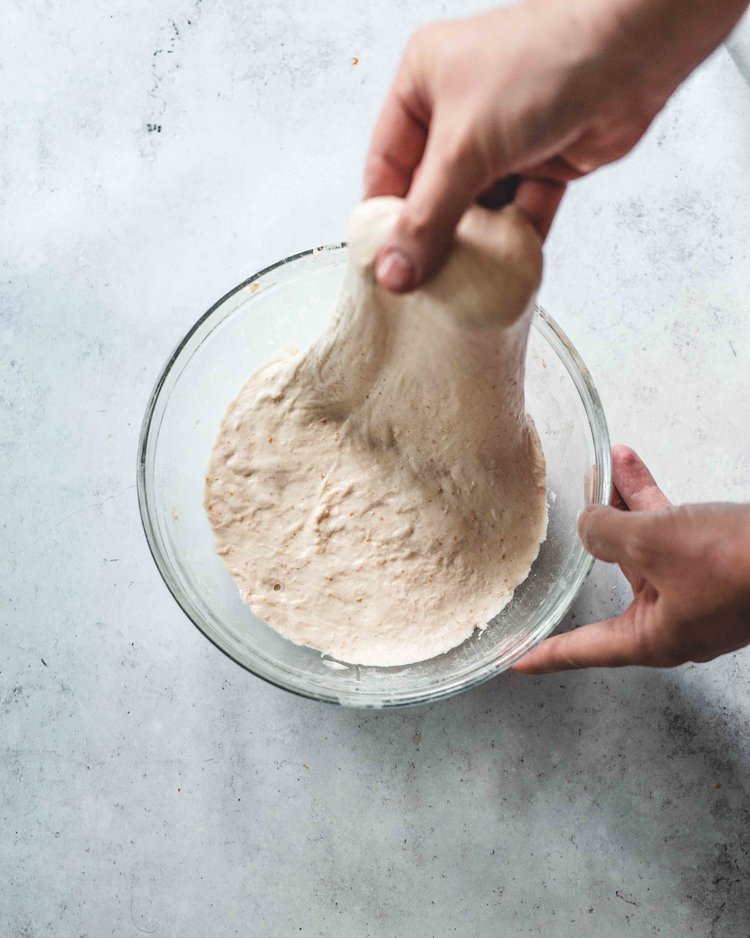
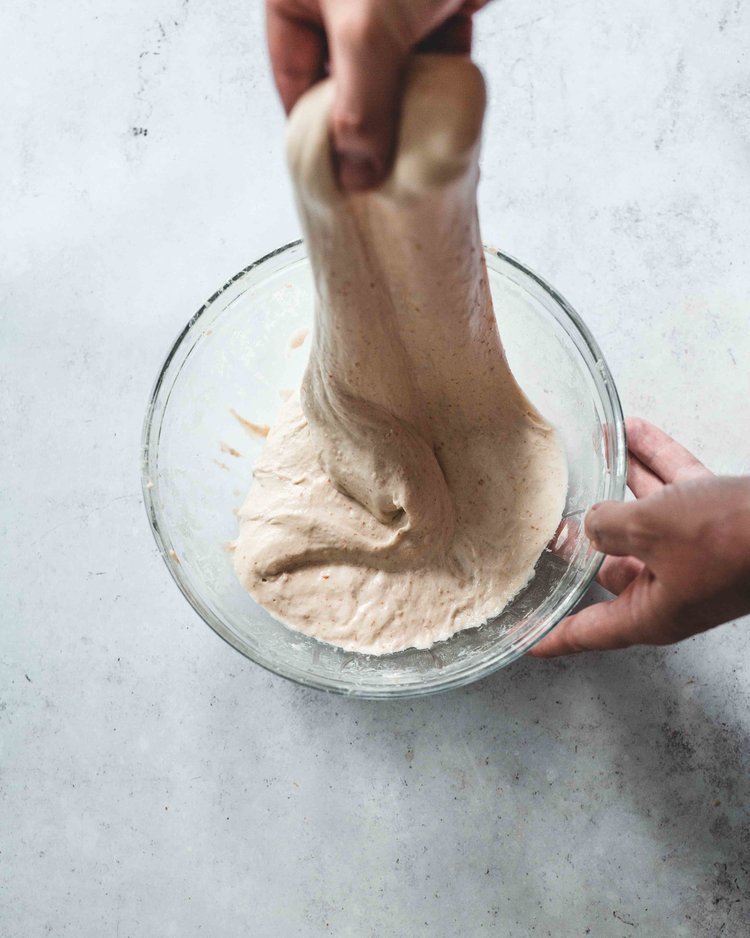
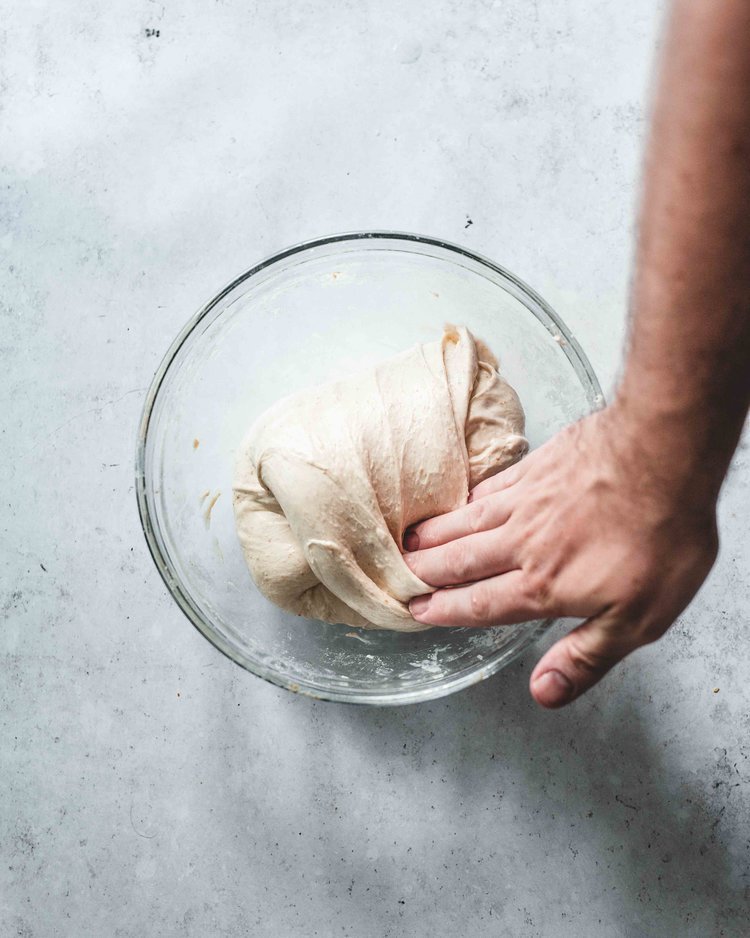
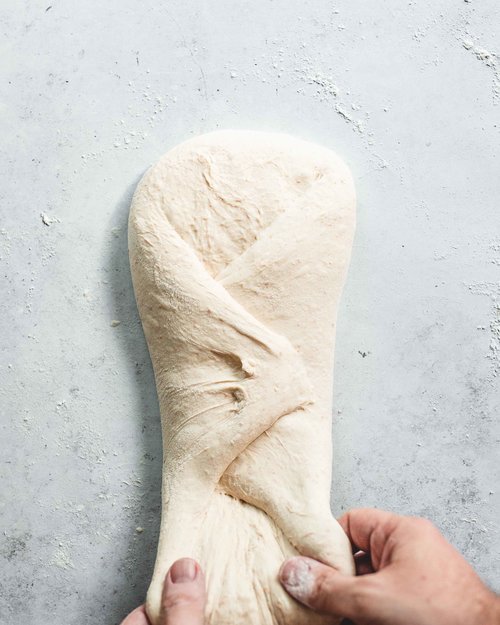
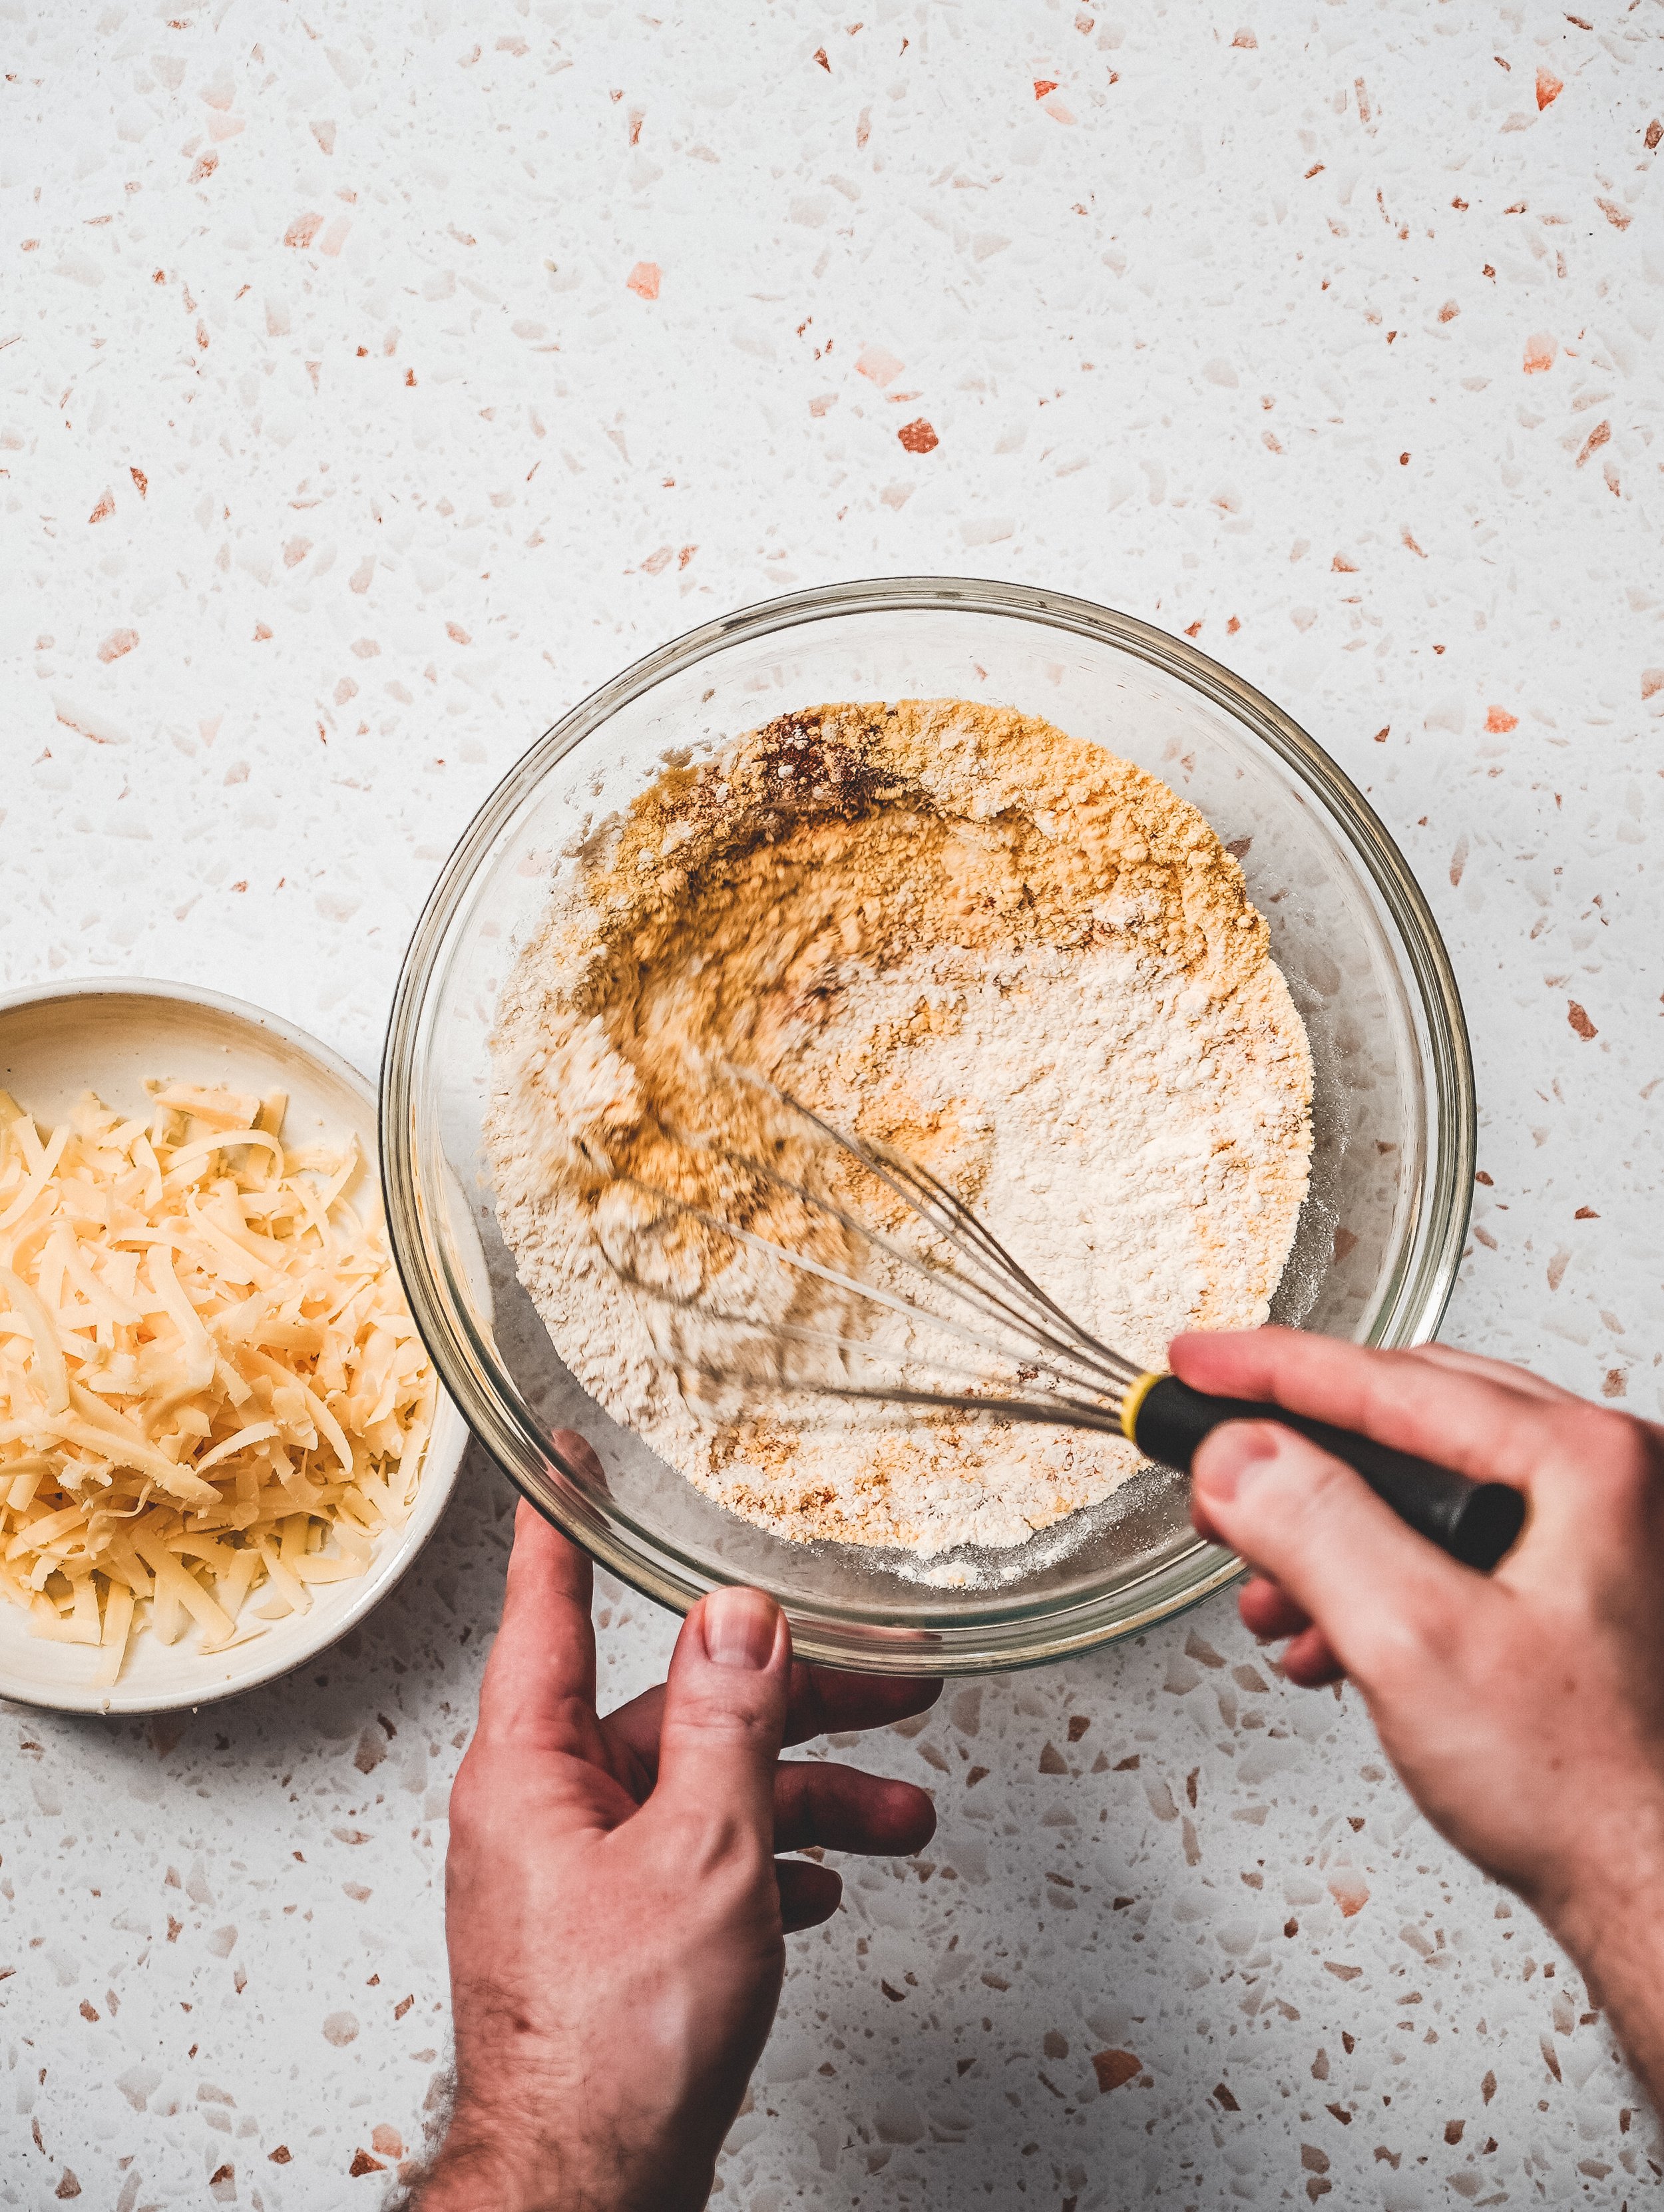
In the bowl of a stand mixer add the remaining flour, salt and yeast and whisk to combine. Add the sugar and lemon zest to a small bowl and use your fingers to rub together until the sugar resembles moist sand and you can smell the aroma from the lemon. Add this to the bowl along with the remaining milk and egg, and the cooked flour mixture. With the dough hook attached mix on low speed until the mixture forms a shaggy dough. Continue mixing for 10-15 minutes or until the dough no longer sticks to the sides of the bowl. Add the butter a little bit at time until all of it has been added. Continue mixing on low speed until the butter has been combined and the dough is once again no longer sticking to the sides of the bowl and has formed a ball of dough around the dough hook. The finished dough should have a slight sheen and be stretchy and elastic. Scrape the dough onto the worksurface and form into a ball. Place into a bowl and cover with clingfilm and refrigerate overnight until ready to use (the dough can be stored in the fridge for a couple days before using). 

To make the pastry cream place the passion fruit puree into a saucepan with half of the sugar. Place the pan over medium heat and bring to a simmer. Meanwhile, in another bowl, mix together the remaining sugar and cornflour. Add the egg yolks and salt and whisk together until smooth. When the puree is simmering pour over the yolk mixture, whisking as you pour to prevent the yolks from scrambling. Pour the custard back into saucepan and place back over medium/high heat and cook, whisking constantly, until the custard comes to a boil and is thick. Immediately scrape the custard into the bowl, add the butter and stir until fully combined. Press a sheet of clingfilm onto the surface of the custard and refrigerate until needed. The custard can be stored in the fridge for 2-3 days before using. 

On the day you want to bake the buns remove the dough from the fridge and divide into 8 equal sized pieces. Form the dough into neat round buns and place them on a large parchment lined baking tray. Cover the buns lightly with clingfilm and set aside for about 60-90 minutes or until the buns have almost doubled in size. Just before they have finished proofing preheat the oven to 200ºC (180ºC Fan). Lightly beat the remaining egg with a fork and brush each bun with the egg wash. Bake in the preheated oven for about 15-20 minutes or until the buns are golden. Remove and set aside to cool. 

For the pastry cream remove the bowl from the fridge and beat the custard until smooth and lump free. In a separate bowl beat the cream and vanilla until it holds soft peaks. Add the cream to the custard and fold together until smooth and fully combined. 

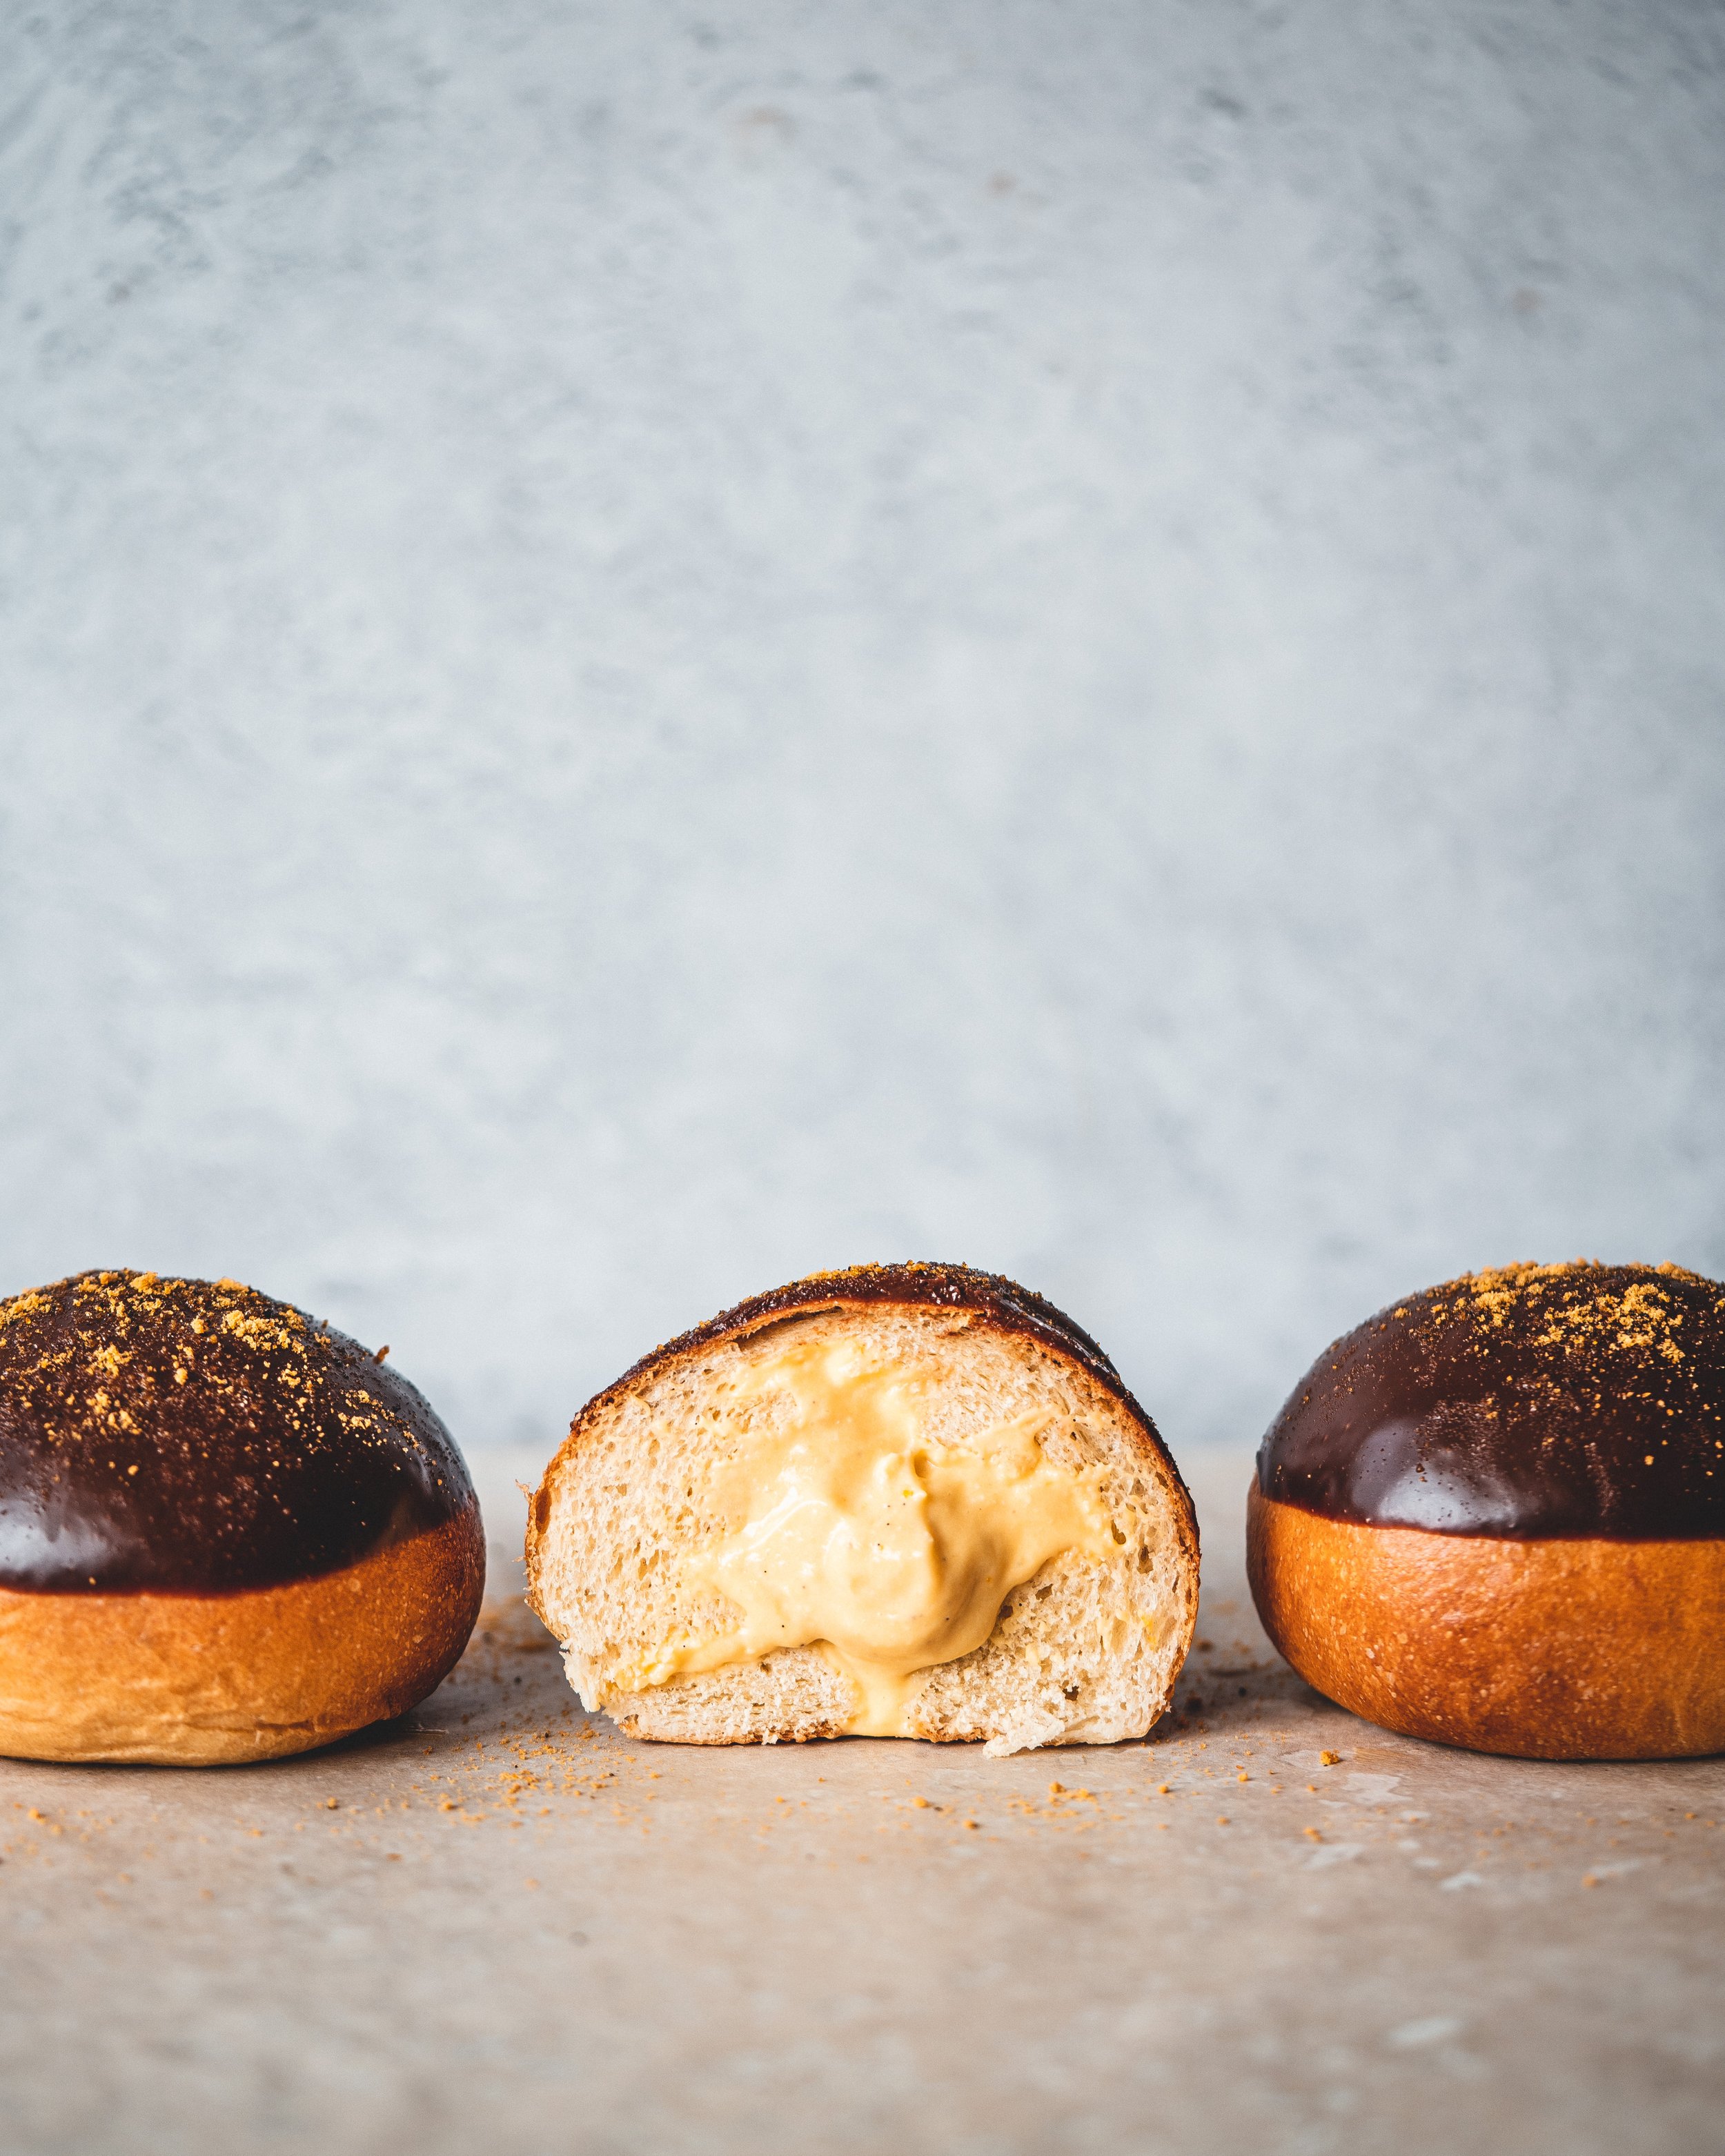
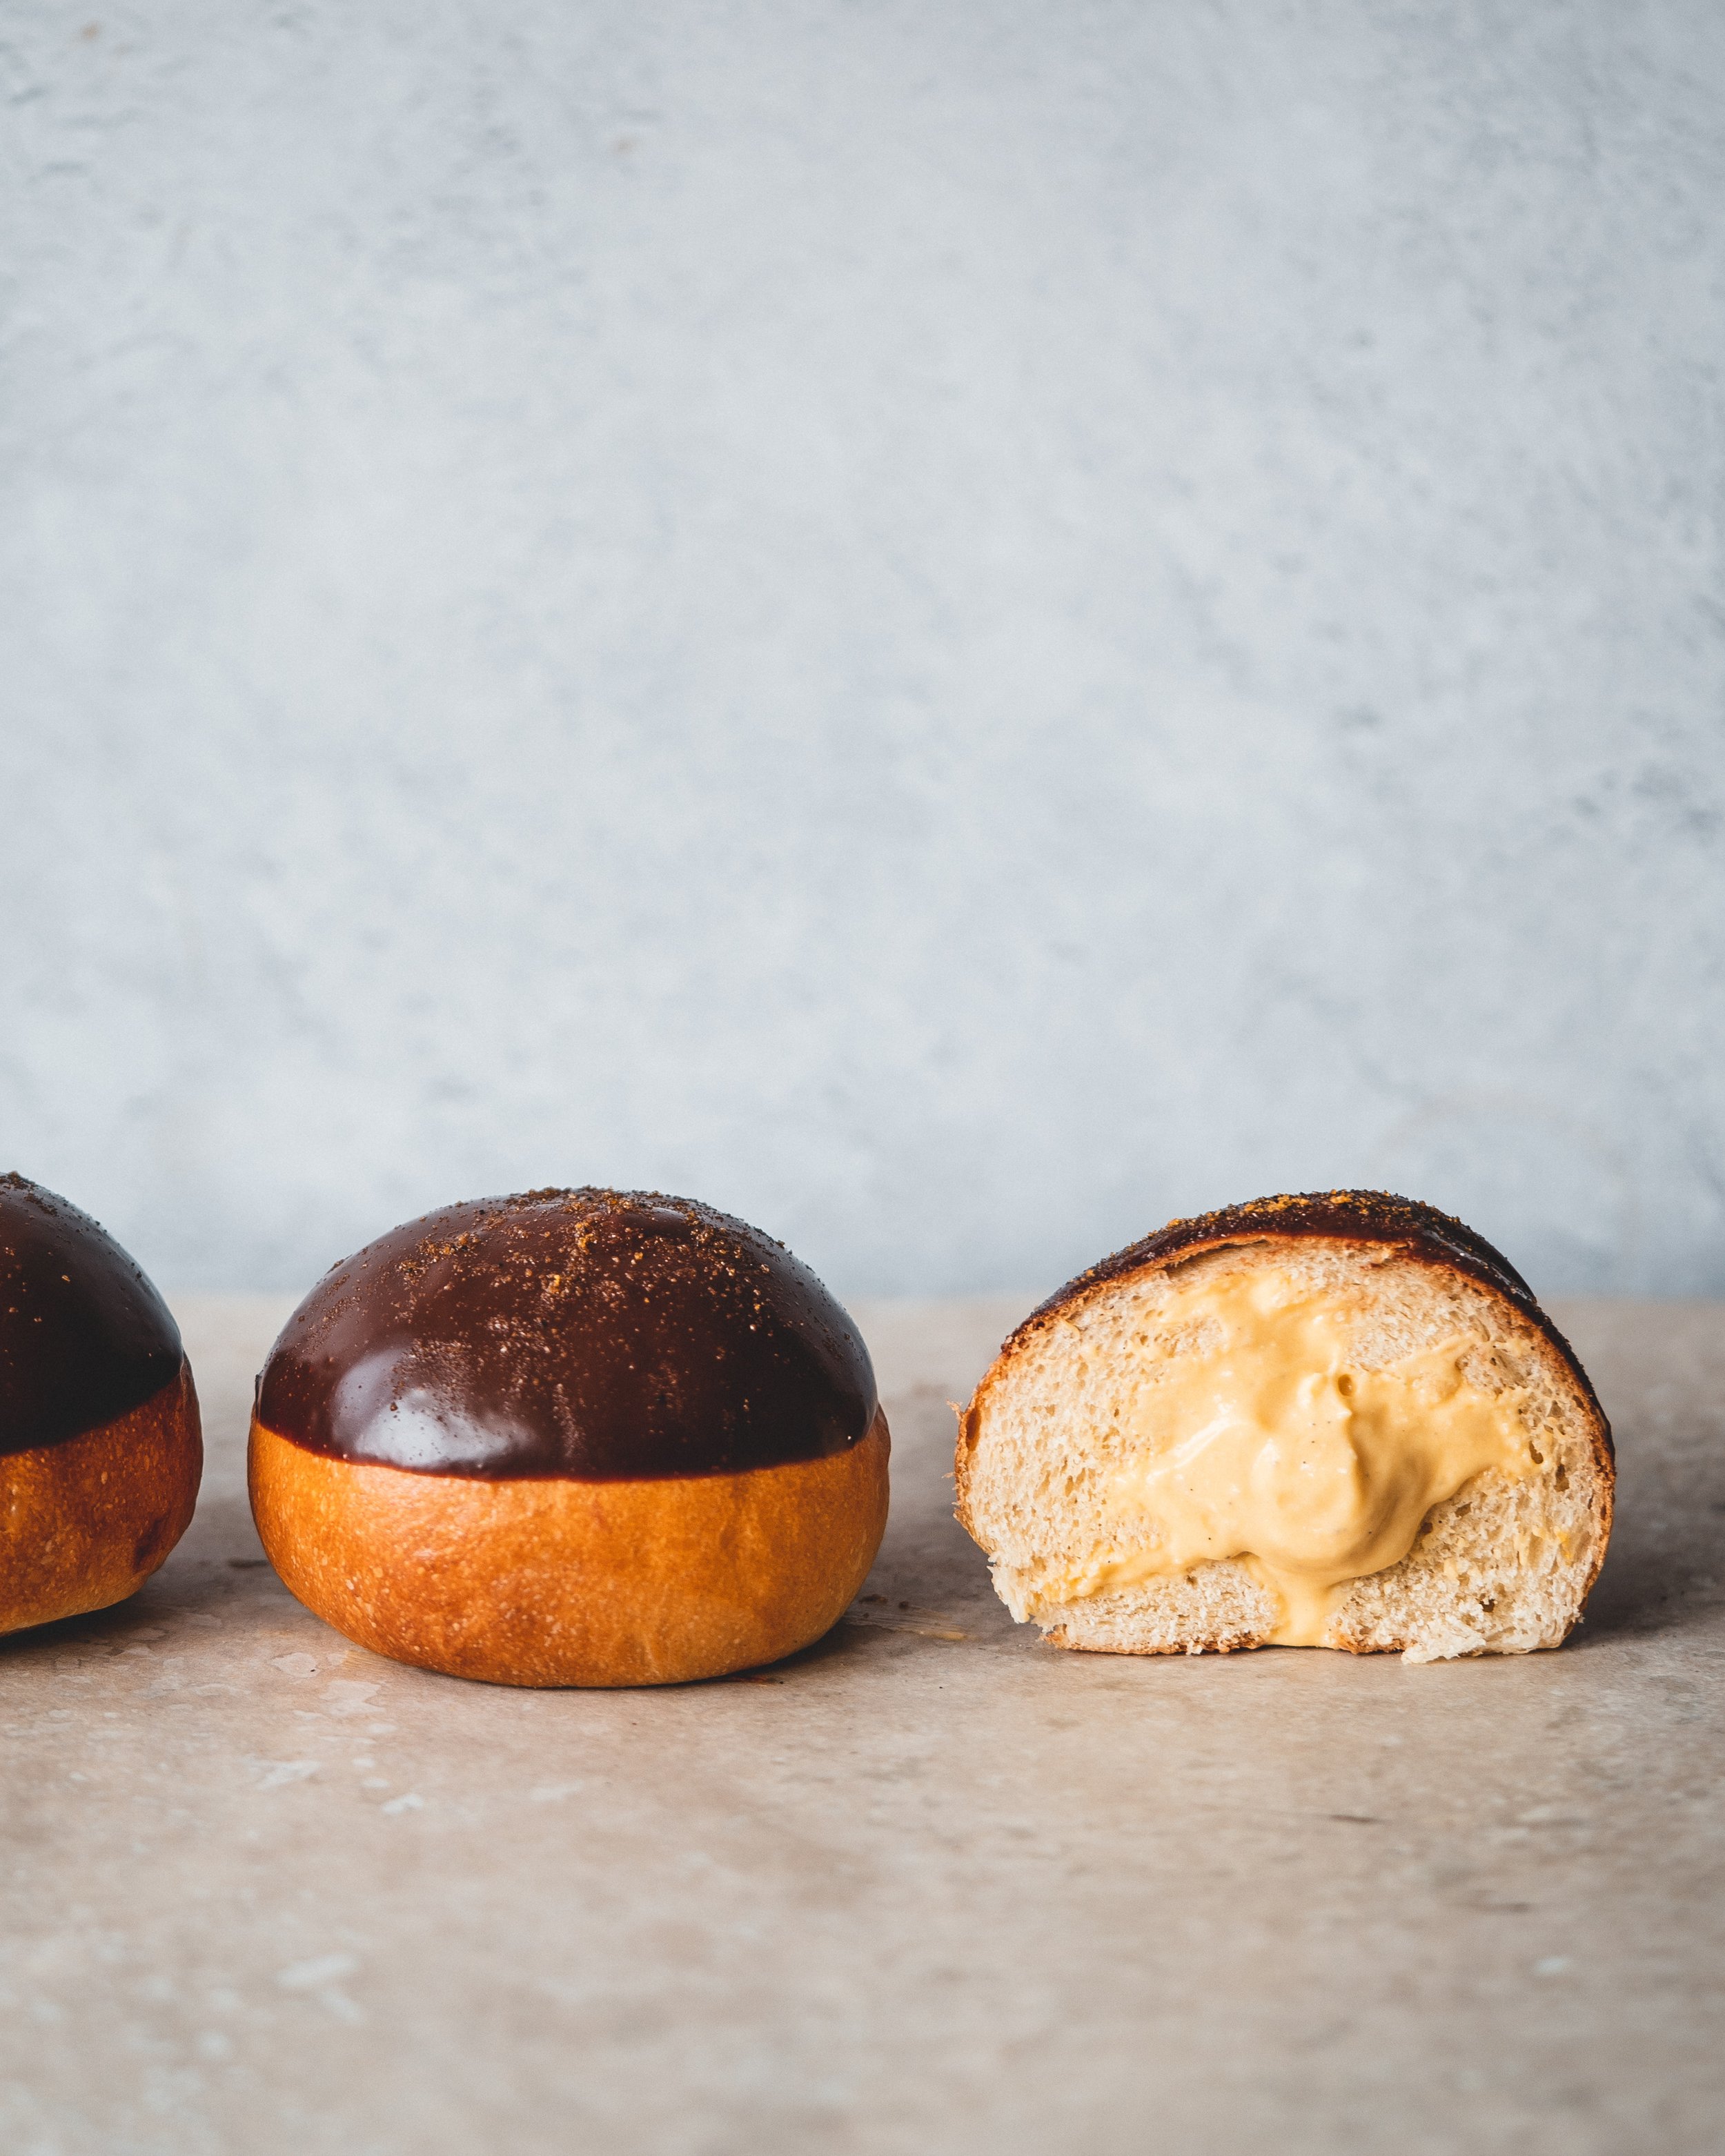
Using a skewer, poke a hole in the bottom of each bun. Scrape the custard into a piping bag fitted with a Bismarck piping tip (you can use whatever thin round piping tip you have but anything doughnut-like is much easier with a bismarck tip). Pipe in as much custard as each bun will take before it squeezes out. Once filled the buns should feel a little heavy, if they feel light they need more custard. 

For the glaze melt together the cream and chocolate until fully melted and a smooth ganache is formed. Scrape the ganache into a small bowl and whisk in the passion fruit puree. Dip the buns into the ganache, allowing any excess to dip back into the bowl. Place back onto the baking tray and set aside until the ganache is set. If you want to can decorate the buns, either with a little grated chocolate like Arome do with their buns, a little cocoa powder or a little freeze dried passion fruit powder as I did. 

Kept covered these buns will keep for 2-3 days. 

In Breads and Quickbreads Tags passion fruit, brioche, chocolate, ispahan, arome, pierre herme, buns
2 Comments

Roasted Garlic, Cheddar and Rosemary Sourdough Loaf

Edd Kimber March 17, 2022

Is there anything better than the aroma of fresh bread filling the house? Maybe the aroma of this particular loaf, a sourdough loaded with roasted garlic, chunks of mature cheddar and lots of rosemary. As the bread bakes the cheese slowly caramelises, filling your kitchen with the aroma of freshly made toasted cheese sandwiches, pure comfort and better than any scented candle you could imagine. 

I have made versions of this loaf multiple times now but always devour it so quickly that I’ve never quite gotten around to writing it up so I made another loaf, just for quality control of course, and this time I actually measured out everything I put into the loaf. To make the bread you need a sourdough starter and if you’ve already made my basic sourdough loaf your in for a treat. This recipe is a simple adaption of that recipe and follows the same basic patten, the only real difference is the way the additional ingredients are incorporated into the dough. 

Roasted Garlic, Cheddar and Rosemary Sourdough Loaf

Mix-Ins

1 large head of garlic
Olive oil
Flaked sea salt
125g mature cheddar, in small dice
3 springs of rosemary, leaved finely chopped

Sourdough Recipe

Levain
25g mature starter (my starter is 100% hydration)
50g 50/50 flour blend (my blend of white and wholemeal bread flours used for the starter)
50ml water at 27C

Dough
100g levain
450g white bread flour
50g wholemeal flour
375ml water at 27C
10g salt

9am - Make the levain

The levain needs to double in size to be ready to bake with. A healthy starter fed at a ratio of 1:2:2 should happily double if not triple in size within 4-5 hours if stored around 25-27ºC.

12pm - Autolyse

An hour before the levain is finished rising, we mix together the flour and water (keeping back 25ml for a later use). To do this we don’t need to knead the dough, or develop the gluten, we just want to hydrate the flour. Squeeze the mixture through your fingers, until everything is moistened, scrape any dry bits from the side of the bowl and then cover the bowl and pop it the oven alongside the levain until it finishes doubling. 

The purpose of the autolyse is to fully hydrate the flour, to make a dough that is extensible which is to say nice and stretchy. 

1pm - Mix-In Prep

When the levain and autolysed dough are almost finished prep your mix-in ingredients. Peel away most of the outer papery layers from the bulb of garlic and slice off the top. This cut should just be deep enough that the top of each clove of garlic is exposed. Place the garlic onto a piece of foil and drizzle over a little olive oil and sprinkle with a little flaked sea salt. Wrap the garlic in the foil and place onto a baking tray. With the oven preheated to 200ºC (160ºC Fan) roast the garlic for about 45-60 minutes or until the garlic is soft and a rich golden colour. Set aside to cool. In a bowl mix together the rosemary and cheddar. 

2pm - Bulk Fermentation

Bulk fermentation is the first rise of the bread and it is where the strength, where the gluten, is mainly going to be developed (the autolyse starts this process off). Unlike a traditional bread dough that is kneaded, sourdough, at least this method, is relatively hands off.

Before we mix everything together, test that the autolyse is ready by doing a float test. The recipe for the levain makes a total of 125g and we only need 100g for the dough itself, the rest is for this stage. Take a teaspoon of the the levain and pop it into a bowl of water. If it floats the mixture is full of gas and is ready to bake with, if it doesn’t we need to leave it a little longer. 

Scrape 100g of the levain on top of the autolysed dough and use your fingers to dimple it into the dough. We want to fully distribute the levain so once the dimpling stops working I start folding the dough on itself until it feels more uniform. Leave the dough for 15 minutes before adding the salt. 

Sprinkle the salt over the dough and use that last 25ml water to pour on top of the dough to help the salt dissolve. Repeat the dimpling and folding process until the salt is distributed. At this stage the dough will separate a little due to the added water but just keep folding the dough until it becomes uniform. As with the levain I like to keep the dough in the oven for the whole bulk to control the temperature.

The bulk should take a total of 4-5 hours depending on the temperature the dough rests at, and how warm the water you used was, and during that period you only have one job and that is to strengthen the dough. We do this via stretch and folds and something called coil folds.

For the first fold you will preform a classic stretch and fold, lifting and gently stretching the dough and folding it back on itself, doing this four times around the edges of the dough. Rest the dough for 30 minutes before preforming the second set of stretch and folds, resting again for 30 minutes.  After this rest we will no longer preform stretch and folds, its time for to add the mix-ins. 

Very lightly oil your worksurface and scrape the dough out onto the worksurface. Gently stretch the dough out into a large thin rectangle, working slowly so you don’t rip the dough. Squeeze the garlic into a small bowl and use a fork to mash into a smooth paste. Using your fingers randomly dot the garlic over the dough and spread across the dough. Don’t worry if not every part of dough has garlic on it, just make it’s nicely distributed. Sprinkle over the cheddar mixture and gently press so it sticks to the dough. Fold the dough in thirds, as if folding a letter, encasing the mix-ins inside the dough. Roll the dough up and then place back into the bowl to continue bulk fermentation. Do another two sets of stretch and folds spaced 30 mins apart and then leave the dough to finish bulk fermentation. 

When evaluating if the dough has finished its bulk fermentation we are looking for a dough that has risen about 20-50% and shows clear signs of fermentation. This would mean a dough that jiggles when you rock the bowl gently and a dough that has bubbles on the top of the dough. Once thats achieved we are ready for shaping. 

Lightly flour the work surface and use a plastic dough scraper to tease the dough gently from the bowl. At this stage the underside of the dough is floured but the top is still sticky. Using lightly floured hands we are going to do a brief preshape. Go underneath the dough and fold it over itself multiple times as you go around the bowl, forming it into a rough circle. Turn the dough over and cover with a clean kitchen towel and leave to relax for 20 minutes. 

Whilst the dough is relaxing prepare you proving basket or bowl. If you using a traditional cane basket lightly dust with rice flour. Rice flour is your best friend and is wont be absorbed into the dough and helps the dough release easily from the basket. If you don’t have a basket you can use a mixing bowl. Line the bowl with a clean kitchen towel and dust that with flour.

To do the proper shaping lightly dust the top of the dough with flour and turn the dough over, using a metal bench scraper to help release it from the worksurface, turning it onto a non floured part of the work surface.

Think of the dough as a compass. Gently lift and stretch the east point of dough up and over towards the west. Gently lift and stretch the west point of dough up and over towards the east. Gently lift and stretch the north point of dough up and down towards the south. Finally gently lift and stretch the south point of the dough up and over towards the north. Turn the dough over so the seams are on the worksurface.

This rough shape now needs to be tightened up a little. Using both hands, which should remain in contact with the work surface the whole time, cup the dough and drag it towards yourself for a drag of about 15-20cm. The dough should drag along the work surface and you should feel the ball tighten up. Rotate the dough 90 degrees and repeat the dragging, doing this a few times until the dough is taught and round. Be careful at this stage as doing this too many times will tear the dough.

Carefully lift the dough and turn it into a proving basket, seams side up.

7.30pm - Proving

Pop the dough into the fridge and leave overnight

8.30am - Preheat The Oven

We are going to bake the bread in a cast iron pot, something like a large le creuset (I use a pot called a Challenger Bread Pan which I love for bread). We want it blisteringly hot so preheat it, as high as it will go, at least 250C, for a full hour.

9.30am - Baking

Take the dough from the fridge and carefully turn it out onto a crumpled piece of parchment. You can either leave the dough as it is or dust with little flour.

Using a bread lame or very sharp knife score a line across the top of the loaf (this helps to expand and open up fully as it bakes). 

Remove the cast iron pot from the oven and remove the lid. Cut away the remaining parchment and carefully transfer the loaf to the pan and place the lid back on. Bake in the preheated oven for 25 minutes. Baking the loaf in the pan helps to trap the moisture from the dough, creating steam so the crust is slow to form and the bread can rise to its full potential. Reduce the temperature to 220C and remove the lid and bake for a further 20 minutes or until the crust is nice and dark. As this loaf is loaded with cheese you want to keep an eye on it so that it doesn’t burn. Once browned remove the pot from the oven and carefully remove the loaf and set onto a wire rack to cool completely. 

Allow the bread to cool for at least an hour before cutting into it or you risk ending up with a gummy bread. 


In Breads and Quickbreads Tags sourdough, bread, cheddar, cheese, savoury, rosemary
6 Comments

Cheddar Jalapeno Cornbread Muffins with Lizi's Granola

Edd Kimber November 19, 2021

Lizi’s Granola Cornbread Muffins
This post is sponsored by Lizi’s Granola / @lizis_official 

It’s cold outside, its pouring down with rain and you want to stay inside where its warm and cosy, what do you make for dinner? For me, one of the most warming and comforting dishes is a big bowl of chilli, cooked slowly with plenty of deep earthy spices. To serve with it you could always go with a crusty loaf of bread, but when cornbread exists why would you choose anything else. For my cornbread recipe I like to make it as a muffin as they bake quicker which means you get to eat them sooner. I also like to add cheddar and jalapeños which both make it the perfect match for a big bowl of chilli. 

To give the muffins a little added crunch I like to sprinkle them with some Lizi’s Low Sugar Granola. I made these twice both using two different types of the Low Sugar granola.  The first was the low sugar variety because whilst I like a little sweetness in the muffins (which comes from honey) I want to keep the balance on the right side of savoury . The second time was with Low Sugar Maple & Pecan – this did give the muffins a slightly sweeter taste and crunch. Both just as good as each other! 

Whilst you can make and serve the muffins immediately if you want to make them ahead of time you can either reheat them in the oven or, my personal preference, you can split them in half and place them under the grill until lightly browned and then spread them generously with salted butter. 

Cheddar and Jalapeno Cornbread Muffins
Makes 6

75g fine cornmeal
125g plain flour
1 tsp fine sea salt
2 1/2 tsp baking powder
1/2 tsp smoked paprika
100ml unsalted butter, melted
1 tbsp honey
2 large eggs
75g cheddar, grated plus extra for topping
50g pickled jalapeños, plus extra for topping
6 tbsp Lizi’s Low Sugar Granola

Preheat the oven to 180C (160C Fan) and place 6 tulip muffin cases into a muffin pan. 

Add the cornmeal, flour, salt, baking powder and paprika to a large bowl and whisk together to combine. In a jug whisk together the butter, honey and eggs. Make a well in the dry goods and pour in the butter mixture, the cheddar and jalapeños. Use a spatula to fold together just until a thick uniform batter is formed. Scoop the batter into the prepared tulip cases and top with another jalapeño, a little extra grated cheddar and a tablespoon of granola. 

Bake the muffins in the preheated oven for about 25 minutes or until the muffins are lightly browned and spring back to a light touch. Remove from the oven and set aside to cool slightly before serving. 

Cornbread Muffins are best served warm on the day they are made. Leftovers can be split in half, toasted under the grill and served with a little salted butter. 

In Breads and Quickbreads Tags cornbread, muffins, jalapeno, cheese, granola
1 Comment
Sourdough Cardamom Buns-2.jpg

Sourdough Swedish Cardamom Buns with Spelt

Edd Kimber September 16, 2021

Did you know it’s currently Sourdough September? A month celebrating and advocating for real sourdough, bread made with nothing but flour, water and salt (a campaign spearheaded by the Real Bread Campaign). You probably already know that I love baking with sourdough, check out my sourdough series here if you’ve not read it before, but what you don’t get from me very often is sweet sourdough recipes, enriched doughs, brioche recipes etc. Well today, in collaboration with Doves Farm Organic Flour, and in celebration of Sourdough September, I am showing you one of my all-time favourite sourdough recipes; Swedish cardamom buns.

The base dough in this recipe is an enriched dough, made with milk, eggs and of course butter. For the flour I chose to go with a mix of Doves Farm Organic Strong White Bread Flour and their Organic White Spelt Flour. Doughs made with spelt tend to be softer than when made purely with bread flour and it adds a mild nutty flavour. September is also Organic September and Doves Farm’s flour range is all organic. I find organic flours taste better and make a better loaf of bread.

Baking with sourdough is a slower process. These buns are made stretched over two days but do not let that put you off, the hands-on work is short and sweet. Once you’ve learnt to make this dough you also have a great base for other similar recipes. One important thing to note about baking with sourdough, and this is the case for all sourdough breads, is that the starter needs to be at its peak when it is used. This means that the starter has been recently fed and has doubled in size. You want to use the starter before or just after it starts to fall, but well before it has sunk. 

If you’ve ever had a Swedish cinnamon bun you know how fabulous they are, sweet sticky and incredibly fragrant and my favouritesfrom Fabrique Bakery are the inspiration for this recipe. The key to the flavour is good quality cardamom and freshly grinding it so the flavour is fresh and bright. You can either break open the pods removing the seeds and grind these, or if this is too time consuming you can simply grind the whole pod, although you’ll need an electric spice grinder to do this. If you aren’t a fan of cardamom this recipe and method would also work great flavoured with cinnamon like a classic cinnamon bun you could also use the dough to make buns in the style of babka, with a chocolate filling and a syrup glaze.

Doves Farm Organic Strong White Bread Flour is available from Sainsbury’s, Ocado, many independents and www.dovesfarm.co.uk.
Doves Farm Organic White Spelt Flour is also available from Tesco.
Right now, there is 20% off these flours on www.dovesfarm.co.uk until the 30 September.

cardamom-5.jpg


Sourdough Swedish Cardamom Buns
Makes 12
225g Doves Farm Organic Strong White Bread Flour
225g Doves Farm Organic White Spelt Flour
50g caster sugar
Zest of 1 lemon
1 tsp fine sea salt
150g mature sourdough starter, recently fed and doubled in size
185ml whole milk
2 large eggs
1 tsp vanilla bean paste
75g unsalted butter, diced and at room temperature

Filling
150g caster sugar
185g unsalted butter, very soft
2-3 tbsp ground cardamom
1/4 tsp fine sea salt

To make the dough place the flours, sugar and lemon zest into the bowl of a stand mixer, with the dough hook attached, and mix briefly to combine. Add the sourdough starter, the milk, eggs and vanilla and on low/medium speed knead until everything is moistened. Cover the bowl and set aside for 30 minutes. This stage helps to hydrate the flour and kick starts the gluten development. Add the salt and then on low/medium speed knead the dough for about 10 minutes or until the dough is smooth, elastic and forming a ball that clings to the dough hook. Add the butter one piece at a time and continue kneading until all the butter has been absorbed and the dough has become smooth and elastic again. Form the dough into a ball and place the dough into a lightly greased bowl and cover. Set the bowl aside for about 6 hours or until the dough has almost doubled in size. Transfer the bowl to the fridge and leave overnight, this firms up the dough and makes it easier to handle. At this stage the dough can be refrigerated for 24-48 hours.

Before you remove the dough from the fridge make the filling. Beat all the ingredients until soft and well combined. On a lightly floured work surface roll out the dough into a 30x60cm rectangle. Spread the filling over one half of the dough and then fold the uncovered half over, creating a square of dough. Roll out to slightly extend so the finished shape is roughly 30x40cm. Cut the dough into 12 equal sized strips. 

To form the buns gently stretch out each strip of dough and grip one end with your thumb and forefinger. Fold the dough around your first three fingers and before you run out dough fold the tail end over the ring of dough and tuck the end underneath. Place the buns onto two parchment lined baking trays and cover, setting aside for 3-4 hours or until risen and puffy. 

When ready to bake preheat the oven to 190ºC (170ºC Fan). Brush with a beaten egg and sprinkle liberally with pearl sugar. Bake the buns for about 20 minutes or until golden brown. Remove from the oven and set aside to cool. 

Kept in a sealed container the buns will keep for 2-3 days but are best on the day made, they will also freeze brilliantly. 


In Breads and Quickbreads Tags sourdough, sourdough cardamom, cardamom buns, brioche, cardamom, pearl sugar, swedish
5 Comments
  • Recipes
  • Older
  • Newer

Twitter

  • Was 8 original films, 3 spin off films, a two part play not enough. Can we have something new. https://t.co/cBZdGEGeyv
    Apr 4, 2023, 1:46 PM
  • RT @deliciousmag: Cacio e pepe, but make it buns! These seriously cheesy bread rolls from @TheBoyWhoBakes are inspired by his favouri… https://t.co/oDZlaDgnN2
    Apr 2, 2023, 11:08 AM
  • RT @TheDailyShow: Congrats to Donald Trump on finally winning a majority of votes! https://t.co/ezP55HZgl0
    Mar 31, 2023, 12:43 AM

Instagram

This weeks bonus recipe, for subscribers to my newsletter, is this gorgeous sour cherry and coconut gateau basque. The crust is a buttery cross between pastry and cake, think a cakey cookie. The filling is a layer of sour cherry topped with a rich coconut custard. A real fun one to make too! Link to my newsletter can be found in my bio - #gateaubasque #pastrycream #coconut #sourcherry
In this months @olivemagazine (out today) the team came and photographed my petit kitchen and we talked about how we put our stamp on the place, without spending a fortune. We hated the bland kitchen that we inherited but, as it was relatively new an
In this months @olivemagazine (out today) the team came and photographed my petit kitchen and we talked about how we put our stamp on the place, without spending a fortune. We hated the bland kitchen that we inherited but, as it was relatively new and in good condition, it felt a waste to rip it out and we also didn’t want to spend the money it would take to rip out the whole thing and replace it (it’s a howdens shell so we could have done something cheaper like @plykeakitchens @holte.studio @madebyhusk) so instead I painted all of the cabinets, using @makeitrustoleum kitchen cabinet paint, to give it some personality and lighten the whole thing. Check out the magazine for the full run down. - #kitchendesign #kitchenremodel #rustoleumcabinettransformations #rustoleumkitchencupboardpaint #kitcheninspiration #theboywhobakes #olivemagazine
Are you making scones all wrong? Maybe, maybe not? But I do want to show you how I make them! This recipe is based on the method I learnt at @belmondlemanoir 12 years ago when I did a stage, and it makes the absolute lightest scones. And shock horror, it involves kneading the dough, albeit very lightly. You can get the full recipe in this weeks newsletter (free) linked in my bio. - #scones #bakingday #worldbakingday #afternoontea #hightea #englishscones #clottedcream #creamtea #theboywhobakes
facebook
  • Contact

The Boy Who Bakes

Edd Kimber

facebook