The Boy Who Bakes

Edd Kimber
  • Home
  • Recipes
  • My Books
  • Blog
  • Recipe Index
  • About
  • Home
  • Recipes
  • My Books
  • Blog
  • Recipe Index
  • About

Recipes

  • All
  • baking
  • Biscuits and Cookies
  • Breads and Quickbreads
  • Bundts
  • Cakes
  • Chocolate
  • Dessert
  • drinks
  • Holidays
  • Pastry
  • Scones and Quickbreads
Pistachio Shortbread

Pistachio and Chocolate Shortbread

Edd Kimber February 8, 2015

Sometimes it’s the simple things that satisfy the most. A couple weeks back, I was doing some work for Kitchenaid and I needed to whip up 5 recipes, all simple enough to demo in a short amount of time. I had only a couple hours to prep but I still wanted the recipes to be delicious and attractive and really it’s hard to think of anything easier than shortbread. It is one of those wonderful recipes that relies on the easiest of ratios, simply 1-2-3, one part sugar, two parts butter and three parts flour, easy. All I’ve done differently is add lots of beautiful green pistachios (available here) and a little salt and lemon zest to boost the flavour. Whilst that would be tasty enough as it is I am prone to gilding the lilly, so to add a little extra luxury these humble biscuits were dipped in tempered chocolate, and trust me it is so well worth the effort, the prep kitchen was swarming with people who munched there way through these, which I took as a firm sign of approval.

Classically shortbread is made by rubbing cold butter into flour and sugar, almost like making pastry and that makes a fine biscuit but I make mine by beating the butter and sugar until fluffy then gently mixing in the flour, simply because this makes the biscuits a little lighter and I prefer the texture this way, but really it is up to you this recipe will happily work either way, the only thing I would say is don’t skip the salt with such simple ingredients a little bit of salt really helps to lift the flavour and it works wonders with the pistachios, lemon zest and chocolate.

Pistachio and Chocolate Shortbread

100g unrefined golden caster sugar
200g unsalted butter, room temperature
Zest of 1 lemon
275g plain flour
Large pinch flaked sea salt
75g pistachios, roughly chopped, plus extra for decoration
200g dark chocolate

To make the shortbread place the butter, sugar and lemon zest into a large bowl and using an electric mixer beat together for about 5 minutes or until light and fluffy. Scrape the bowl down and add the flour, salt and pistachios, mixing together briefly until it comes together as a dough. Tip the dough out onto the work surface and bring together into a ball and divide into two equal pieces. Place each piece of dough between sheets of clingfilm or parchment paper and rollout into 1cm thick rectangles, about 10 inches long, wrap in clingfilm and refrigerate until firm. 

Preheat the oven to 170C (150C fan) and line two baking trays with parchment paper. Cut the dough into 1-inch thick fingers and dock with a fork. Place the biscuits onto the prepared baking trays and bake in the preheated oven for 25-30 minutes or until lightly browned. Remove from the oven and allow to cool fully. 

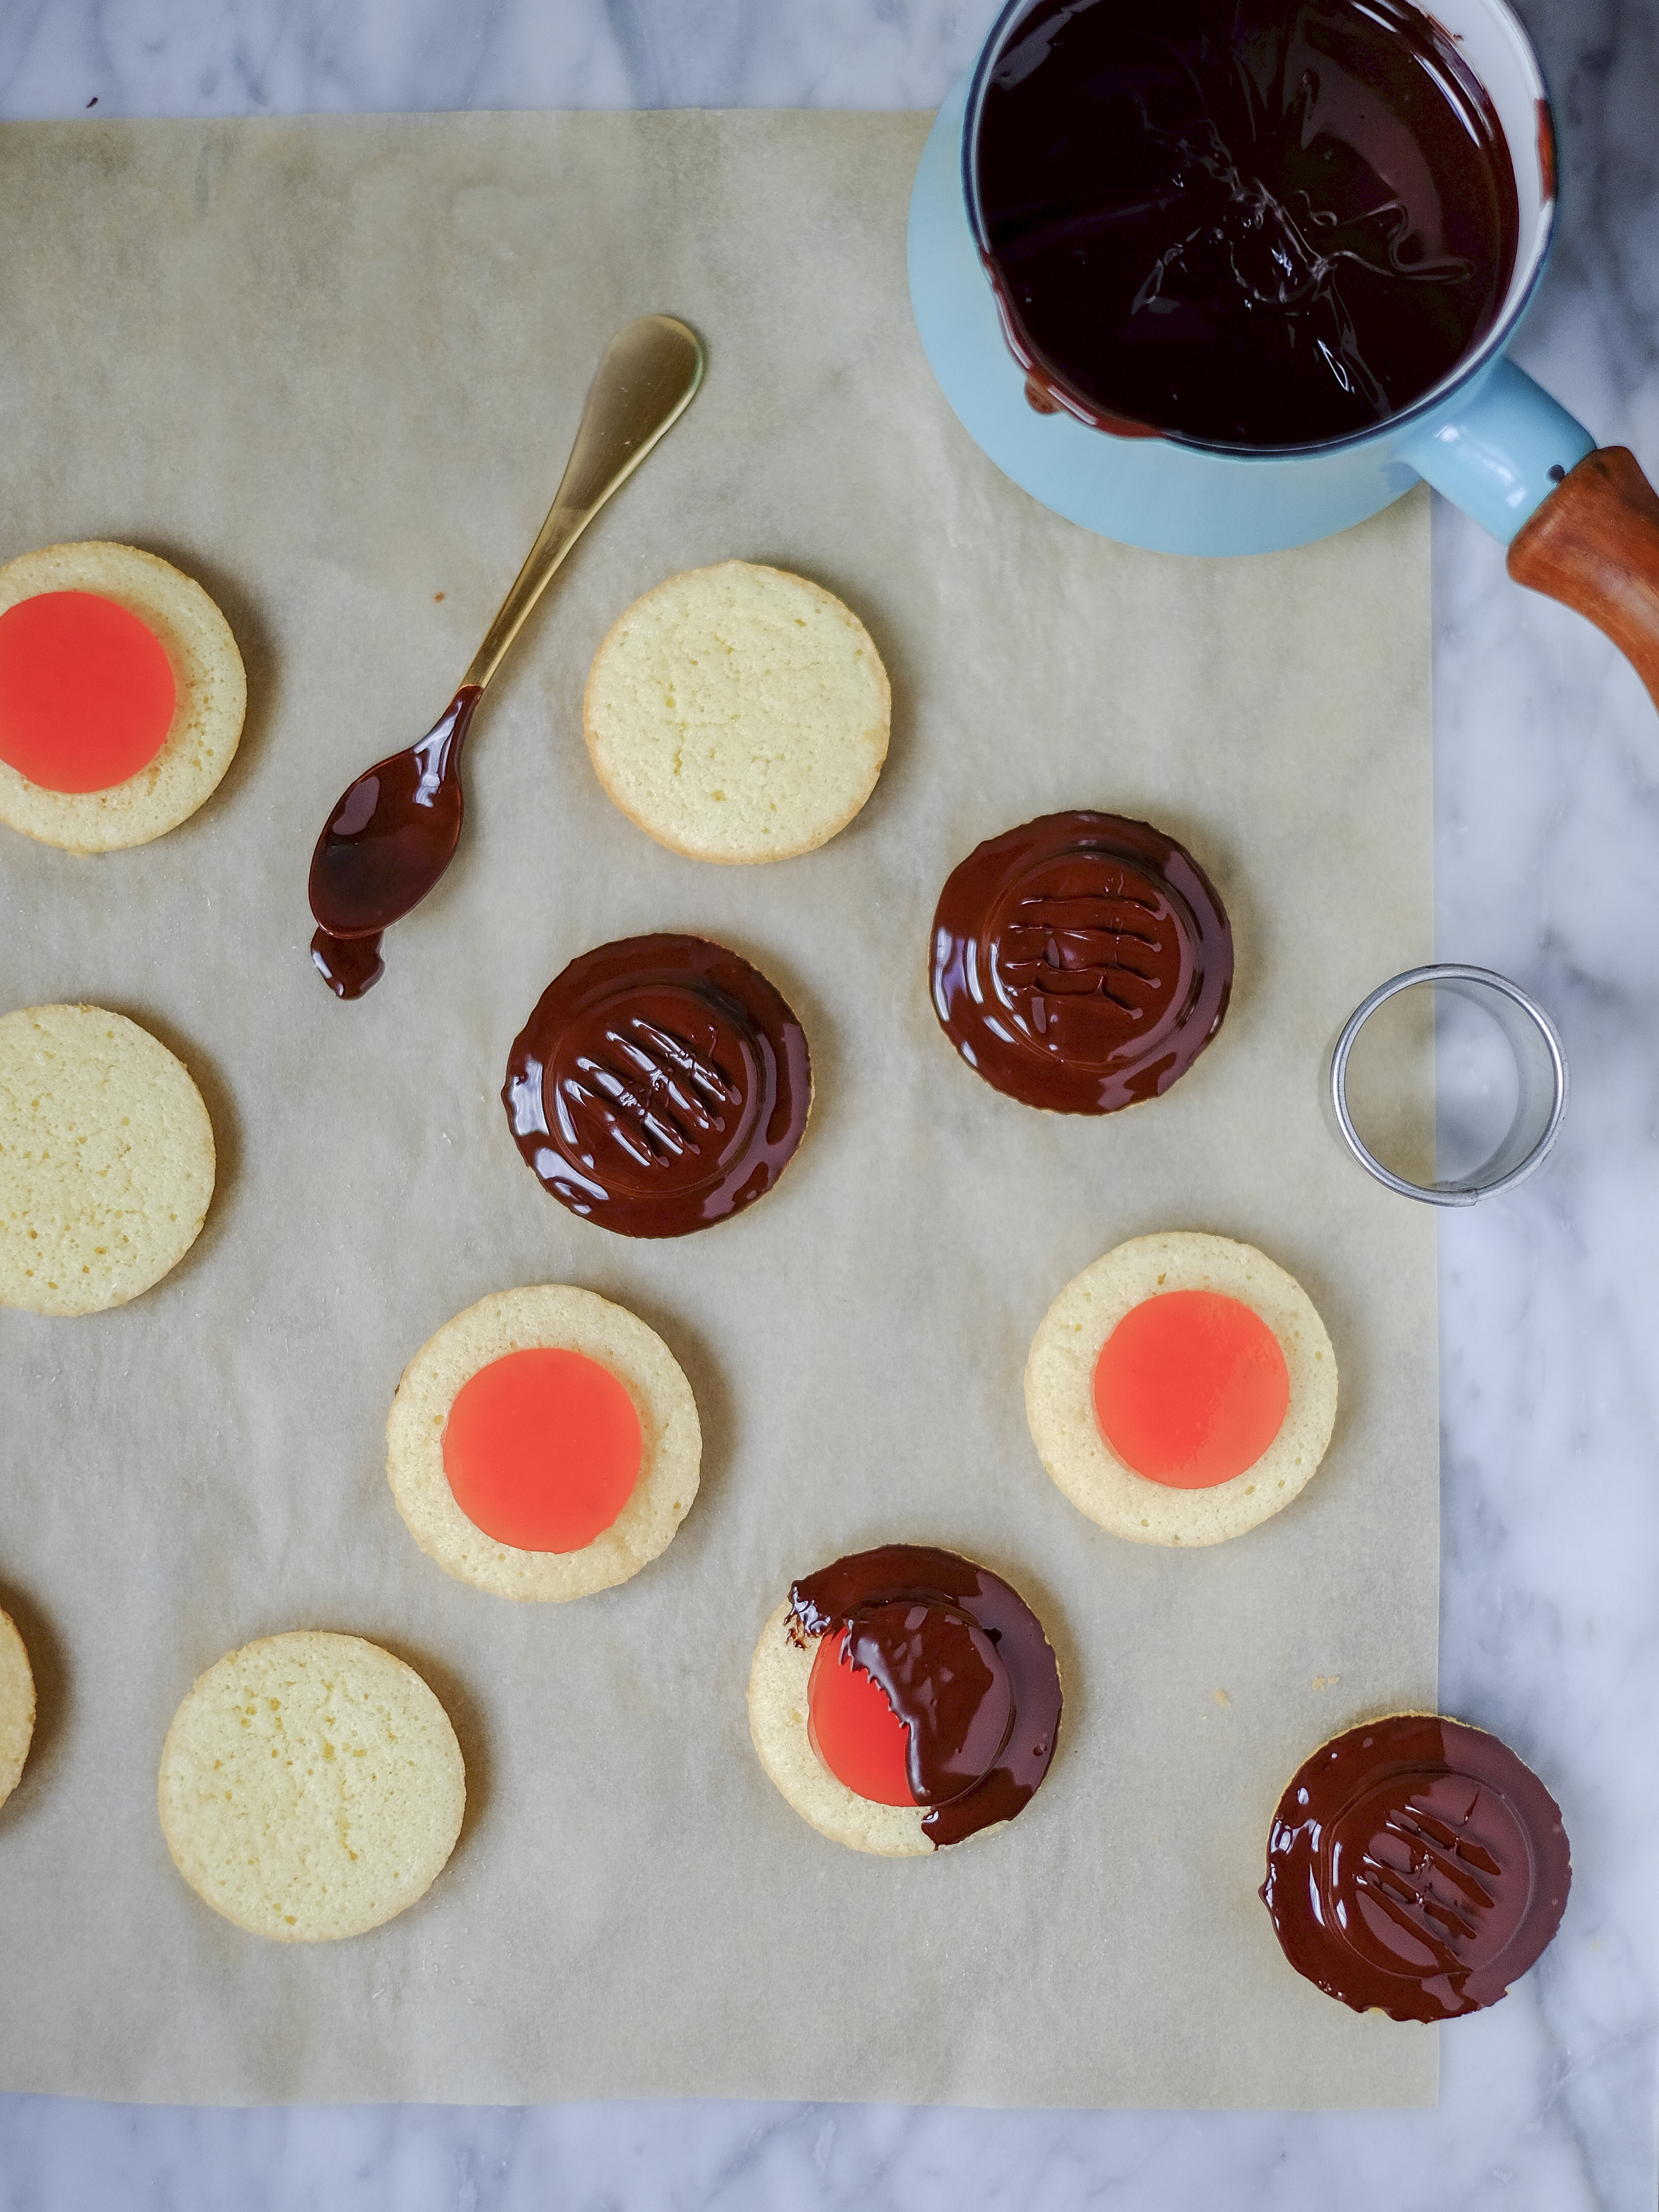
For the chocolate place into a heatproof bowl and microwave in 30 second bursts until about three quarters of the chocolate has melted, remove the bowl and mix vigorously with a spatula until fully melted (this is a quick method of tempering the chocolate). Dip the shortbread halfway into the chocolate, allow the excess to drip off then set onto a clean sheet of parchment, decorating with a few extra chopped pistachios. Once the chocolate has set, devour! (If you really have to, the biscuits will keep for 3-4 days in a sealed container.)

In Biscuits and Cookies, Chocolate
1 Comment

Blood Orange Jaffa Cakes

Edd Kimber January 28, 2015

Do you ever get cravings for things you loved as a kid? For me it is butterscotch Angel Delight (which of course is the best flavour), Jaffa Cakes and Custard Creams. When I was younger, actually who am I kidding still now, I had a very specific way of eating a Jaffa Cake. You nibble the cake around the edge avoiding the jelly, gently peel the sponge from the back and then place the chocolate coated jelly into your mouth, sucking off the chocolate. Weird? A little! Delicious, Absolutely! You can of course make these with regular oranges but I have a slight obsession with blood oranges. I have a wonderful greengrocers near my house and at the moment I seem unable to buy any other fruits or vegetables without also buying a glut of beautiful blood oranges. I maybe obsessed but when blood oranges come into season I have to get my fill, it's a long wait for them to come back into season, so whilst I can get them they're a constant presence in my kitchen.

The idea of Jaffa Cakes is simple enough - a spongy base topped with orange jelly and coated in chocolate, seems straightforward? Thankfully they're actually as simple as you would hope. I used a genoise sponge as the base, a simple blood orange jelly, topped with melted chocolate. So far so easy but there is one slightly tricky part, adding the chocolate. You cant dip them, so you have to gently tease the chocolate with a spoon, its not difficult just fiddly. 

Blood Orange Jaffa Cakes

Sponge Base
2 large eggs
60g golden caster sugar
60g plain flour
30g unsalted butter, melted and slightly cooled

Blood Orange Jelly
160ml blood orange juice
1 tbsp golden caster sugar
2 sheets of gelatine
150g dark chocolate
 

To make the jelly place the blood orange juice and the sugar into a saucepan and bring to a simmer, dissolving the sugar. Meanwhile, place the gelatine into a bowl of cold water, setting aside until softened. Once the sugar has dissolved remove the gelatine from the water, squeezing off any excess water and add to the juice mixture, stirring together until full dissolved. 

Line a 9-inch round cake pan with clingfilm and pour in the jelly mixture, chilling in the fridge for a few hours until set.

Preheat the oven to 180C (160C Fan) and lightly grease two 12-hole muffin pans. 

To make the sponge bases place the eggs and sugar into a large bowl and using an electric mixer whisk together for about 5 minutes until pale and thickened. In two additions sieve over the flour and gently fold together. Pour in the butter and fold together until fully combined. Divide the batter between the prepared pans, about 1 tbsp of batter per base and bake in the preheated oven for 7-10 minutes or until lightly browned. Allow to cool for a couple of minutes before carefully teasing the cakes out of the pans (they tend to stick a little bit but with a little teasing they pop right out).

Remove the jelly from the fridge and using a 4cm cut out 24 disc of jelly and place on the middle of each sponge base. For the topping place the chocolate into a microwave safe bowl and in 30 second bursts heat until about 3/4 of the chocolate is melted, remove from the microwave and stir until fully melted (this is a quick simple way of tempering chocolate, great when using small amounts).

To decorate the cakes use a teaspoon to spread chocolate over the top of the jelly, gently teasing it to the edges of the cakes. To give the classic Jaffa Cake look use a fork and gently press the tines onto the chocolate and lift up, do this after coating each cake as the chocolate needs to be fluid to achieve this look. 

These cakes will keep for up to two days. 

In Chocolate, Biscuits and Cookies
10 Comments
  • Recipes
  • Older
  • Newer

Twitter

  • Was 8 original films, 3 spin off films, a two part play not enough. Can we have something new. https://t.co/cBZdGEGeyv
    Apr 4, 2023, 1:46 PM
  • RT @deliciousmag: Cacio e pepe, but make it buns! These seriously cheesy bread rolls from @TheBoyWhoBakes are inspired by his favouri… https://t.co/oDZlaDgnN2
    Apr 2, 2023, 11:08 AM
  • RT @TheDailyShow: Congrats to Donald Trump on finally winning a majority of votes! https://t.co/ezP55HZgl0
    Mar 31, 2023, 12:43 AM

Instagram

This weeks bonus recipe, for subscribers to my newsletter, is this gorgeous sour cherry and coconut gateau basque. The crust is a buttery cross between pastry and cake, think a cakey cookie. The filling is a layer of sour cherry topped with a rich coconut custard. A real fun one to make too! Link to my newsletter can be found in my bio - #gateaubasque #pastrycream #coconut #sourcherry
In this months @olivemagazine (out today) the team came and photographed my petit kitchen and we talked about how we put our stamp on the place, without spending a fortune. We hated the bland kitchen that we inherited but, as it was relatively new an
In this months @olivemagazine (out today) the team came and photographed my petit kitchen and we talked about how we put our stamp on the place, without spending a fortune. We hated the bland kitchen that we inherited but, as it was relatively new and in good condition, it felt a waste to rip it out and we also didn’t want to spend the money it would take to rip out the whole thing and replace it (it’s a howdens shell so we could have done something cheaper like @plykeakitchens @holte.studio @madebyhusk) so instead I painted all of the cabinets, using @makeitrustoleum kitchen cabinet paint, to give it some personality and lighten the whole thing. Check out the magazine for the full run down. - #kitchendesign #kitchenremodel #rustoleumcabinettransformations #rustoleumkitchencupboardpaint #kitcheninspiration #theboywhobakes #olivemagazine
Are you making scones all wrong? Maybe, maybe not? But I do want to show you how I make them! This recipe is based on the method I learnt at @belmondlemanoir 12 years ago when I did a stage, and it makes the absolute lightest scones. And shock horror, it involves kneading the dough, albeit very lightly. You can get the full recipe in this weeks newsletter (free) linked in my bio. - #scones #bakingday #worldbakingday #afternoontea #hightea #englishscones #clottedcream #creamtea #theboywhobakes
facebook
  • Contact

The Boy Who Bakes

Edd Kimber

facebook