This time last year I remember writing a post about Valentines day and how I was single and bitter, slightly tongue in cheek but definitely with a dash of truth (I was recently single to be fair). A year on and well, not much has changed! Okay so thats not exactly true, I’m still single but I’m far from bitter and this cynic is taking a more open approach to Valentines Day. It is far from my favourite holiday but who am I to stop people celebrating there relationships (sounds like the bitter/sarcastic me is slipping back a bit!). The one thing I don't like is cookie cutter solutions, a card and flowers bought lazily from the corner shop is not up my street, effort and originality on the other hand, well that will always gain you points with me. What better way to show someone you love them than with something homemade. With a cake this pretty and colourful it would make the perfect thing to spoil your loved one with and even better it isn't too sweet or heavy, always a no-no for dates.
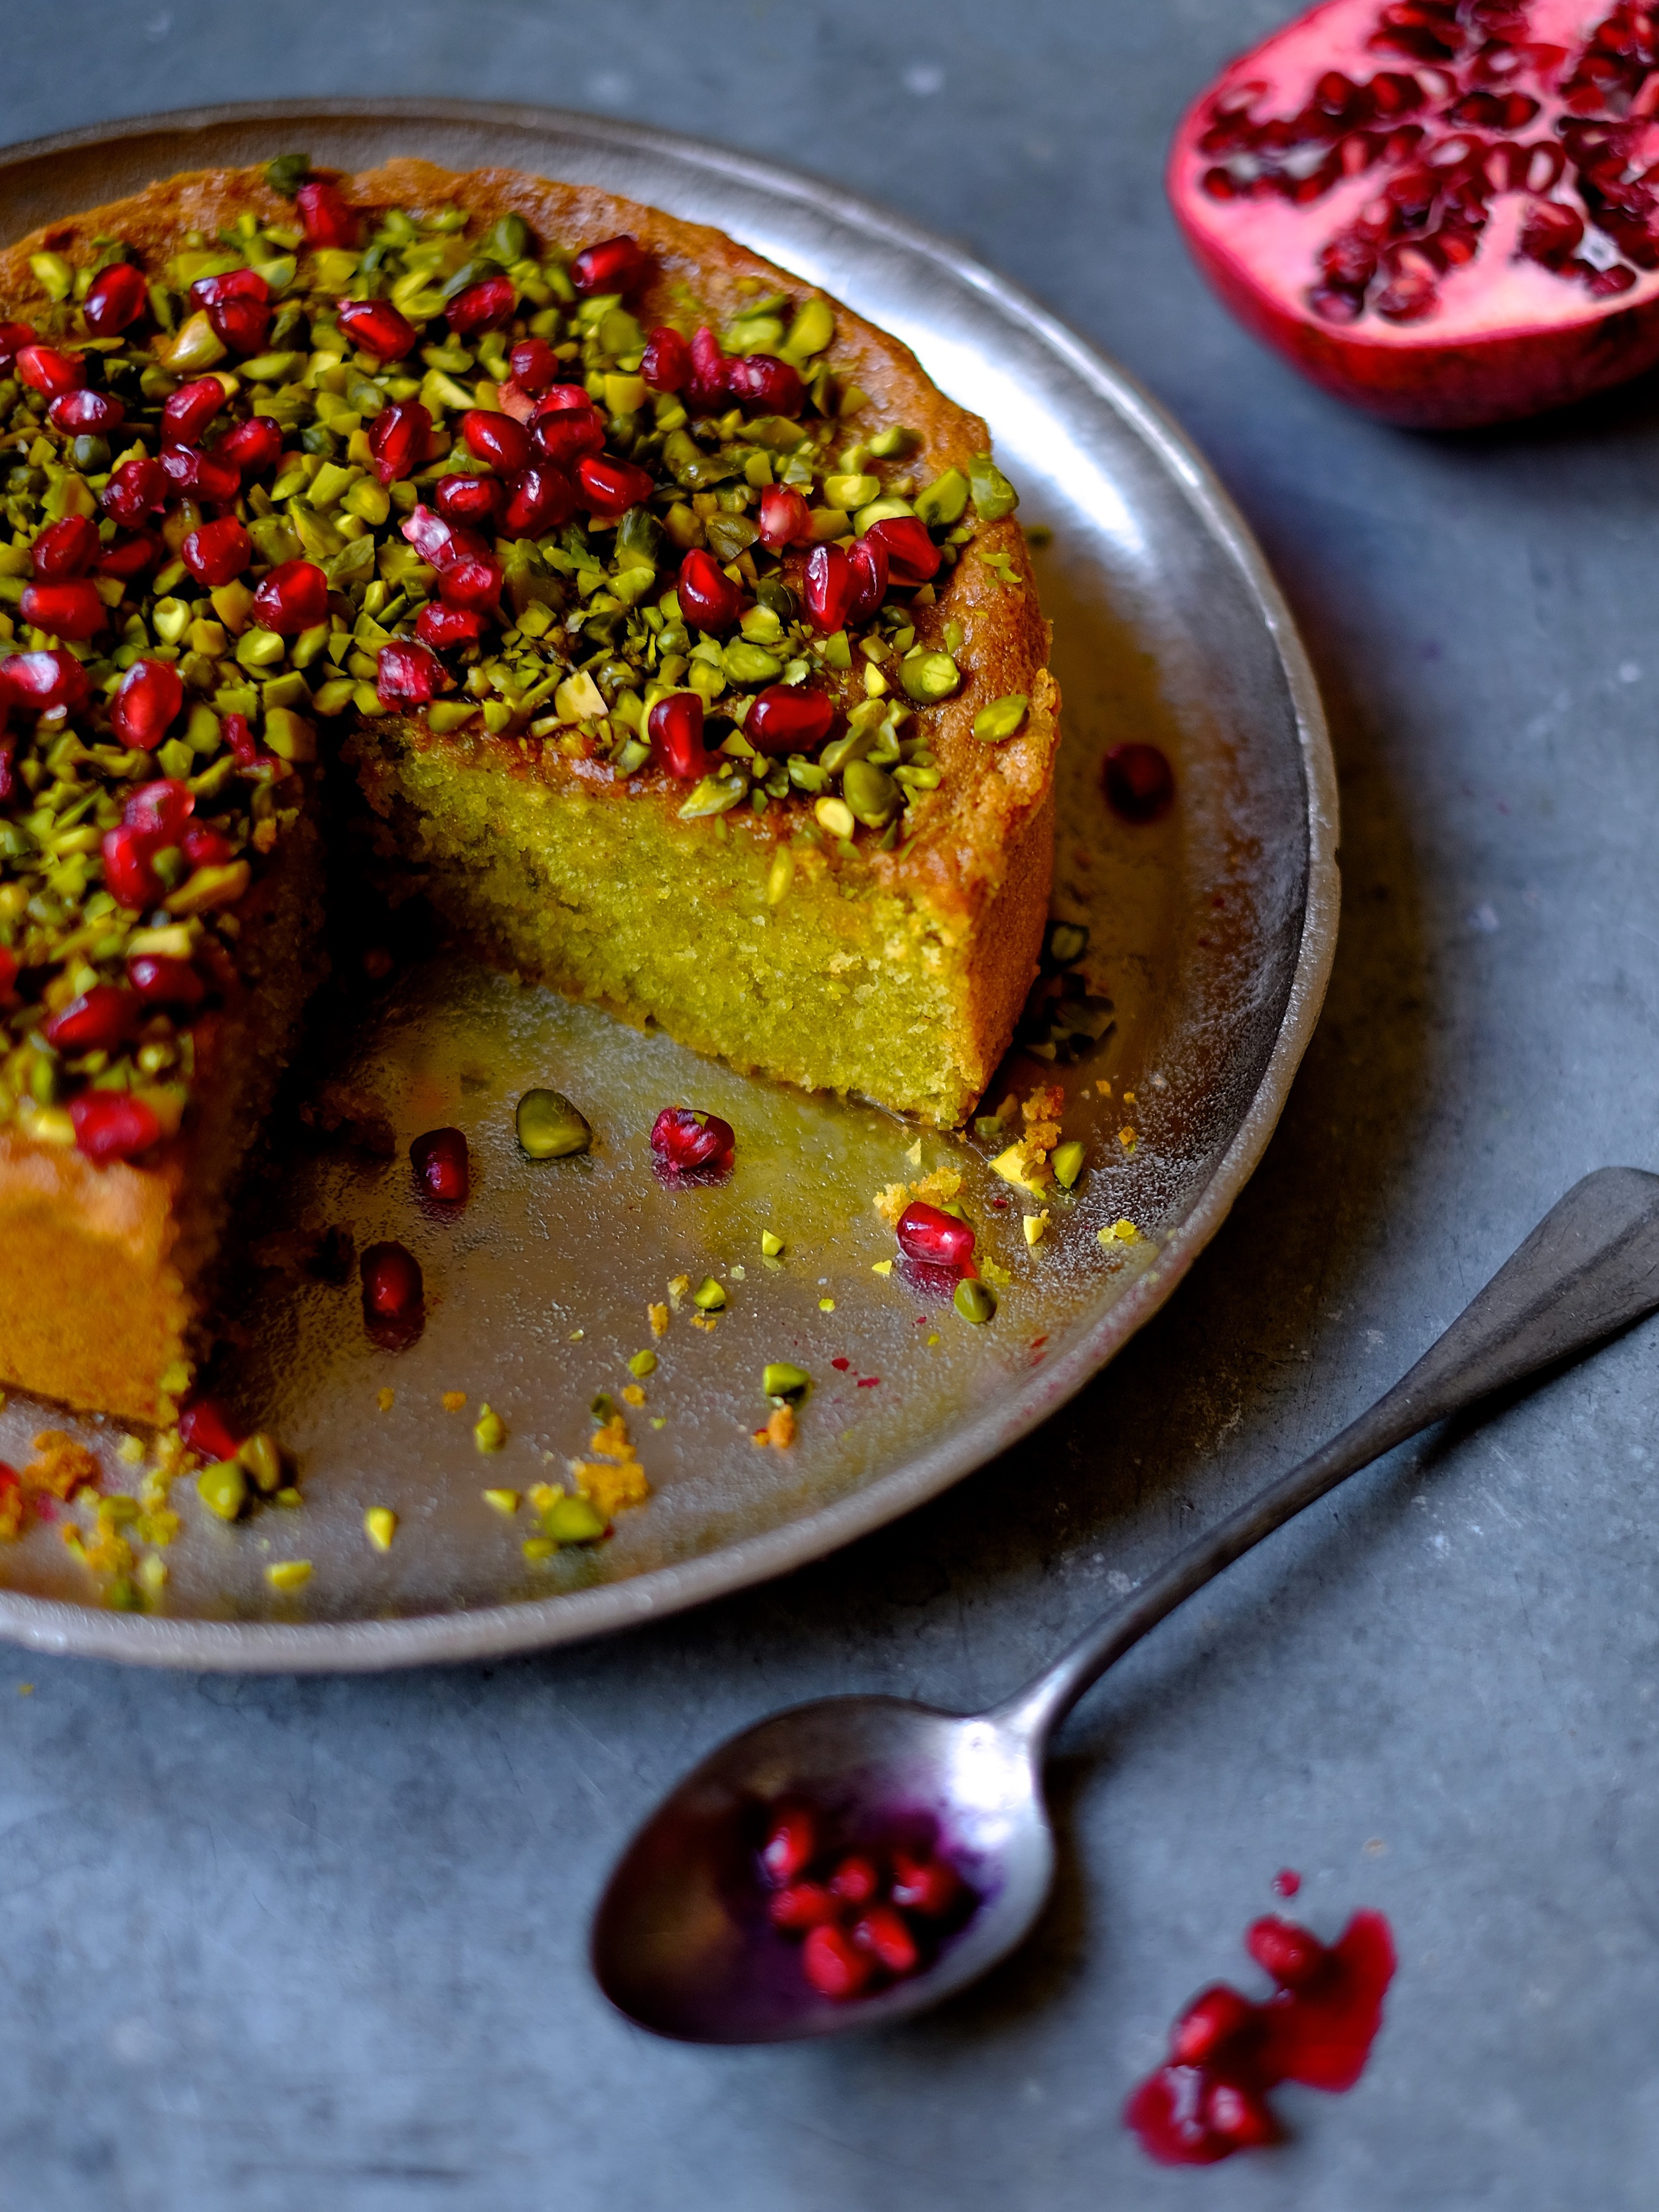
Pistachio and Pomegranate Cake
225g unsalted butter, room temperature
200g caster sugar
Zest of 2 large oranges
4 large eggs, lightly beaten
70g plain flour
1 tsp baking powder
1/2 tsp salt
200g green pistachios, plus extra for decoration
Seeds from 1 pomegranate
Preheat the oven to 180C (160C fan) and grease a deep 20cm round cake tin with a little butter and line the base with parchment paper.
To make the cake place the pistachios into the bowl of a food processor and pulse until finely ground (to prevent the nuts forming a paste you can add a tbsp of the flour to the processor).
Place the butter into a large bowl and, using an electric mixer, beat until light and creamy about 3 minutes. Add the sugar and the orange zest and beat together until light and fluffy, about 5 minutes.
Add the eggs a little at a time, beating until fully combined. Sieve the flour, baking powder and salt together, add the pistachios and mix together. Add the dry goods to the butter mixture and gently fold together until combined. Scrape the batter into the prepared tin and gently level out.
Bake the cake in the preheated oven for 50-55 minutes or until the cake is golden brown and when a skewer inserted into the middle of the cake comes out clean, if the cake is browning too quickly lightly cover with a piece of foil.
Allow the cake to cool in the tin for 10 minutes before turning out onto a wire rack to cool completely. To finish the cake sprinkle with extra chopped pistachios and the seeds from a pomegranate.
Because this cake is made with ground nuts it keeps brilliantly, at least 4 days if kept in a sealed container.
Notes: You can use pistachios from supermarkets but the colour won't be as vibrant and as they are roasted the cake won't be quite as moist - green pistachios available here)