It is a Friday in February so that must mean it is time for another episode of #WWFoodieFriday and another fabulous healthy recipe that fits perfectly into the WeightWatchers Flex Programme. This one in particular has become a firm favourite in my house, in fact when I make it I actually portion and freeze a bunch so that I always have a dinner at the ready. Everyone loves a curry and this simple dish, ready in just over 30 minutes, might not be authentic or traditional but its a fabulous dish. It is actually based on a dish my boyfriend makes regularly and I always say it is that recipe I would want when I am ill, it is wonderfully comforting.
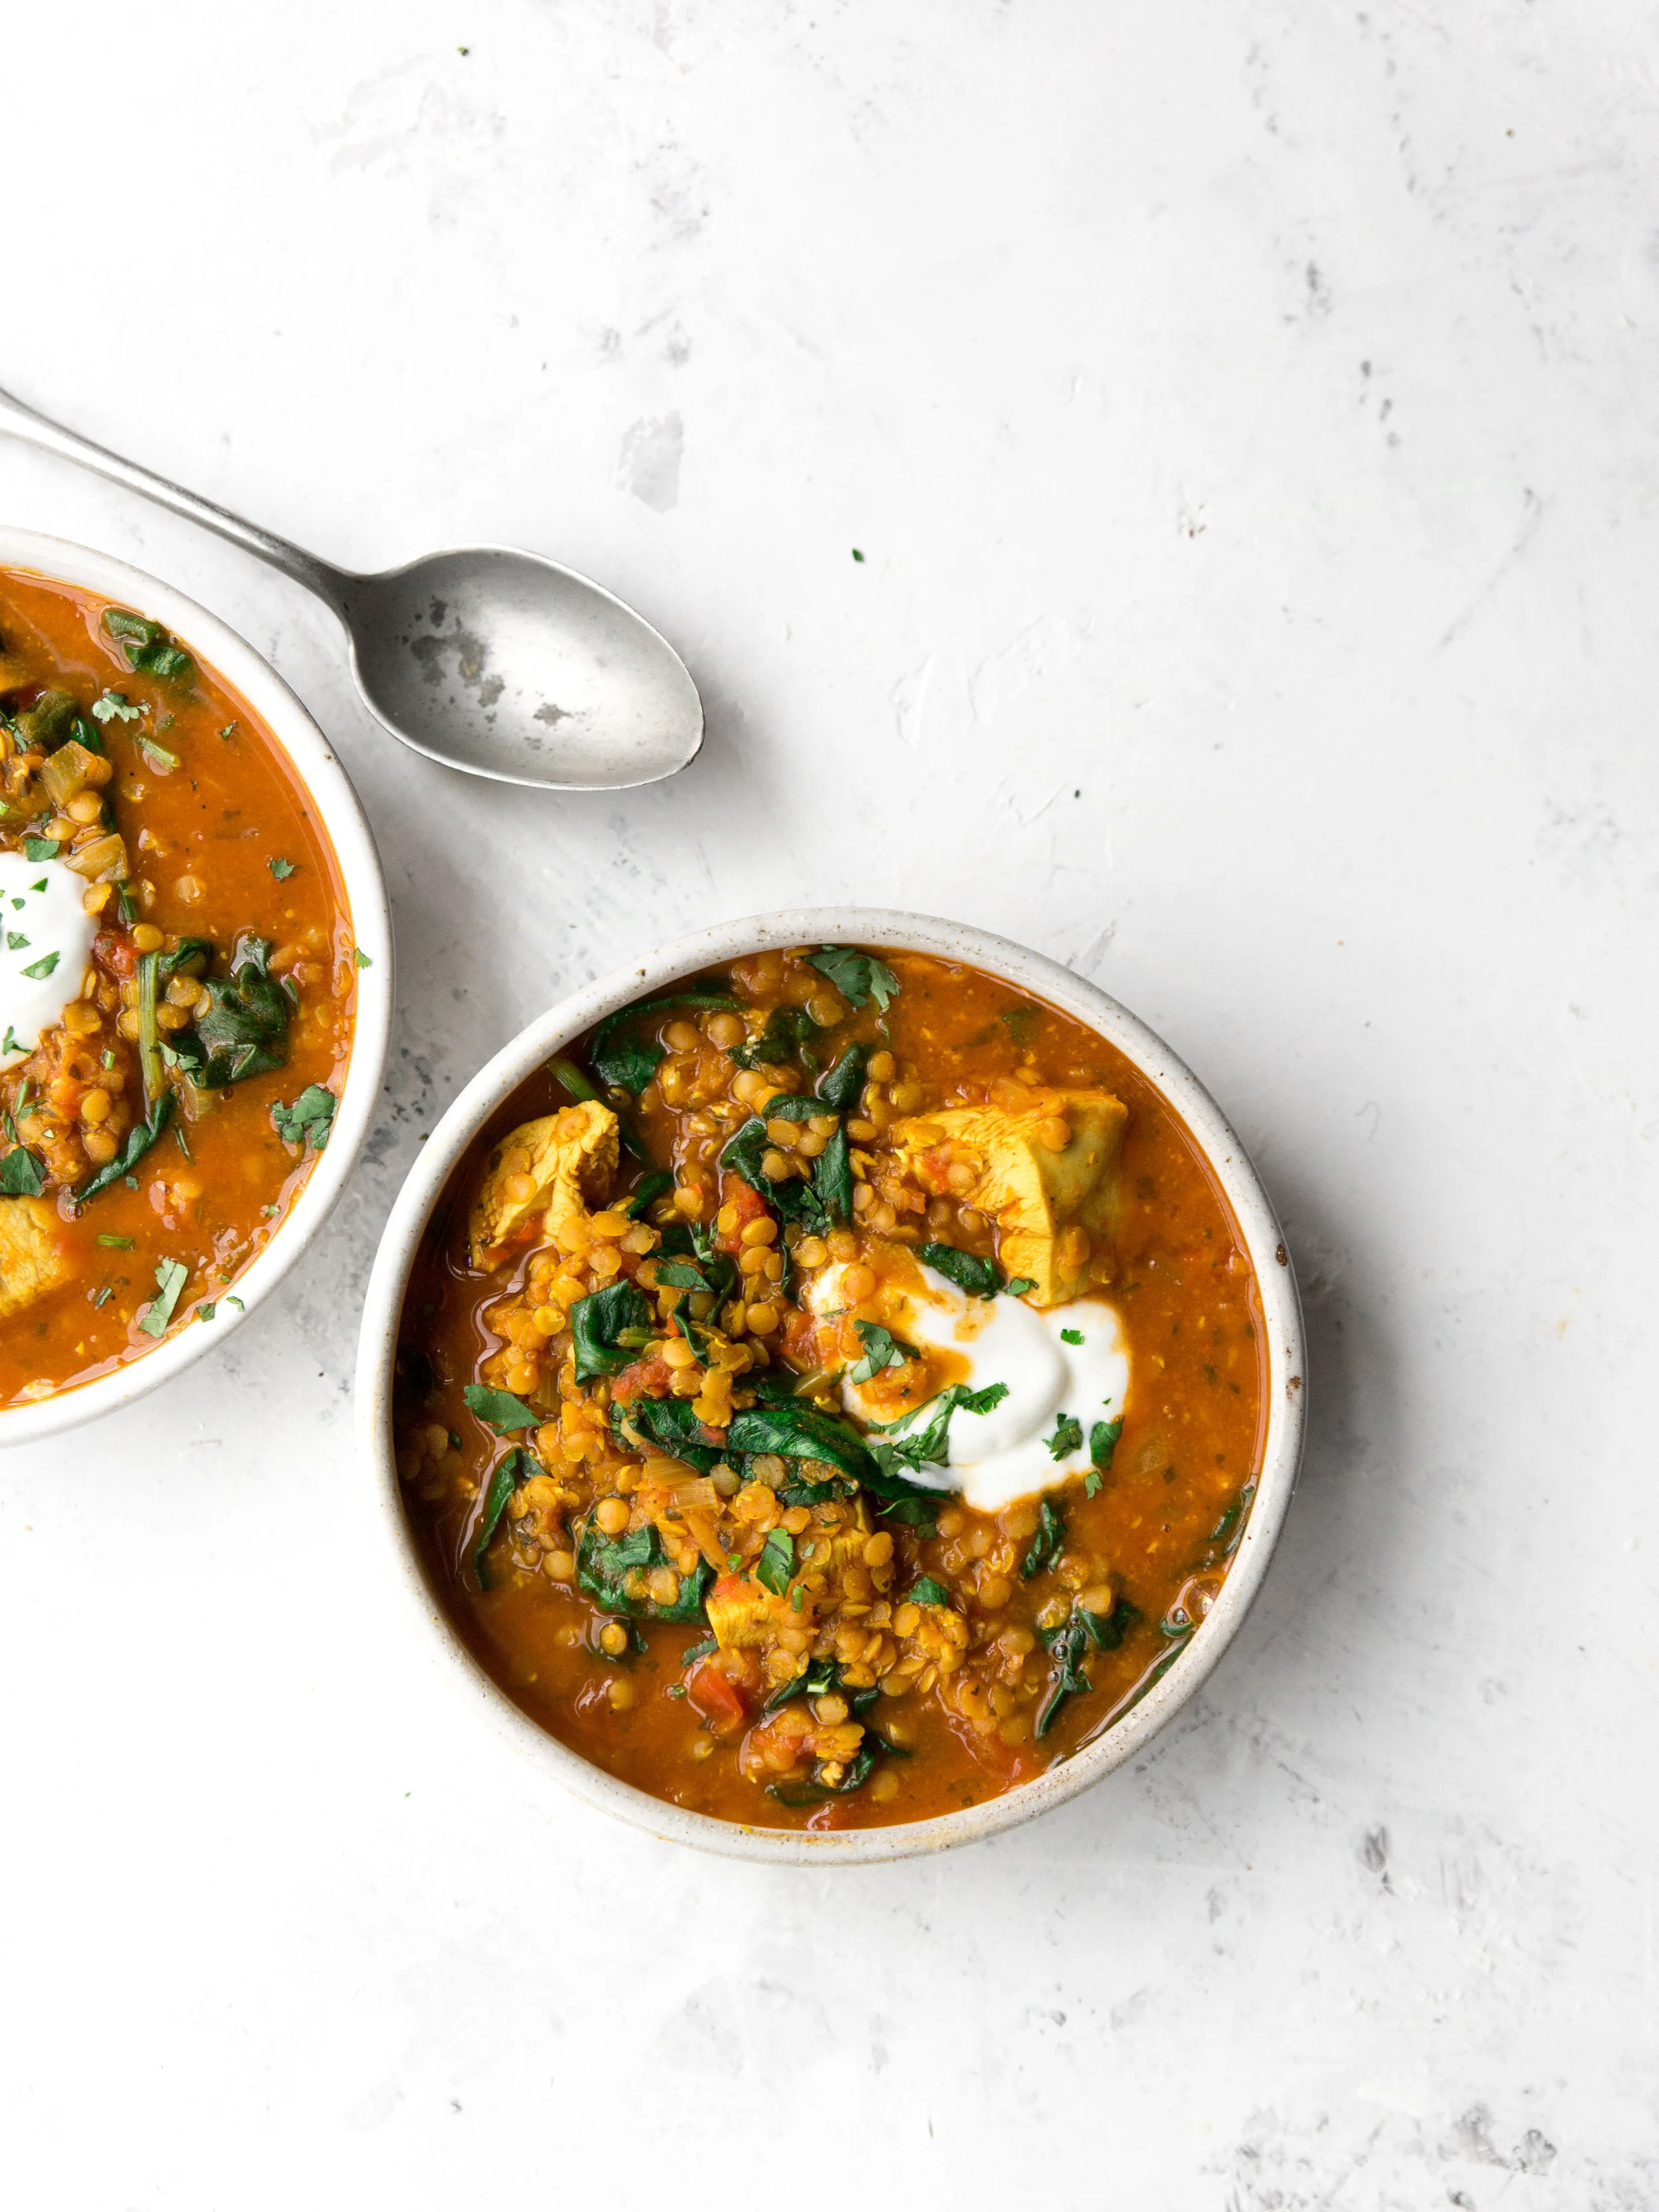
Chicken Lentil Curry
Serves 4
Curry Paste
2 cloves garlic
1 inch piece garlic
1/2 tbsp smoked paprika
1/2 tsp chilli powder
1 tsp garam masala
1 tsp ground cumin
1 tsp ground coriander
1/2 tsp turmeric
1/4 tsp salt
1 tbsp tomato puree
1 red chilli
handful of coriander
Curry
2 onions, diced
400g red lentils
500ml vegetable stock
400g tinned tomatoes
150g spinach
4 chicken breasts, diced
200ml light coconut milk
Fat free natural yoghurt (optional)
To make the curry we first need to make the curry paste, add all of the ingredients into a small food processor and pulse until a paste is formed (make sure to add the whole coriander, stalks and all, these add lots of flavour). You can also make this by very finely chopping the garlic, ginger and coriander and mixing together with the remaining paste ingredients.
To a large saucepan add a little bit of oil and over a medium/low heat cook the onions for 5-10 minutes or until translucent. Add the curry paste and cook for a few minutes to take the raw edge off the spices. Add the lentils and stir to coat in the paste. Add the stock and the tinned tomatoes, increasing the heat slightly to bring the mixture to a boil, then reduce to a simmer and cook for 5 minutes before adding the chicken and cooking for 5-10 minutes or until the lentils and chicken are cooked through. Add the spinach and coconut milk stirring to combine.
Serve in bowls topped with a dollop of natural yoghurt, and a little extra coriander.


